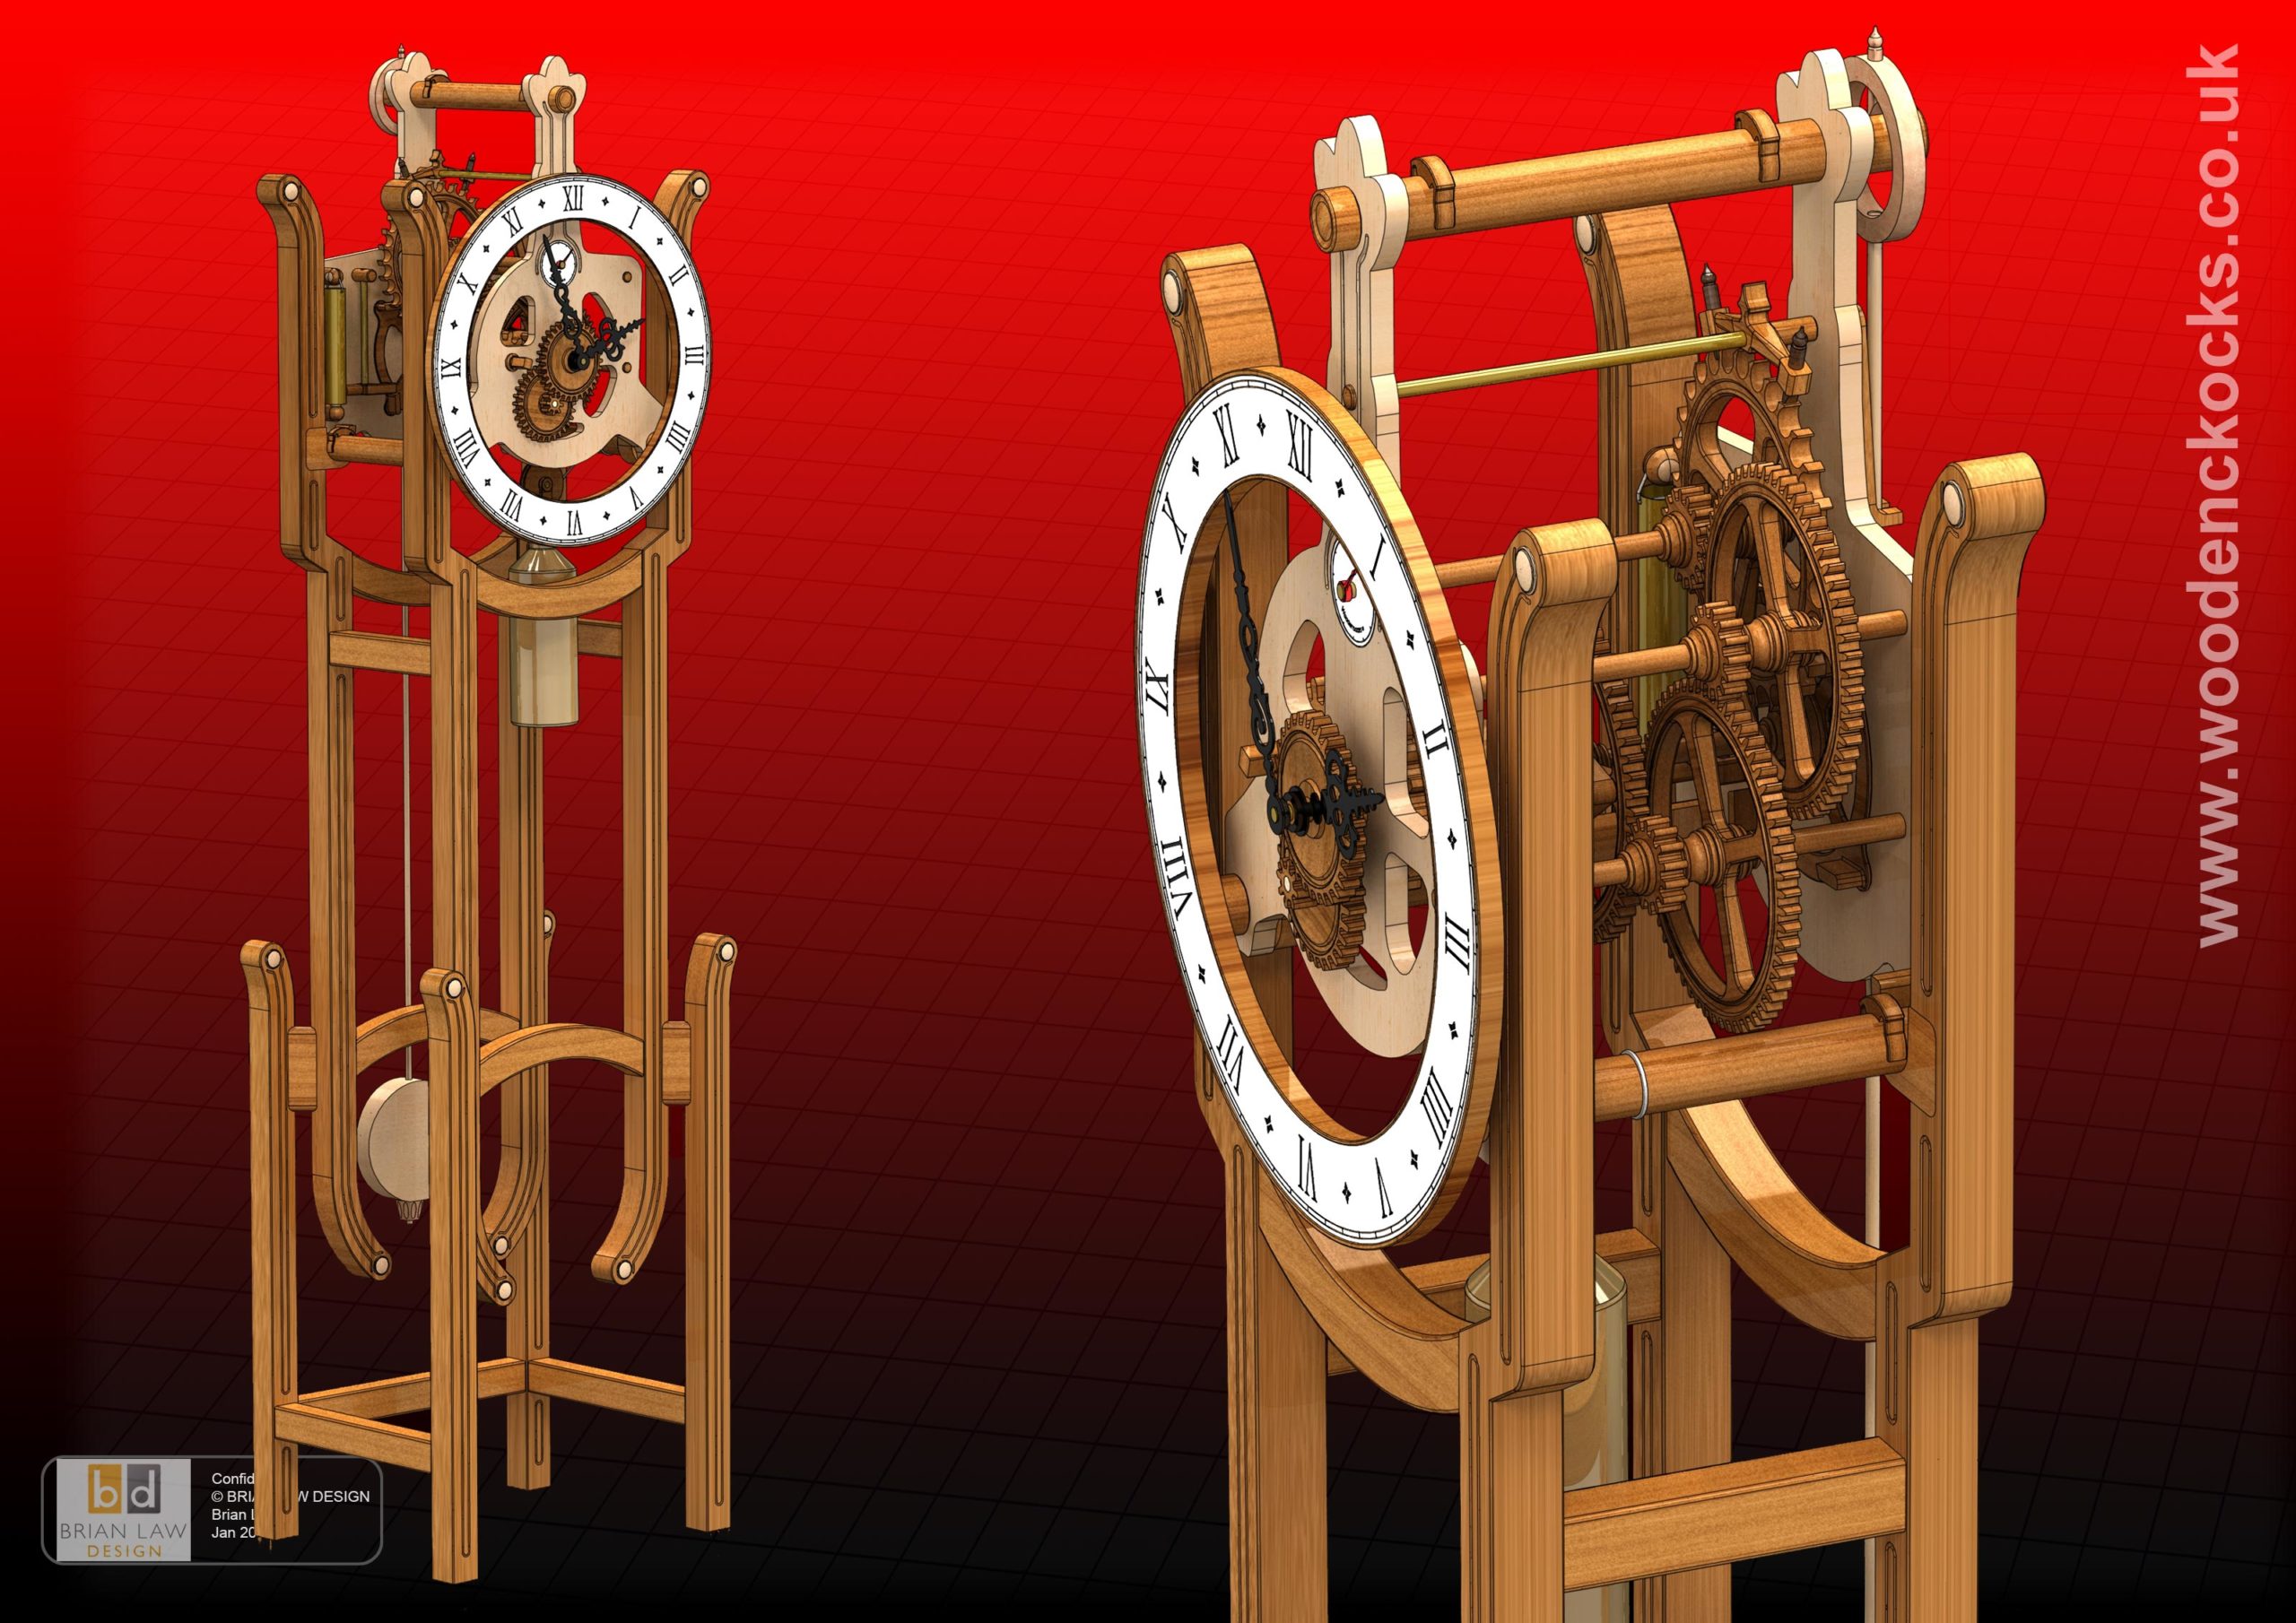
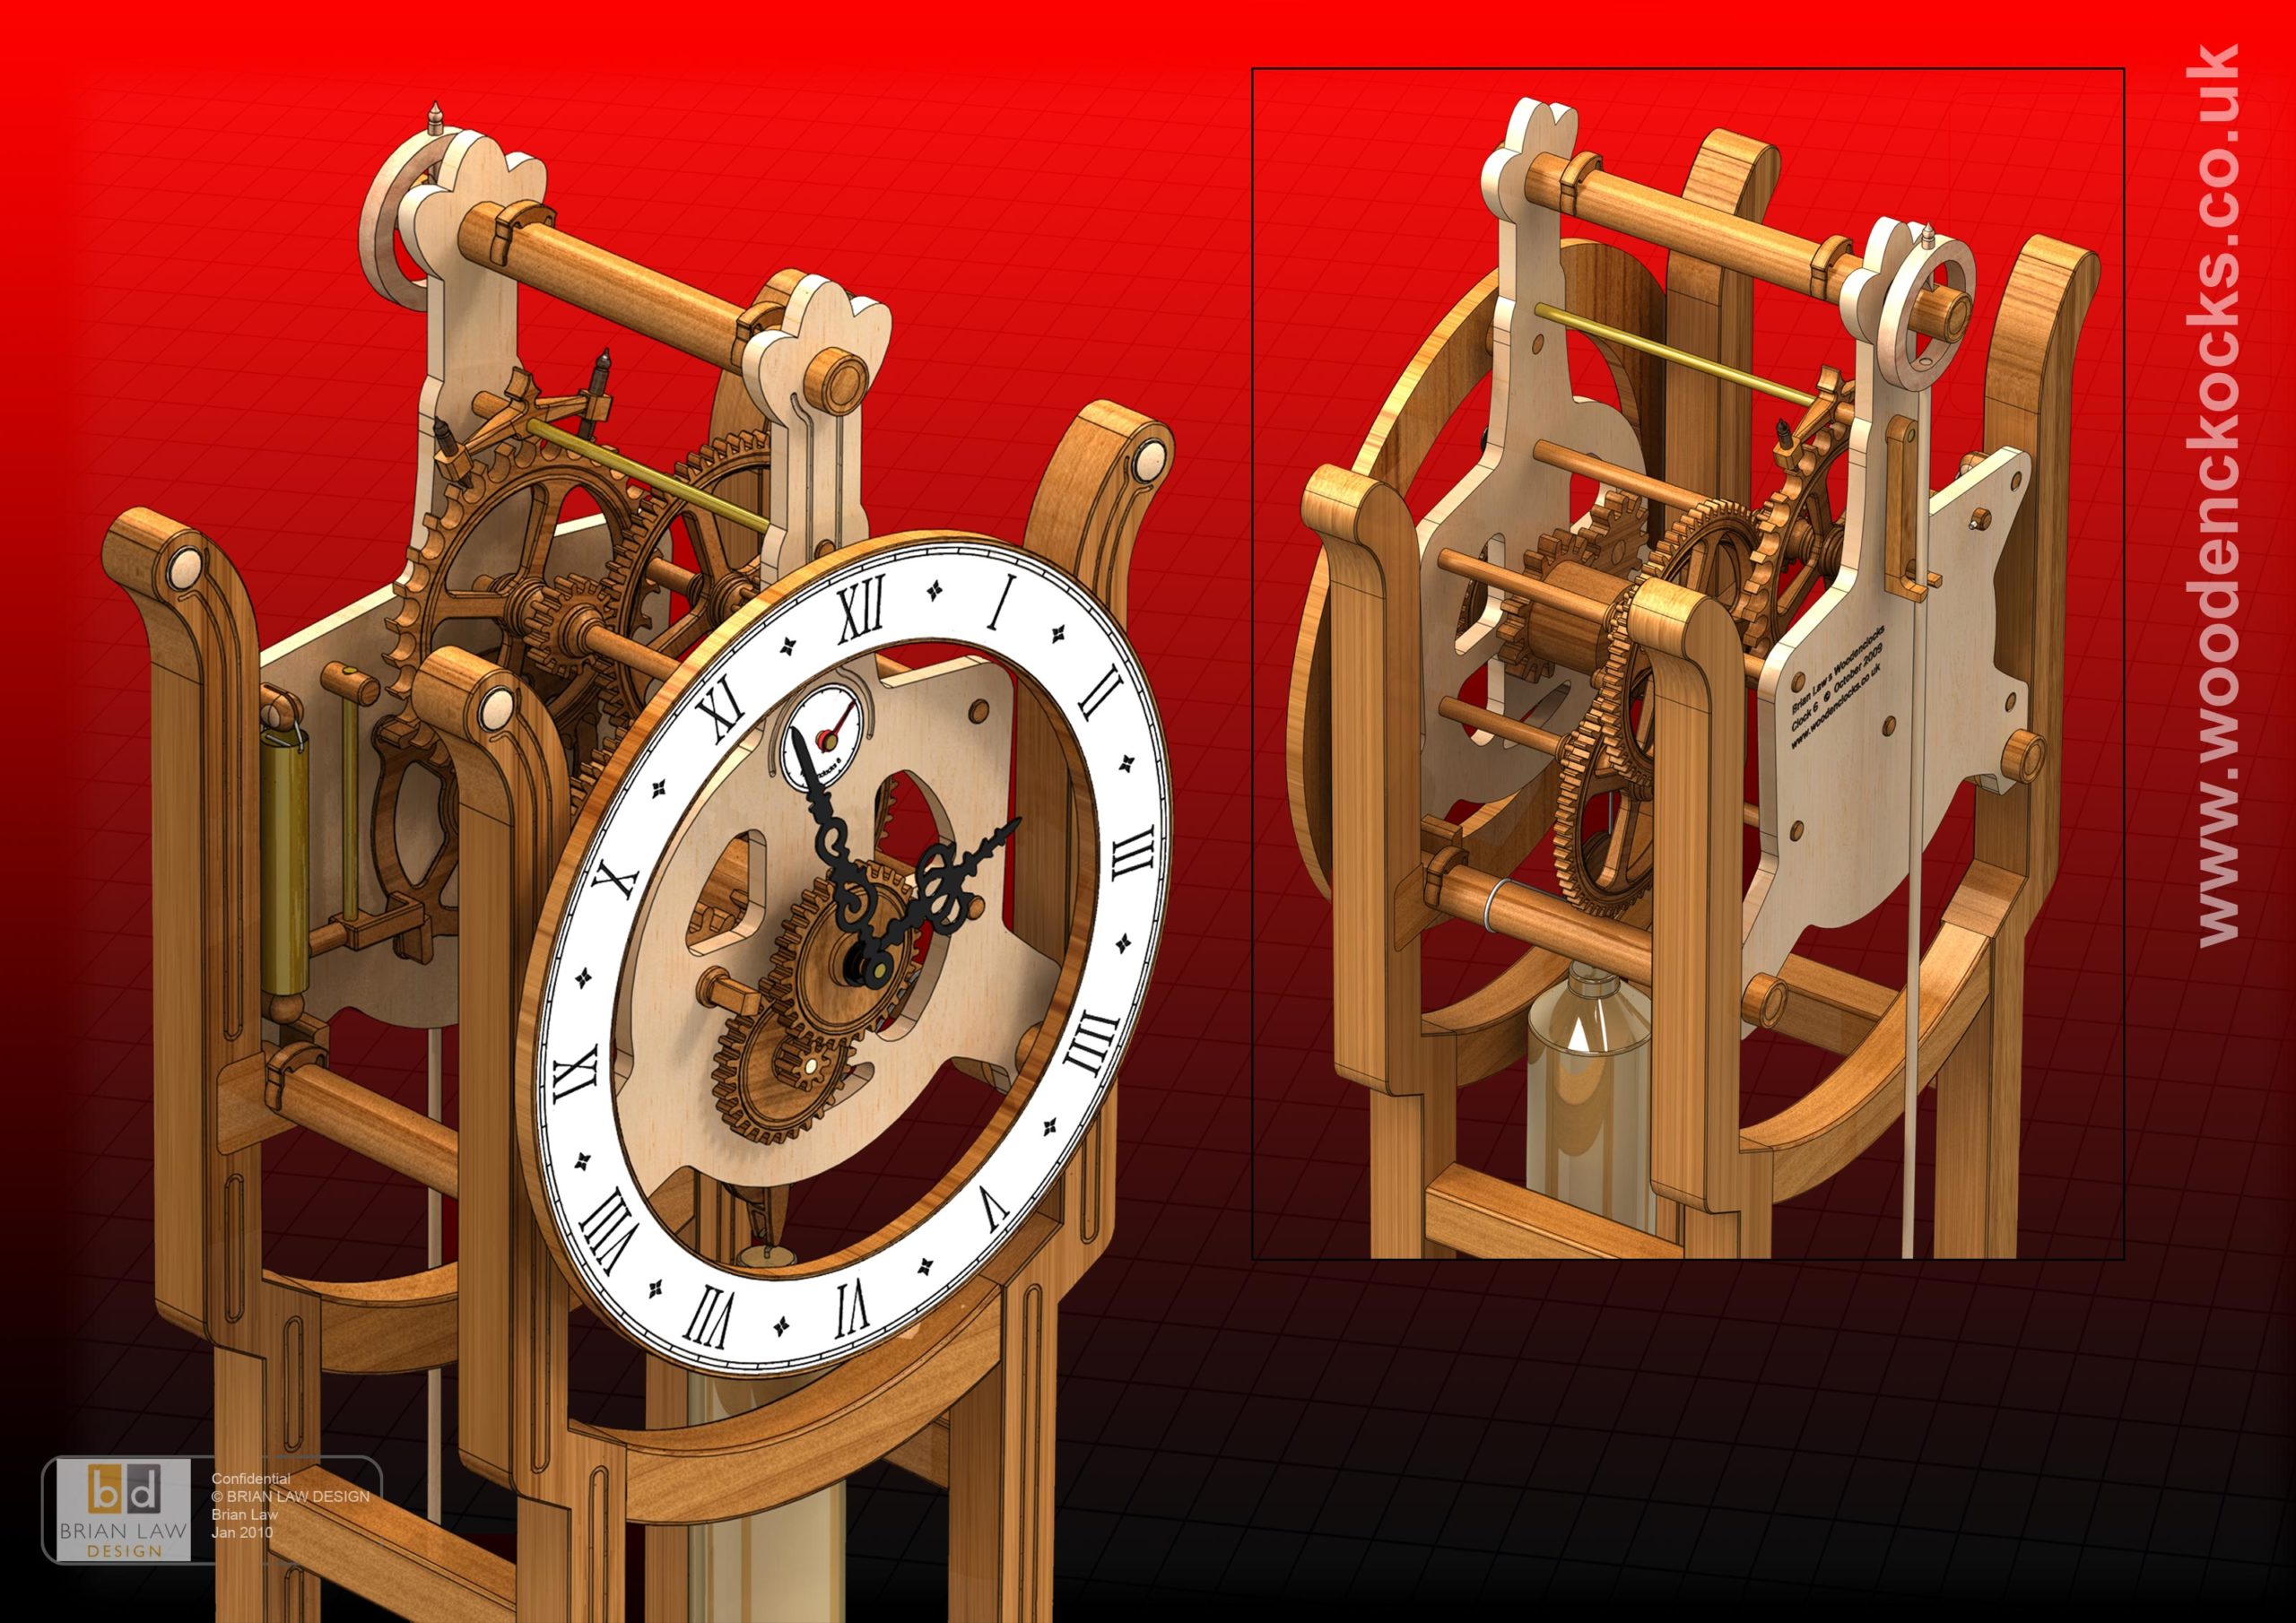
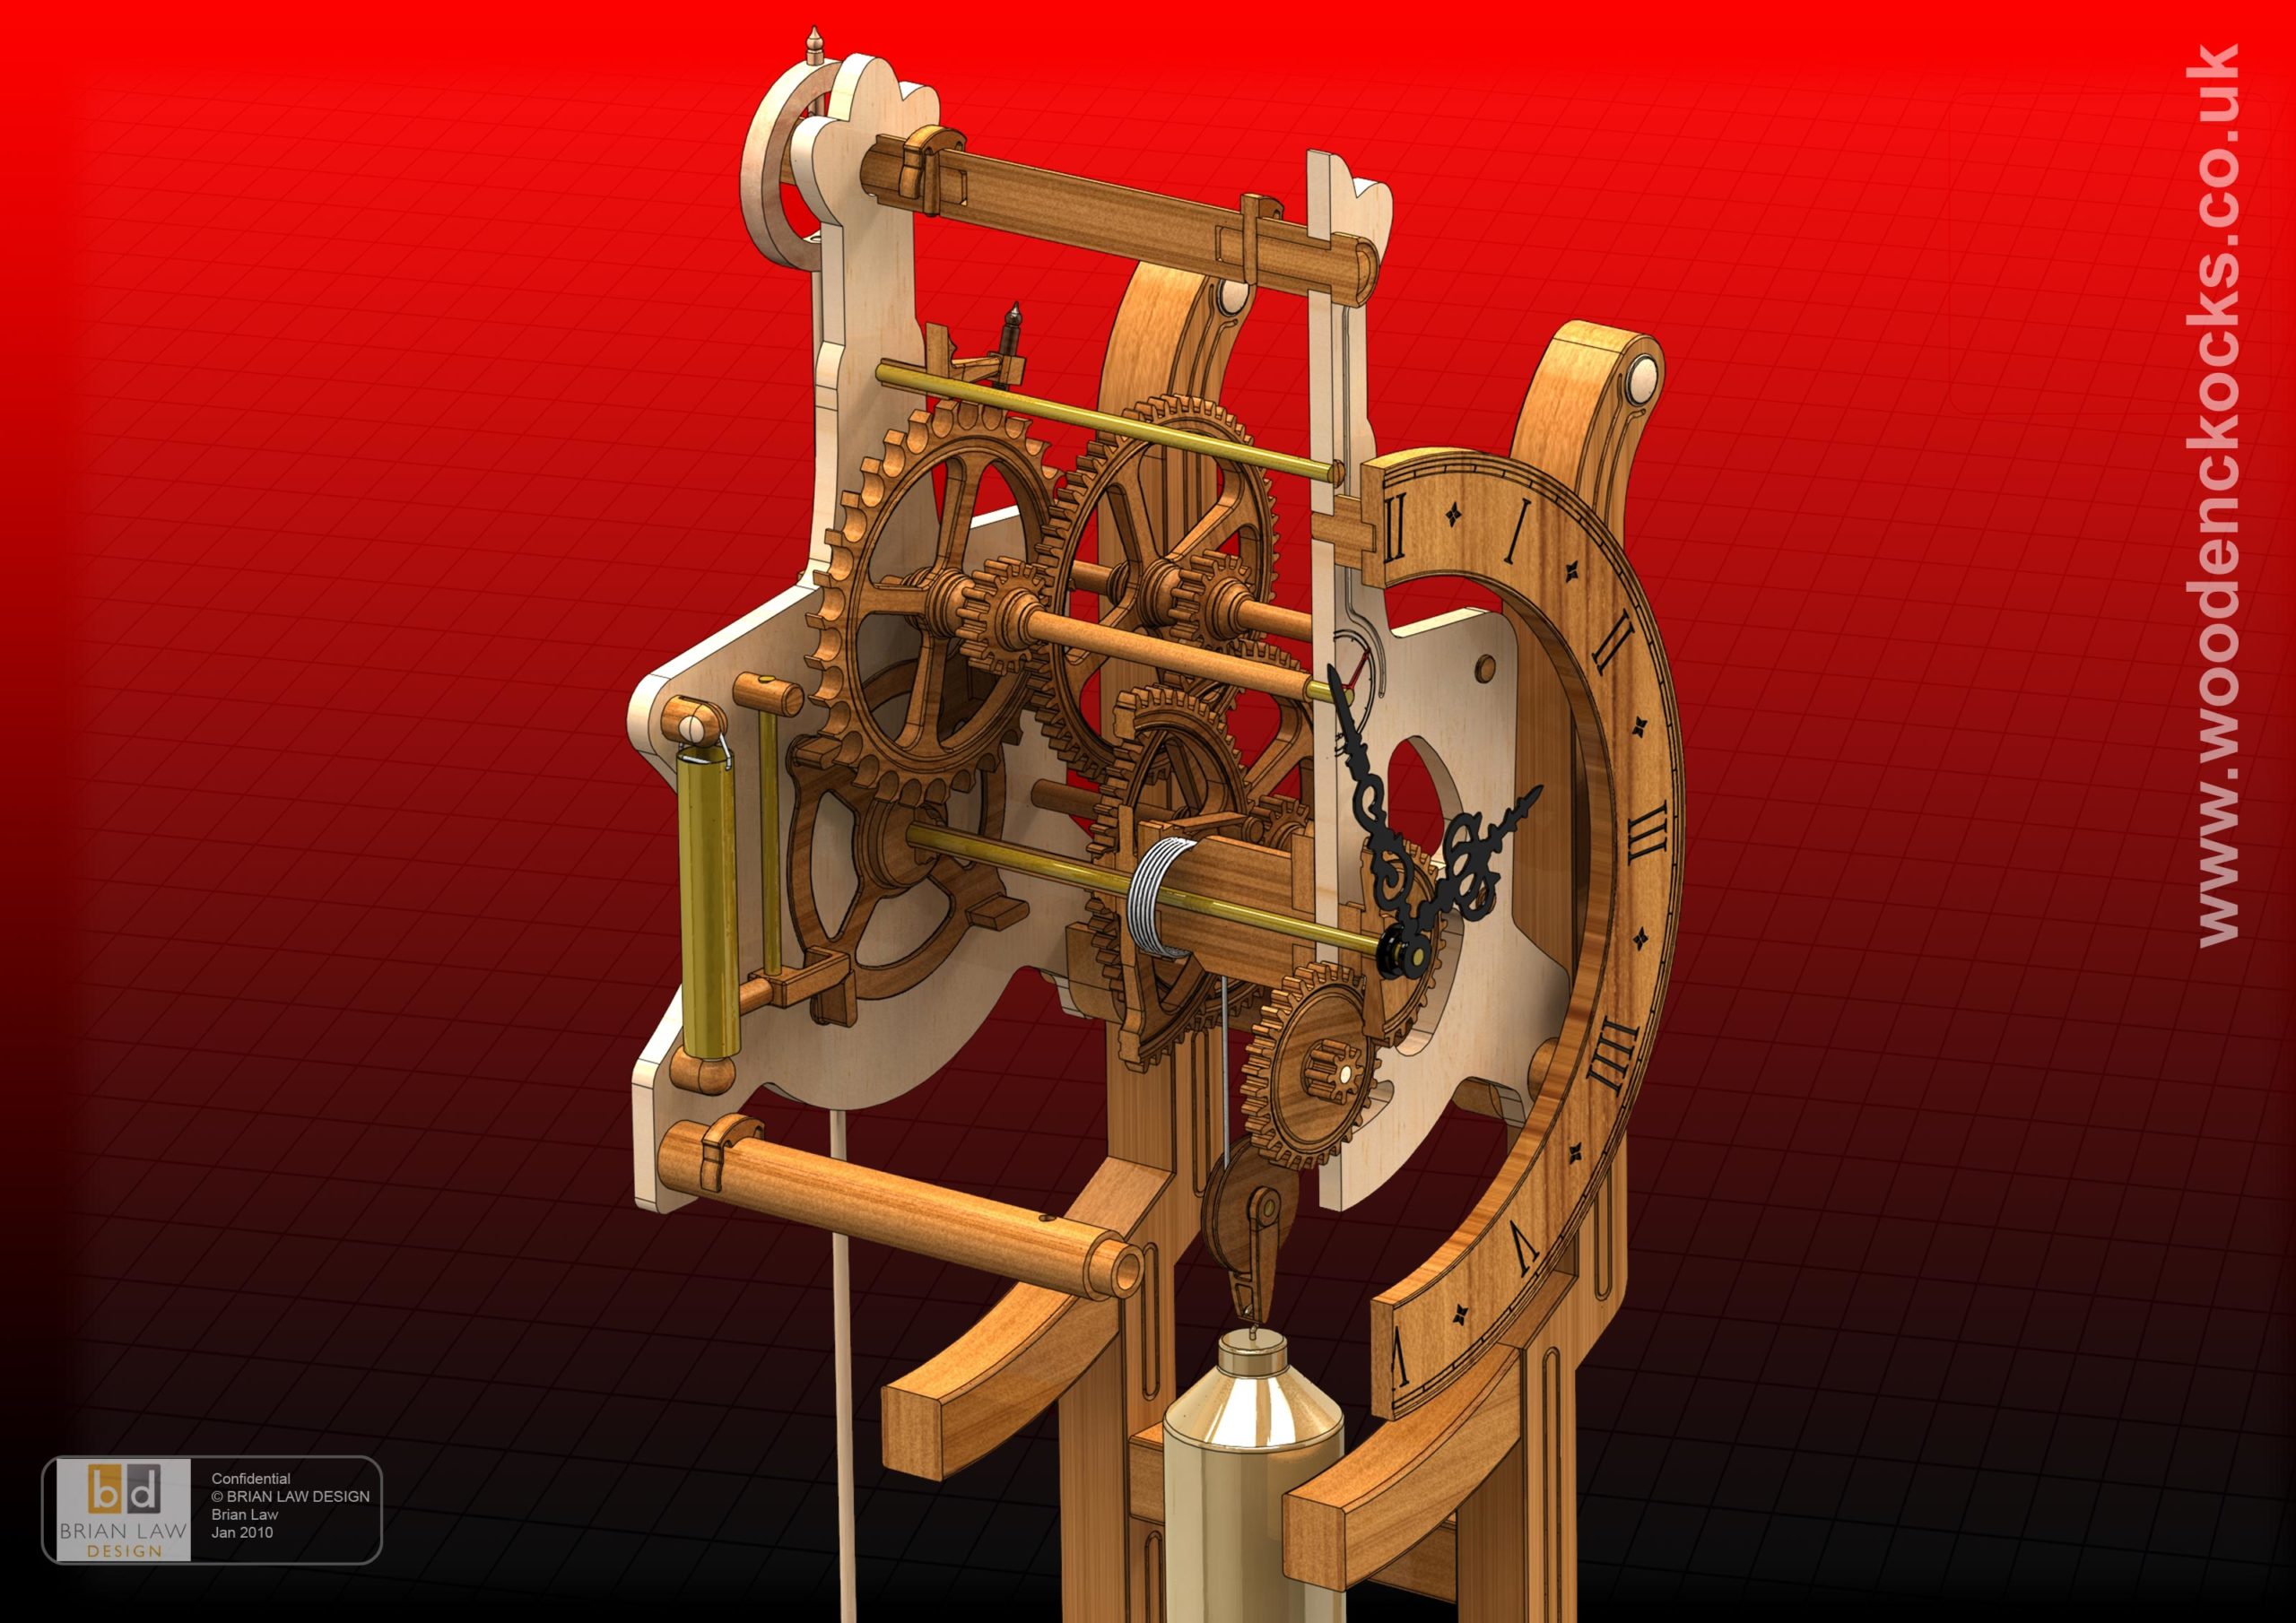
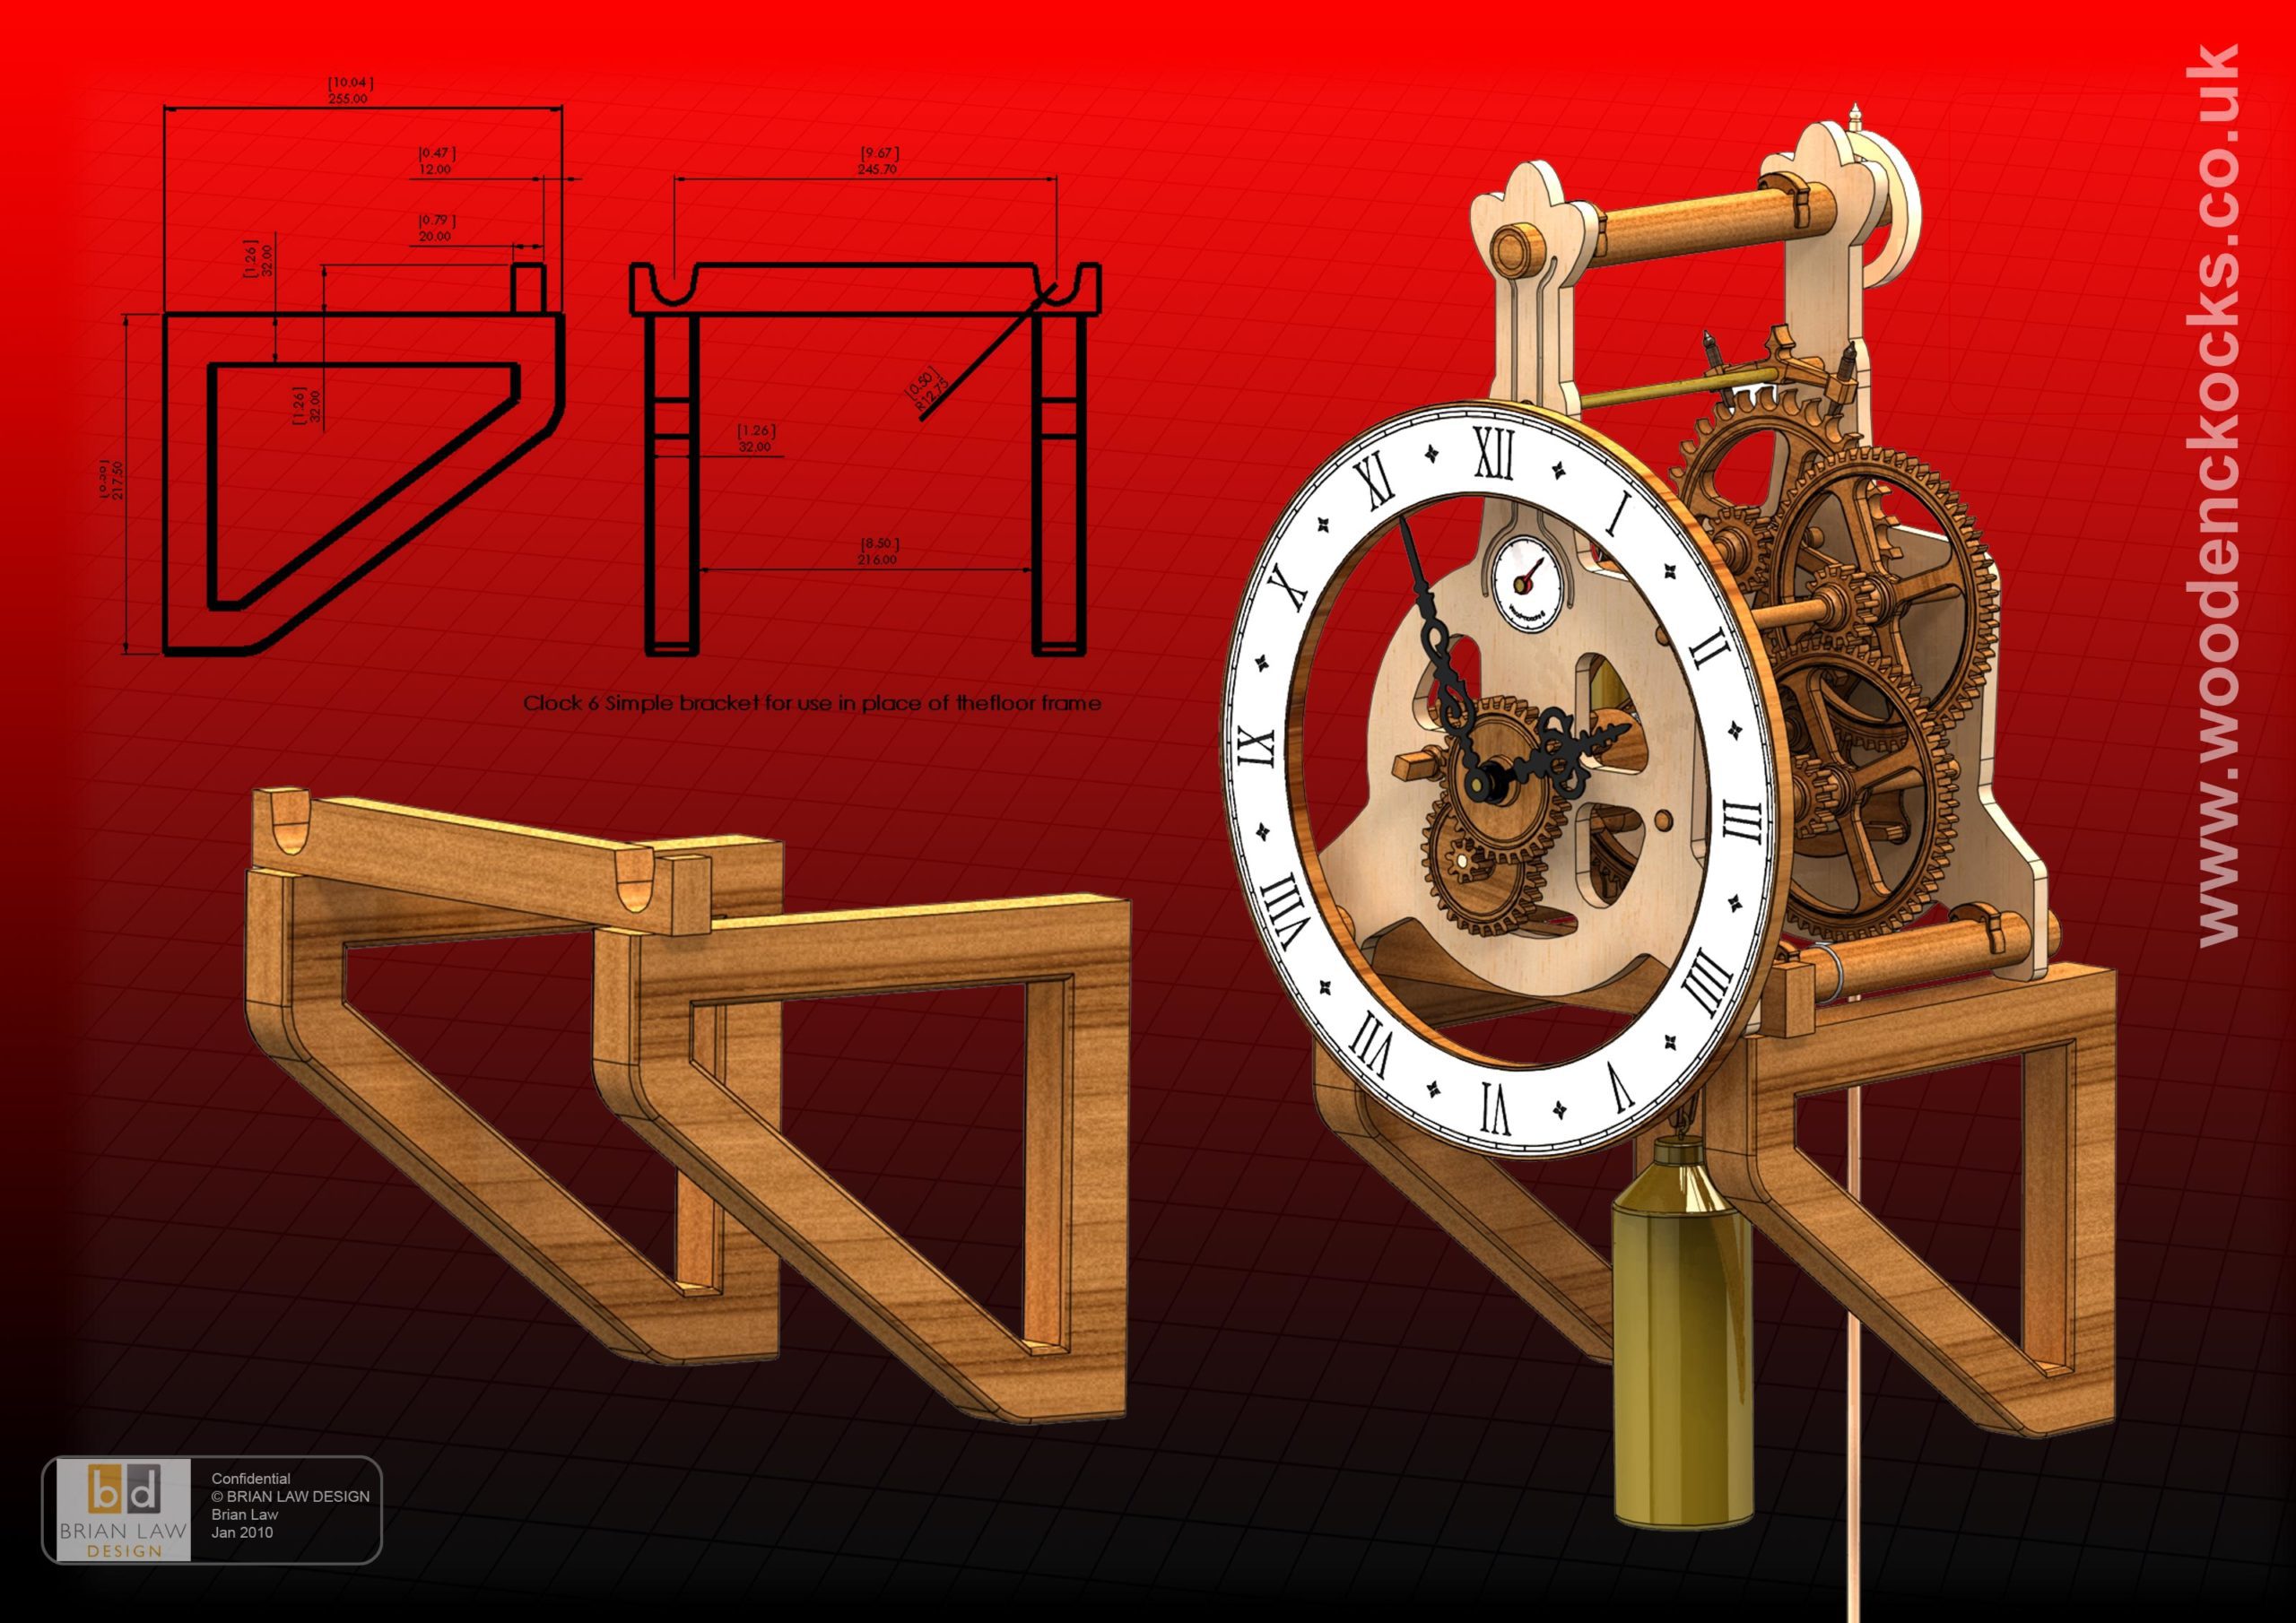
Clock 6 The gear train for this design was taken from Clock 5 and made more robust and decorative, but this was just the start, as the mechanism itself was then mounted in front and rear plates that can be loaded into a free standing frame that can be placed anywhere in a room. As an alternate a simple wall bracket can be made to mount the clock to the wall.
The mechanism has a chime unit fitted that can chime either on the hour or the quarter hour, and a pulley system doubles the running time for the clock.
DXF, DWG 2D files, and the IGS and STP files that can be used with your CNC machine can be downloaded here for $26. You also get the unrestricted version of the PDF files that can be printed at full size.
Special offer you can get all of the 2D files plus those for Clock 9 and Clock 10 as well for only $36.
Drawings for this clock in PDF format can be downloaded here. These free files are restricted so that you can only view them on screen but not print them. Clicking here will download the PDF file directly to your browser, may take a few moments so please be patient.
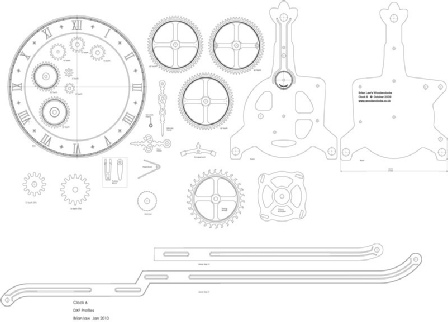
A sample from the DXF/DWG files is shown here. The actual files purchased above are included on one large sheet so that they may be directly loaded into your CAM program.
To print only a single item of the drawing to scale using Adobe Acrobat Reader, do the following:
Go to Edit, then click on Take a snapshot, move the cursor to the top left of the item you want to print and hold down the left mouse button whilst you drag a box around the item. The inside of the box turns blue and you can now go to File and then click on Print. This brings up the print dialogue, make sure Selected graphic is selected and that the Page scaling is set to None and the click on OK. As long as your printer is connected you will have printed the item at size. Do this for each item you want to cut out.