NB! Only use these files if you are printing using Stereo lithography other wise use the files for Clock 13 FDM.
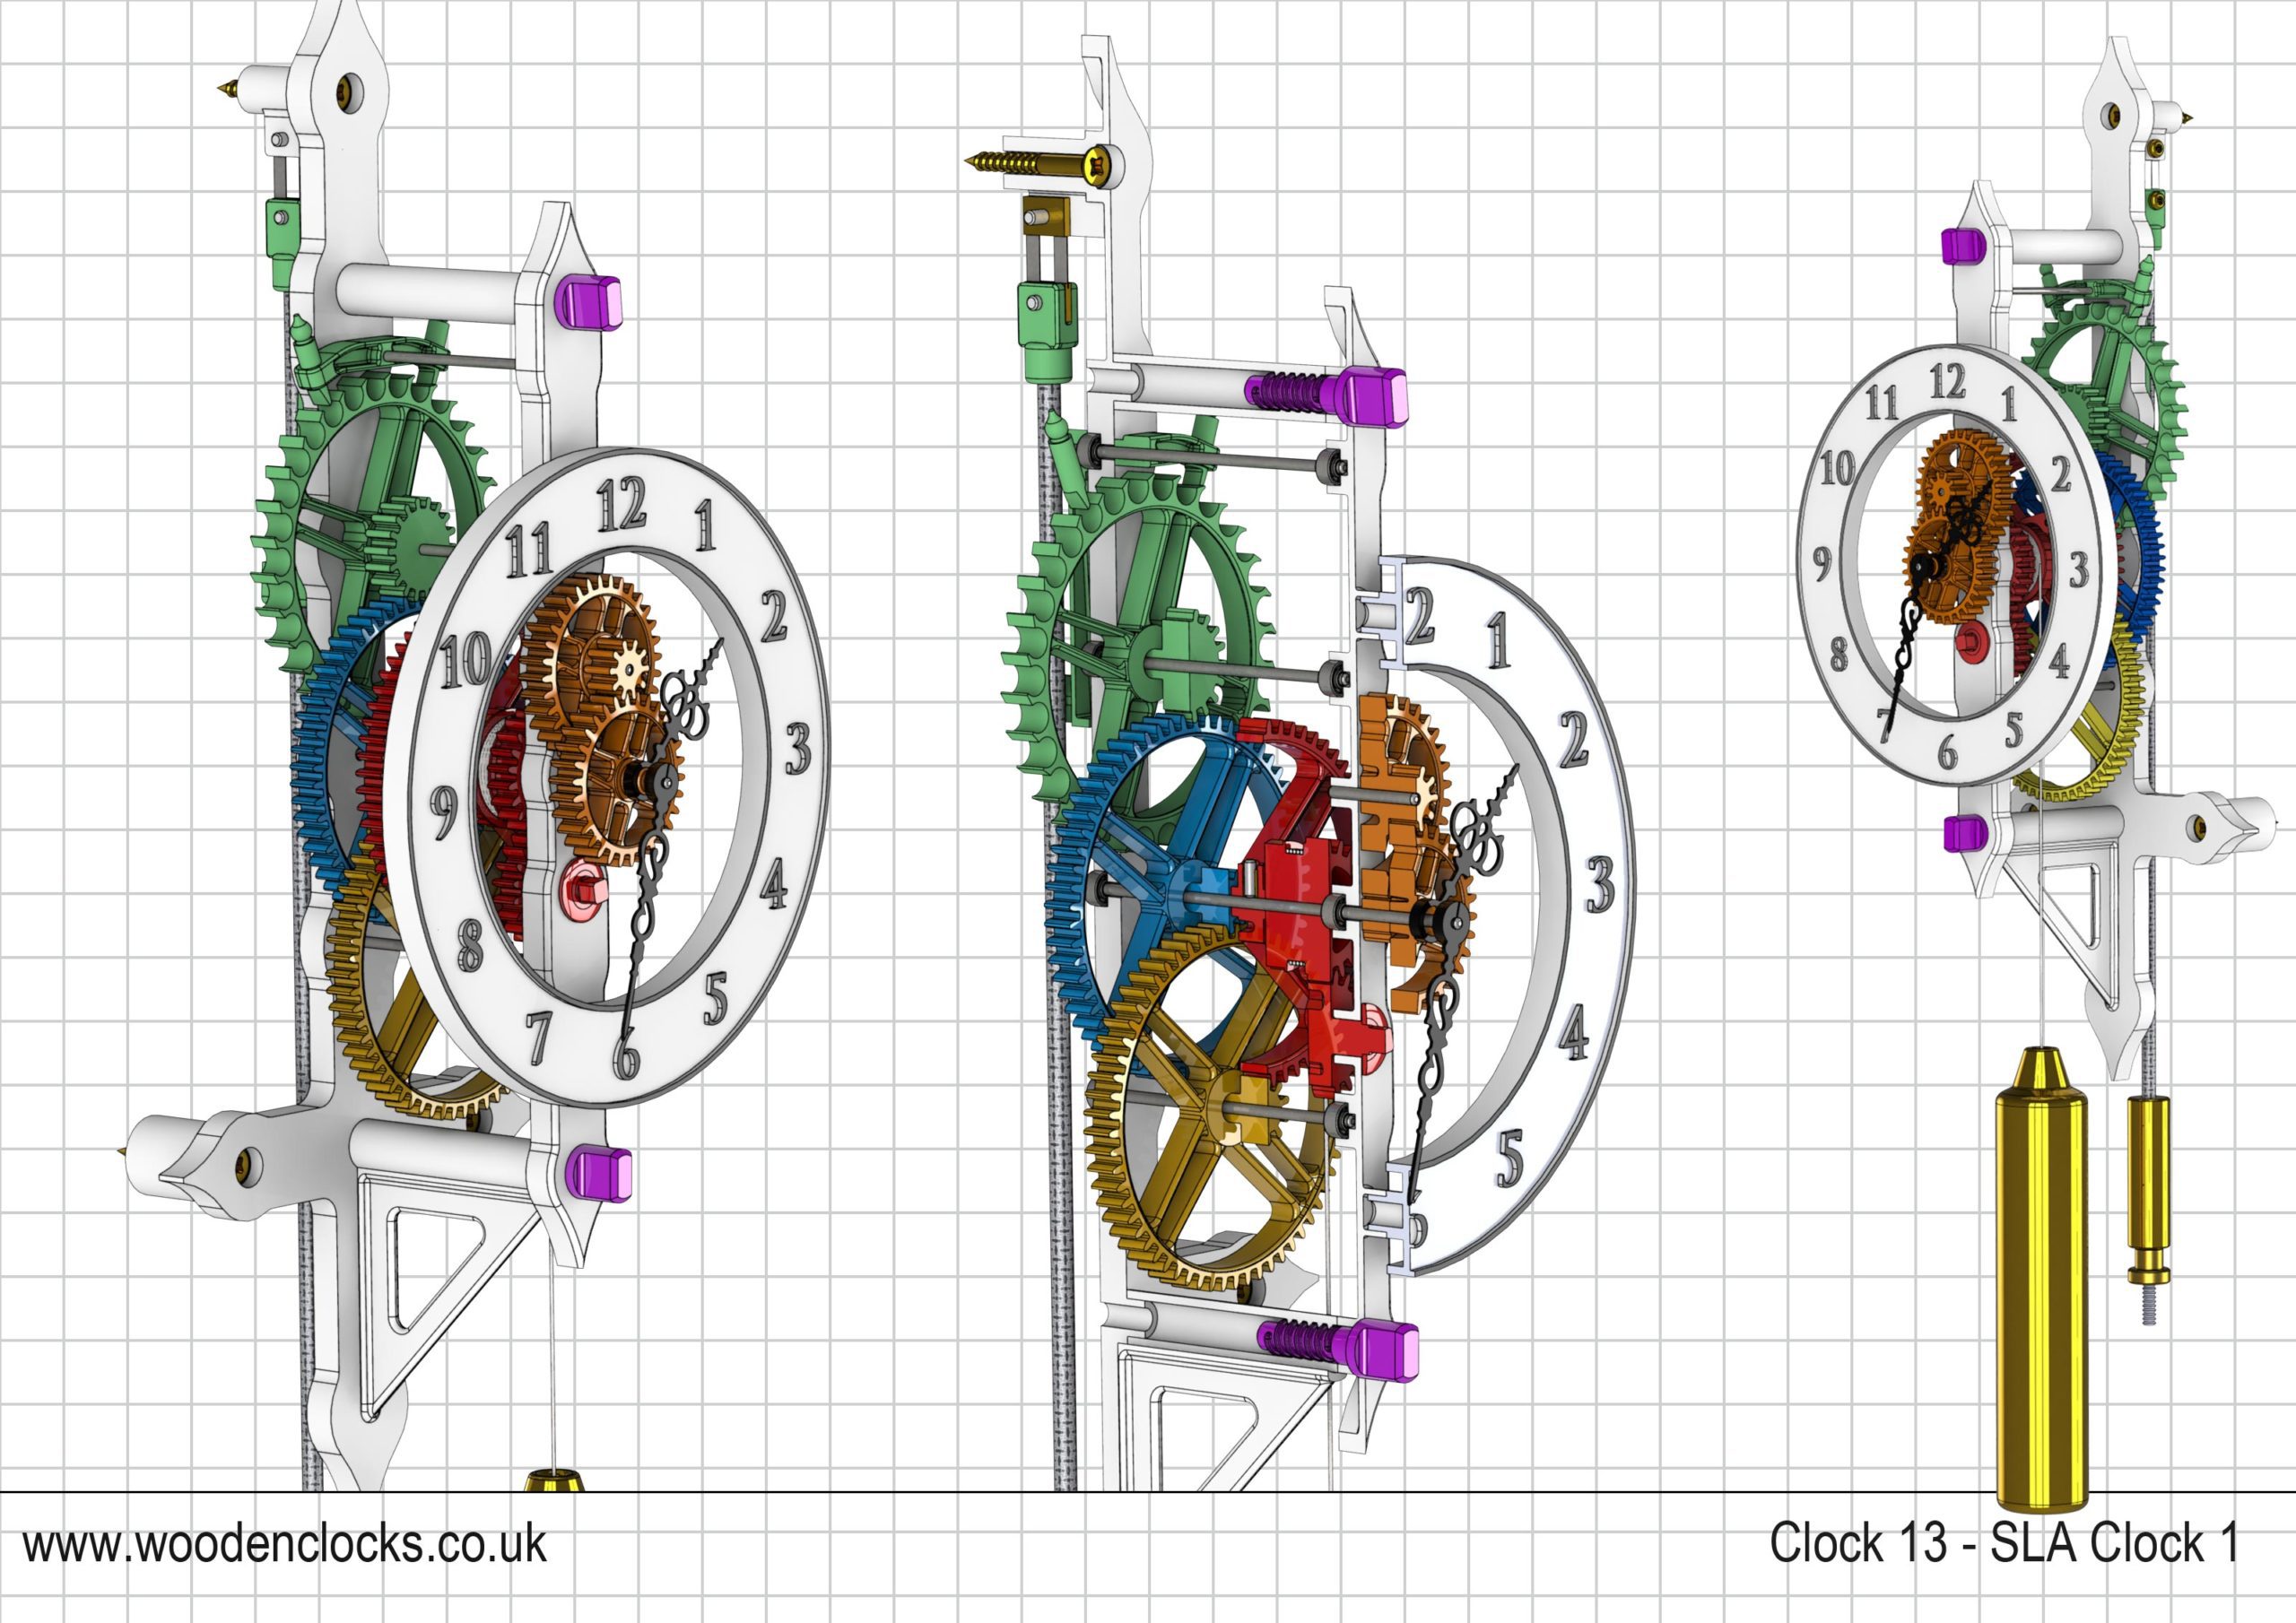
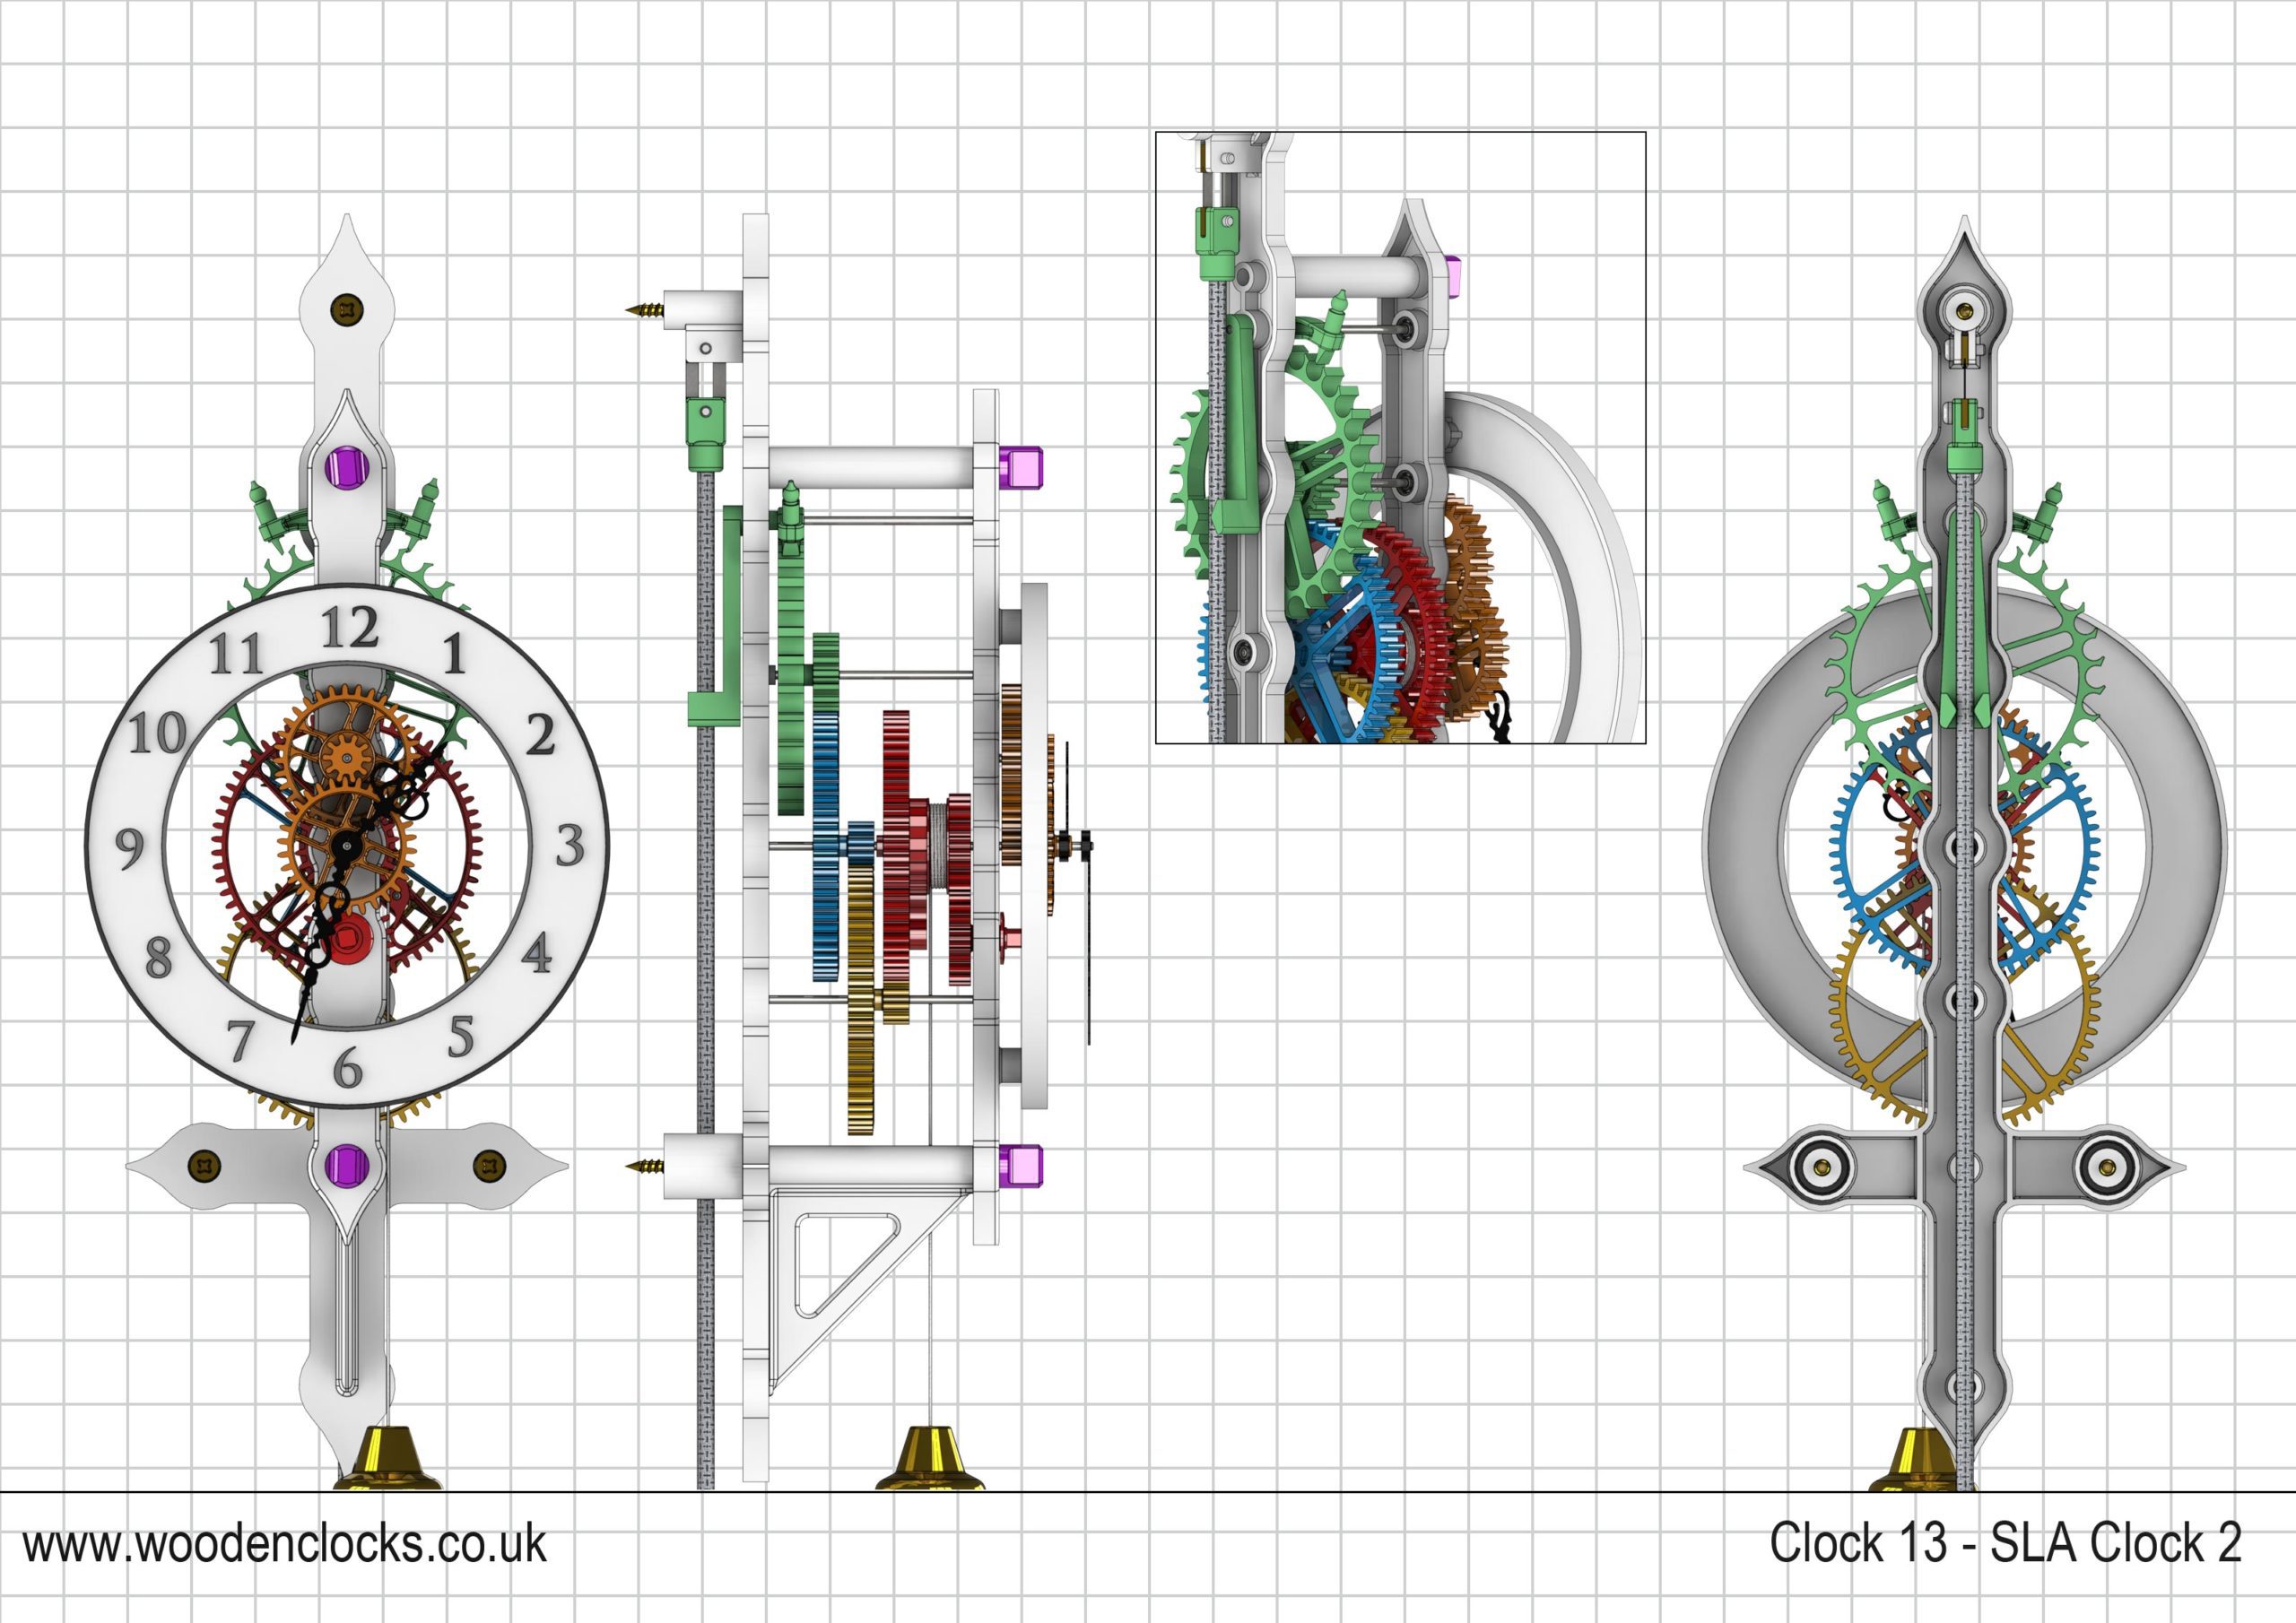
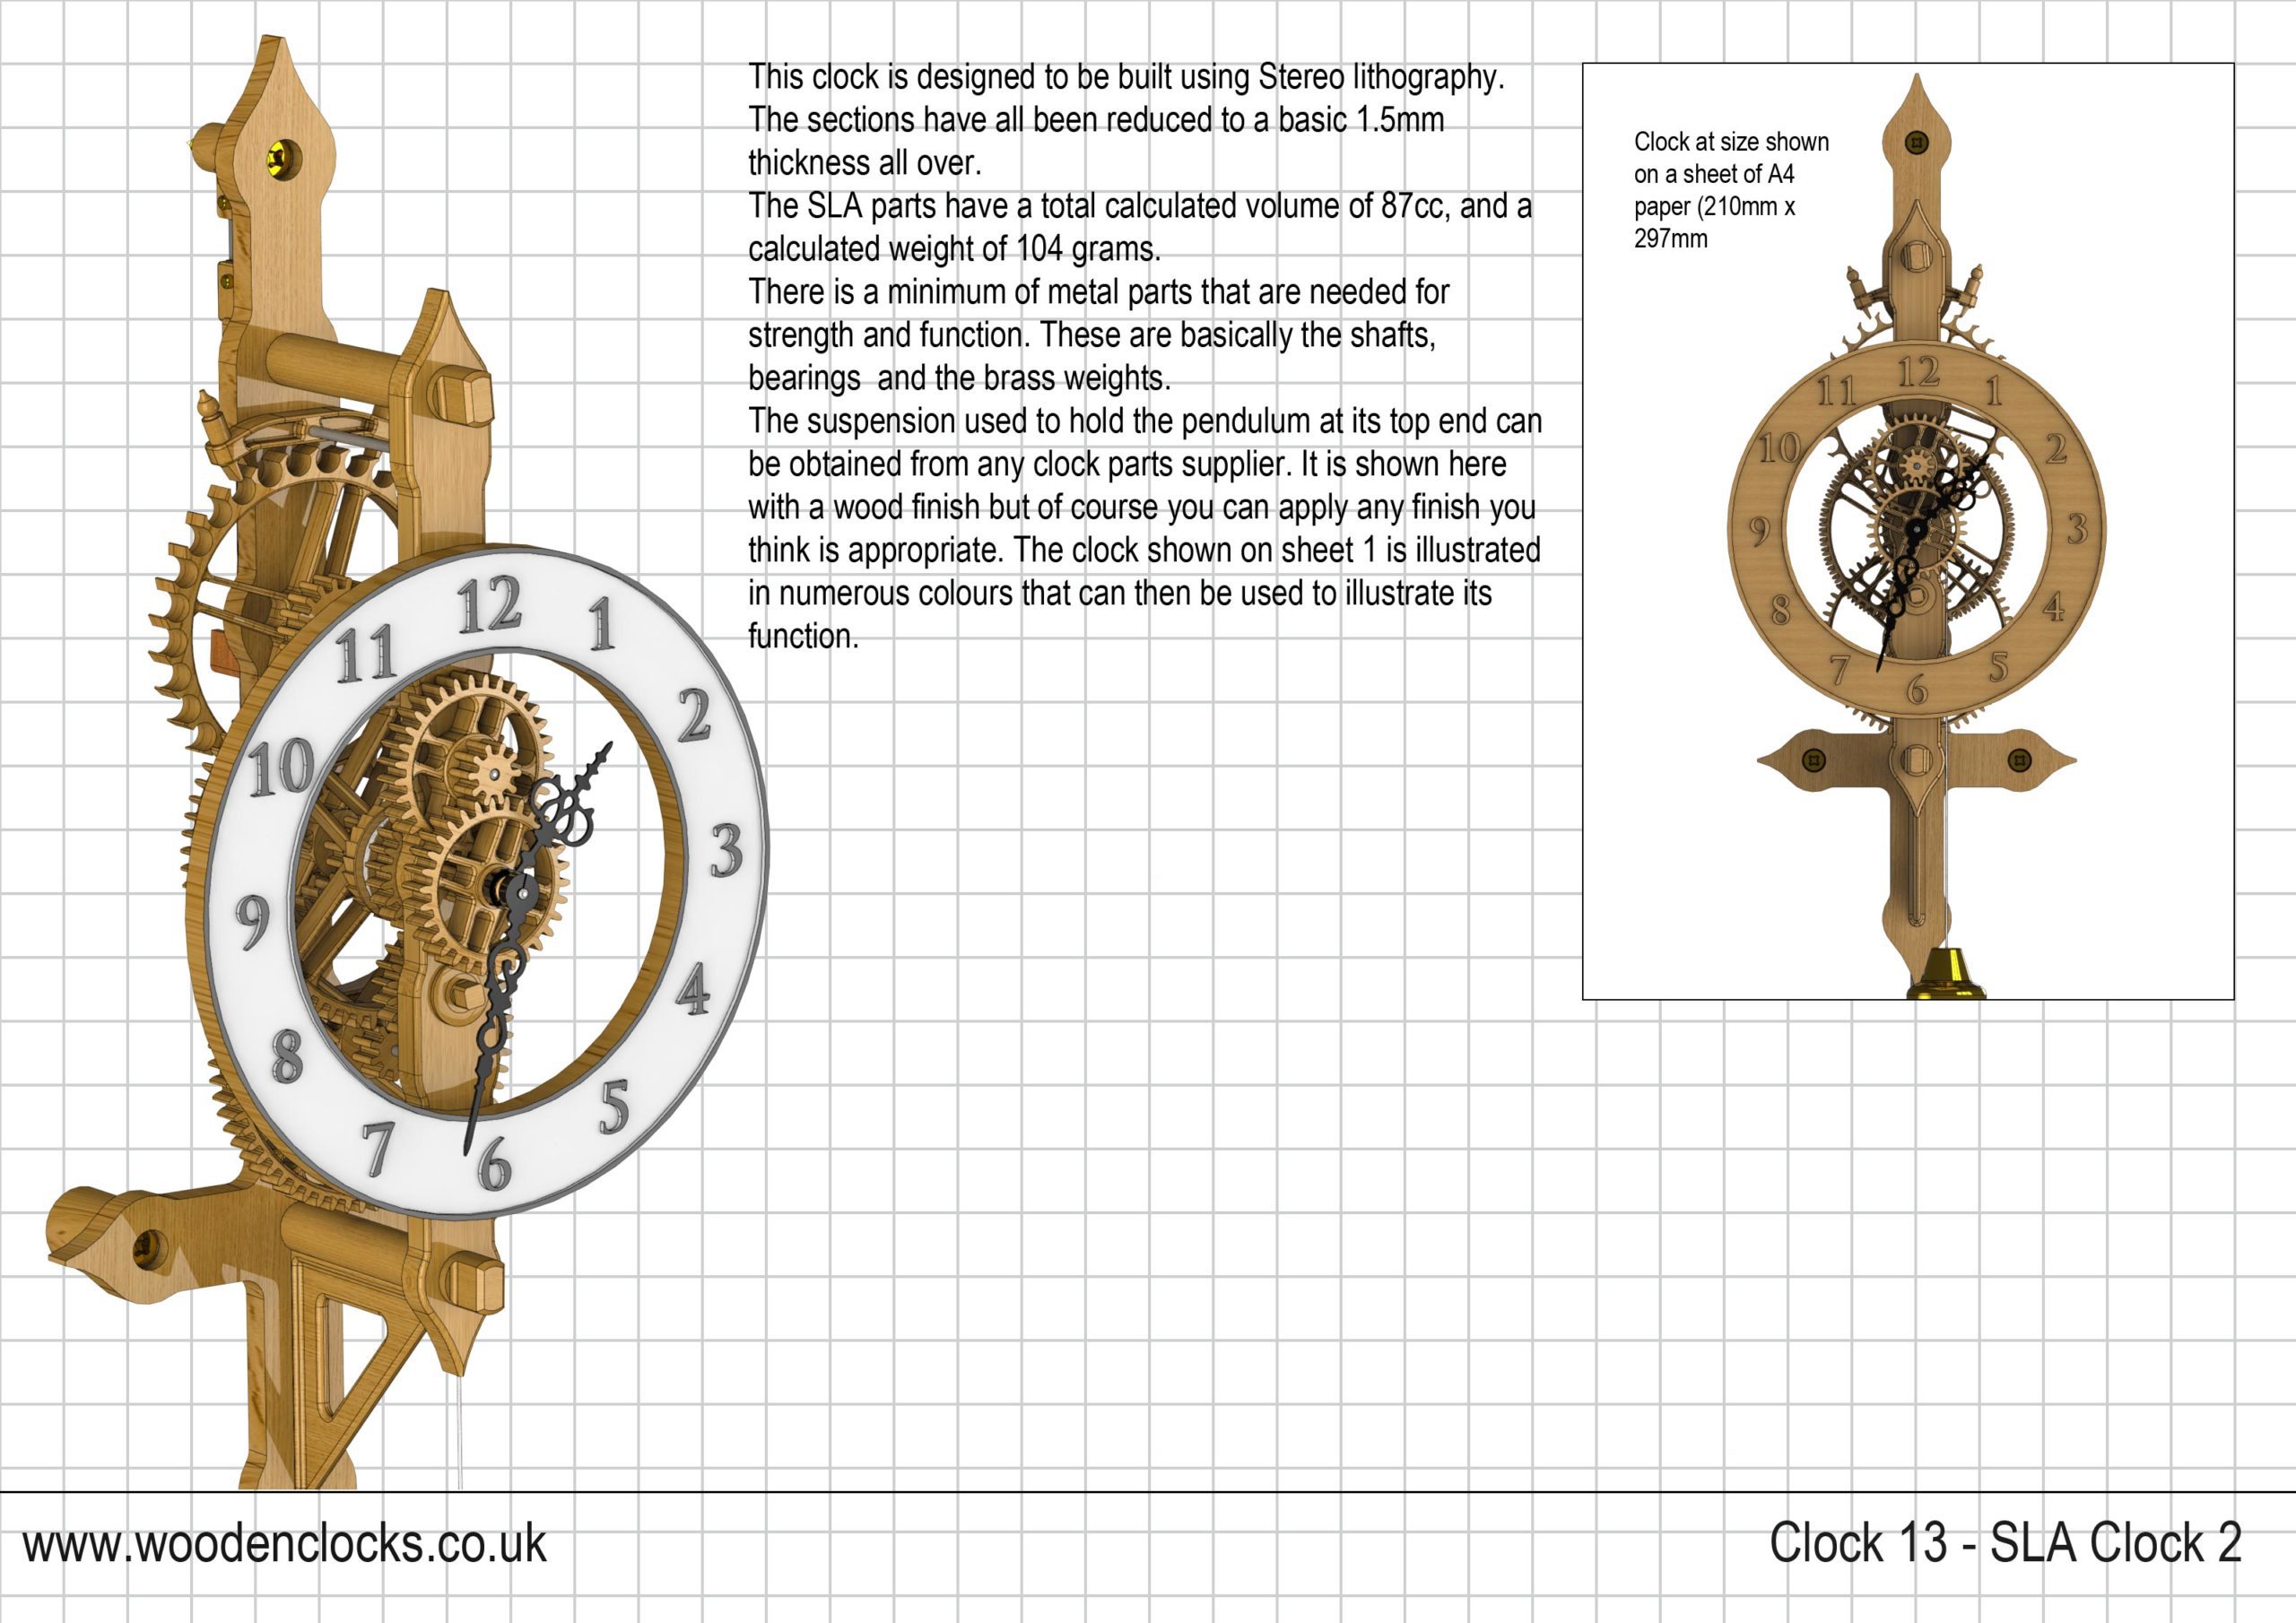
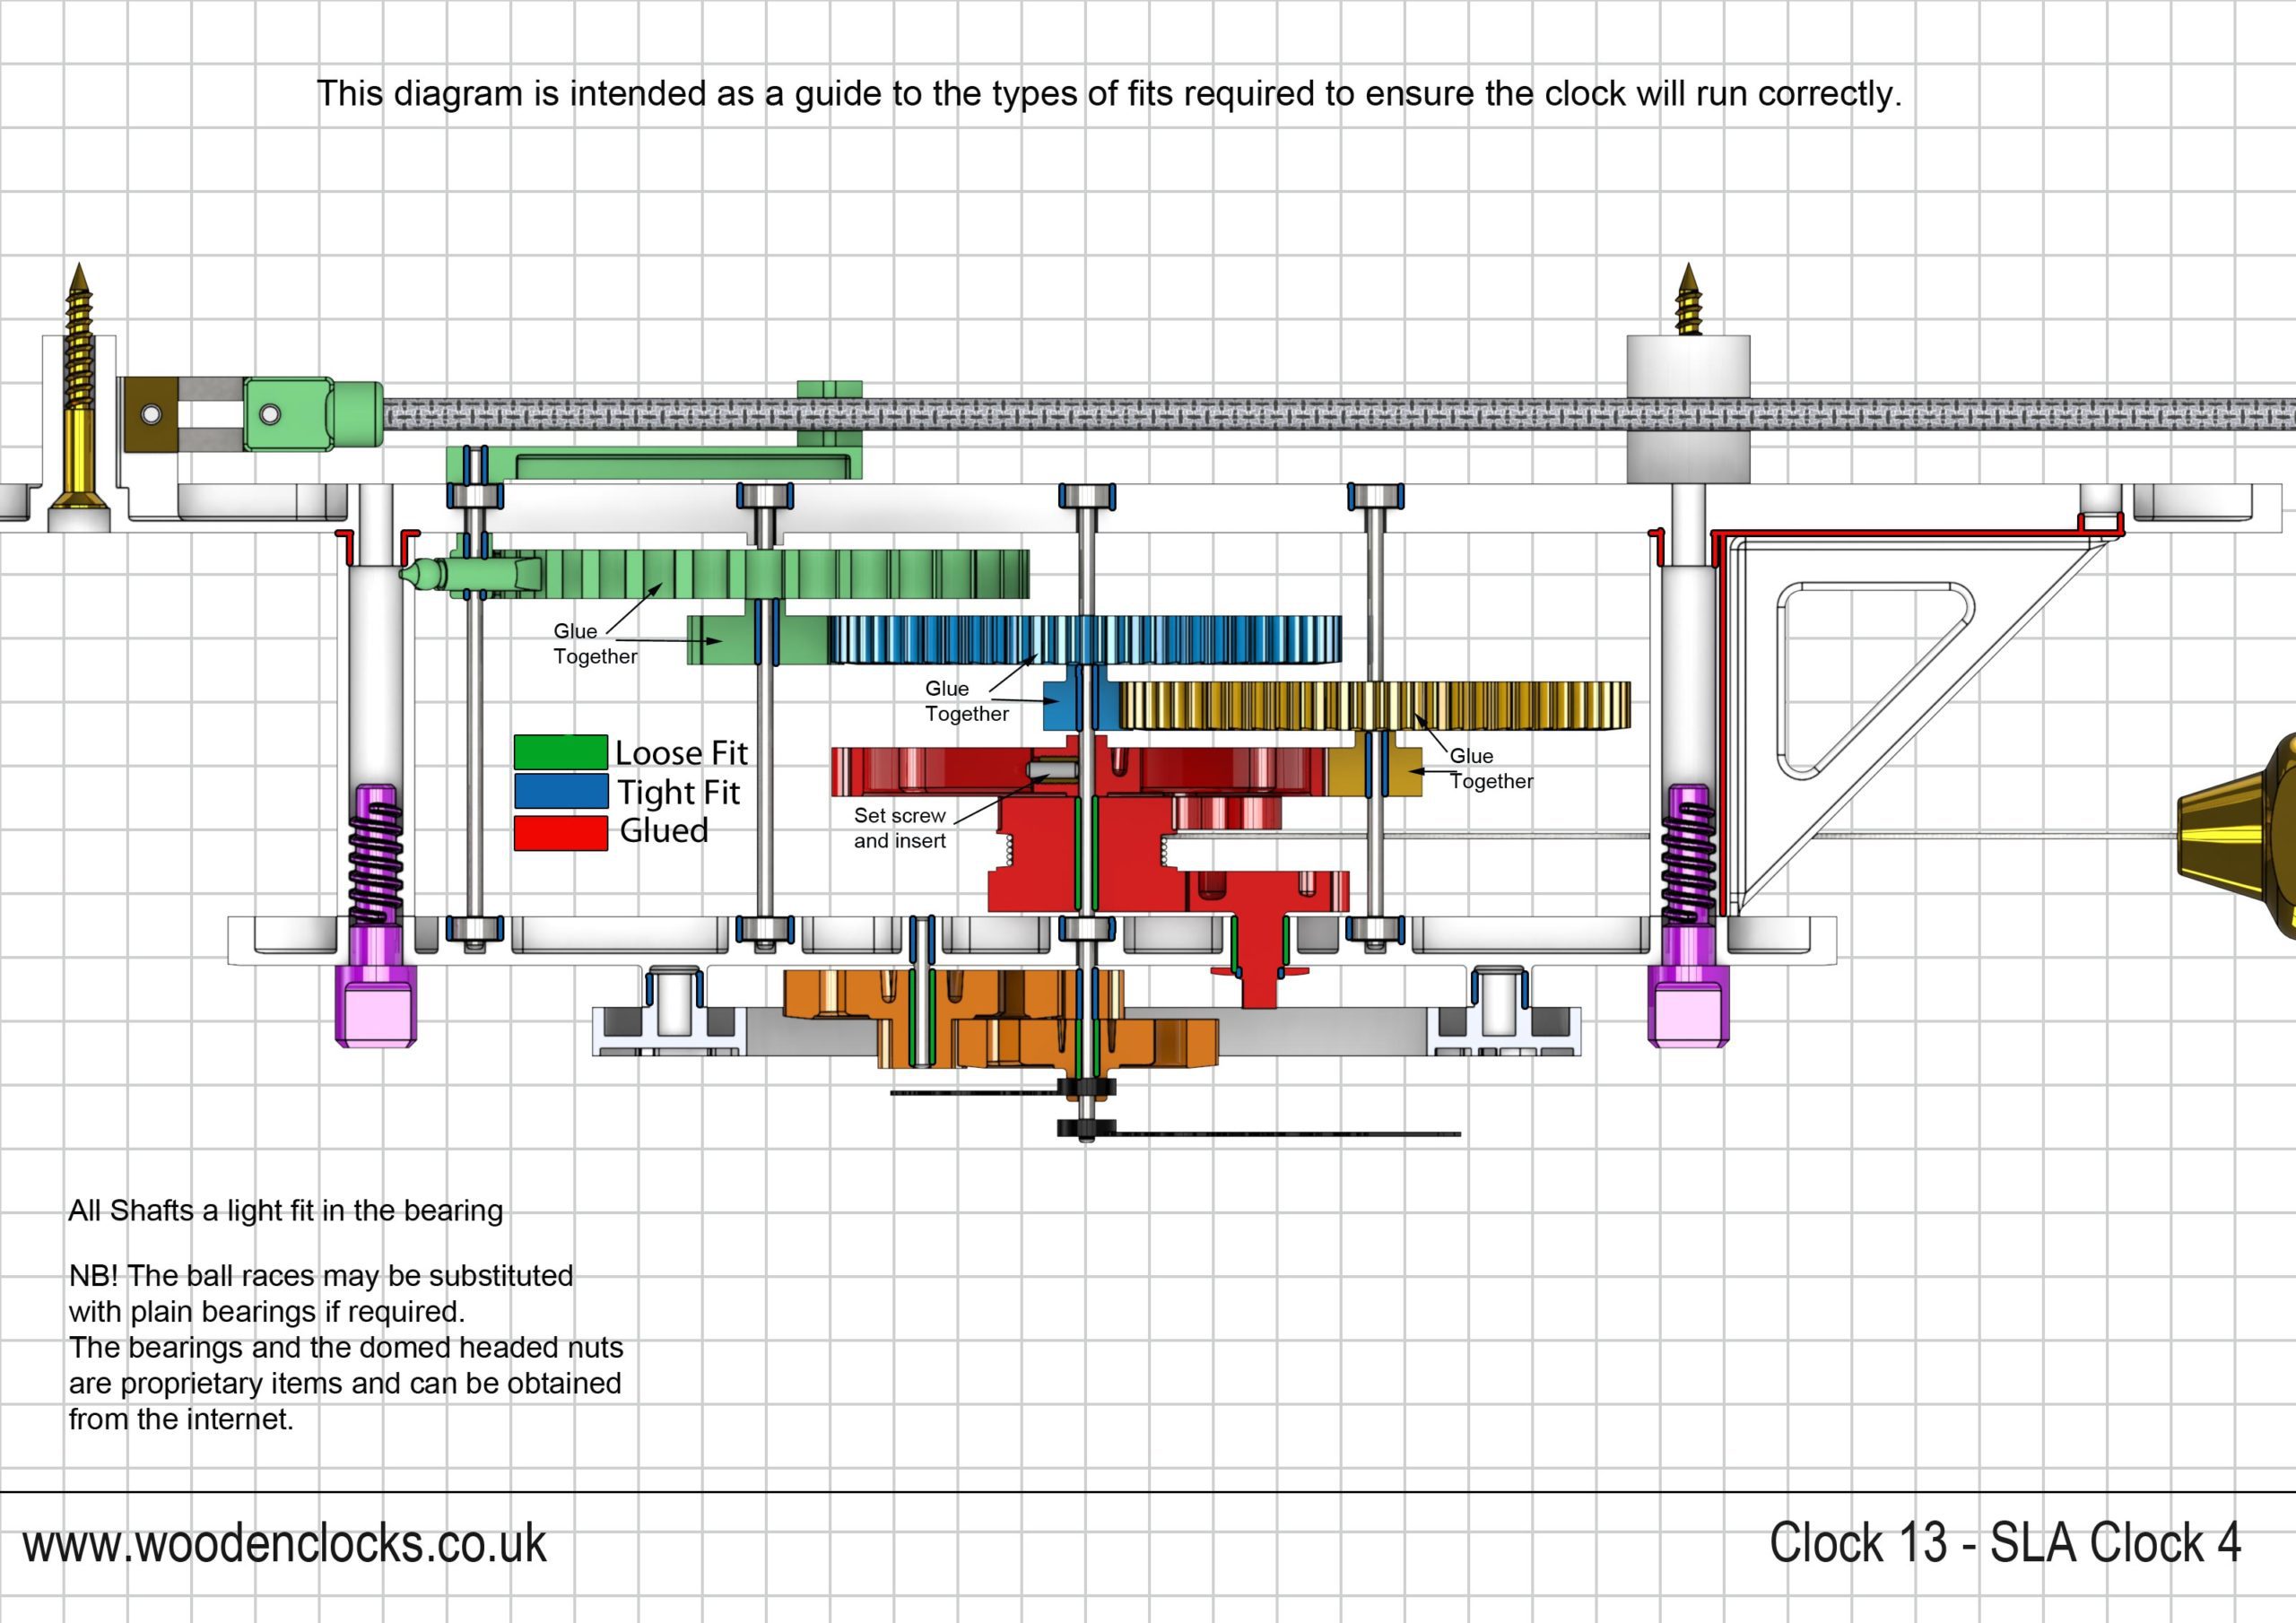
I have been asked several time if the clocks could be built using 3D printing techniques, and up until now the answer has always been, yes, but the parts are really too big and expensive to build that way.This clock is designed to be built using Stereo lithography.The sections have all been reduced to a basic 1.5mm thickness all over.The SLA parts have a total calculated volume of 87cc, and a calculated weight of 104 grams. There is a minimum of metal parts that are needed for strength and function. These are basically the shafts, bearings and the brass weights.The suspension used to hold the pendulum at its top end can be obtained from any clock parts supplier. It is shown here with a multi coloured finish but of course you can apply any finish you think is appropriate. The clock is small as shown here on the background of an A4 sheet.
If you would like to purchase the STL and IGS files for 3D printing, and get the full and unrestricted Drawings in PDF, then click on the Buy now button below.
The design of the clock is based on earlier gear train designs but modified to include the short pendulum. However I have not prototyped this design yet. The design has now been updated at ‘Clock 13 FDM 3D printer’ so if you have a 3D FDM printer then that is the clock for you.
STL files, and the IGS and STP files that can be used with your CNC machine can be downloaded here for $26. You also get the unrestricted version of the PDF files that can be printed at full size.
Drawings for this clock in PDF format can be downloaded here. These free files are restricted so that you can only view them on screen but not print them. Clicking here will download the PDF file directly to your browser, may take a few moments so please be patient.
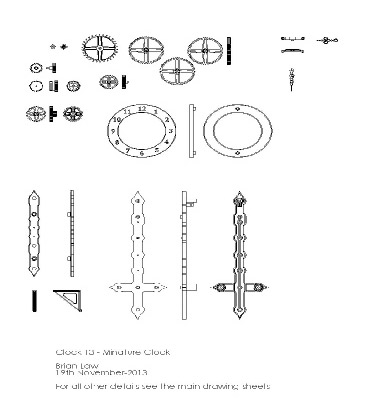
A sample from the DXF/DWG files is shown here. The actual files purchased above are included on one large sheet so that they may be directly loaded into your CAM program.
To print only a single item of the drawing to scale using Adobe Acrobat Reader, do the following:
Go to Edit, then click on Take a snapshot, move the cursor to the top left of the item you want to print and hold down the left mouse button whilst you drag a box around the item. The inside of the box turns blue and you can now go to File and then click on Print. This brings up the print dialogue, make sure Selected graphic is selected and that the Page scaling is set to None and the click on OK. As long as your printer is connected you will have printed the item at size. Do this for each item you want to cut out.