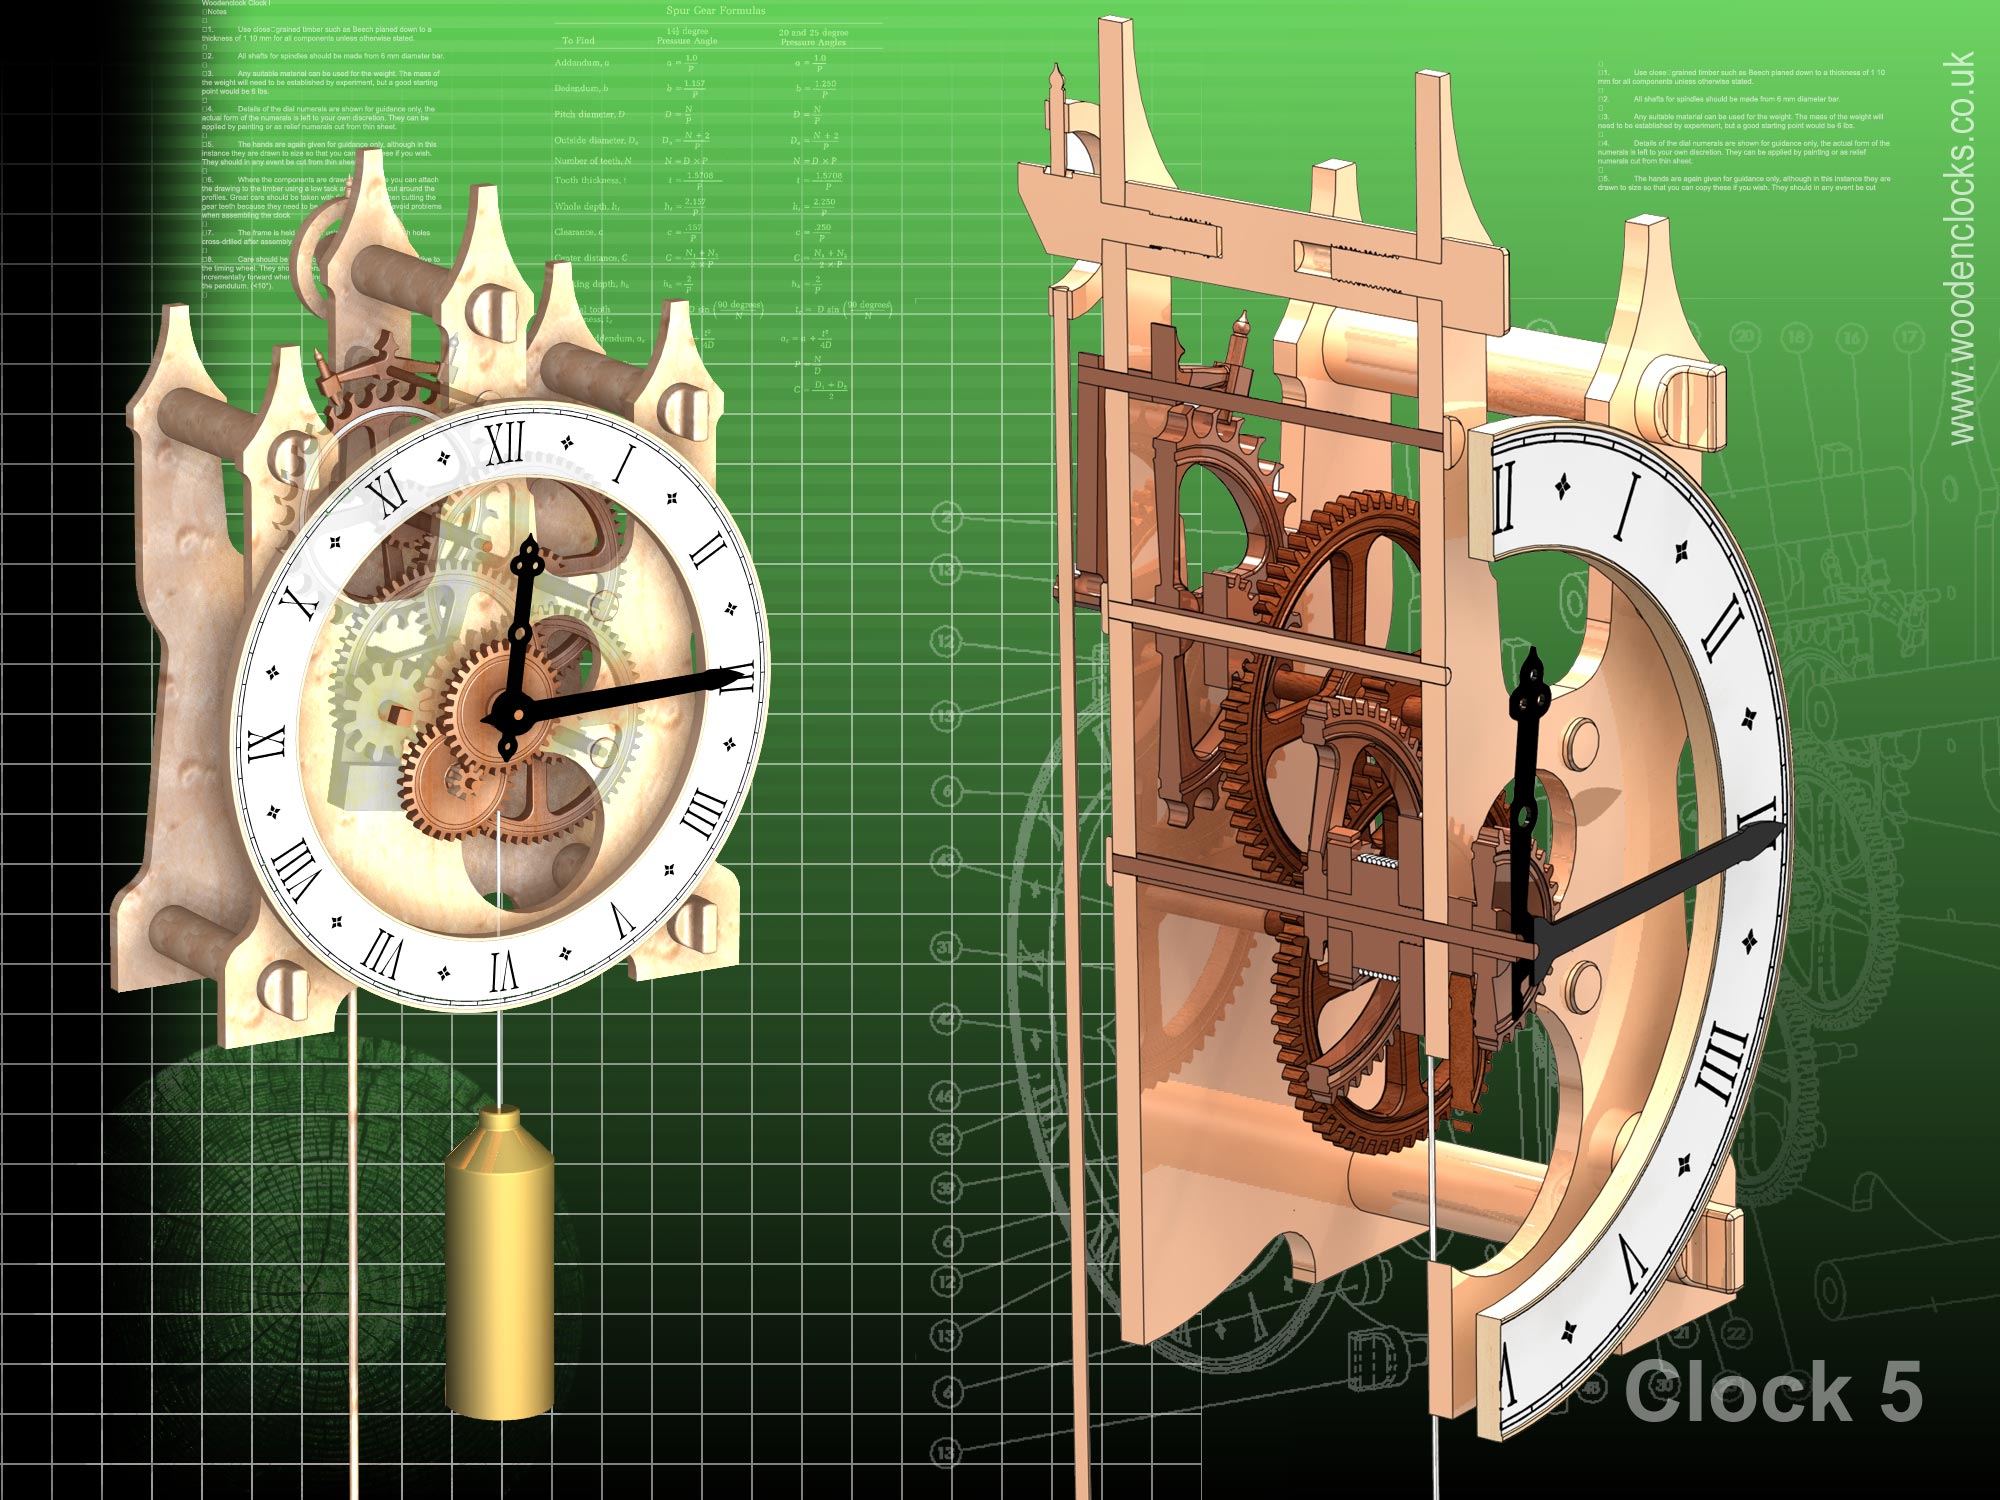
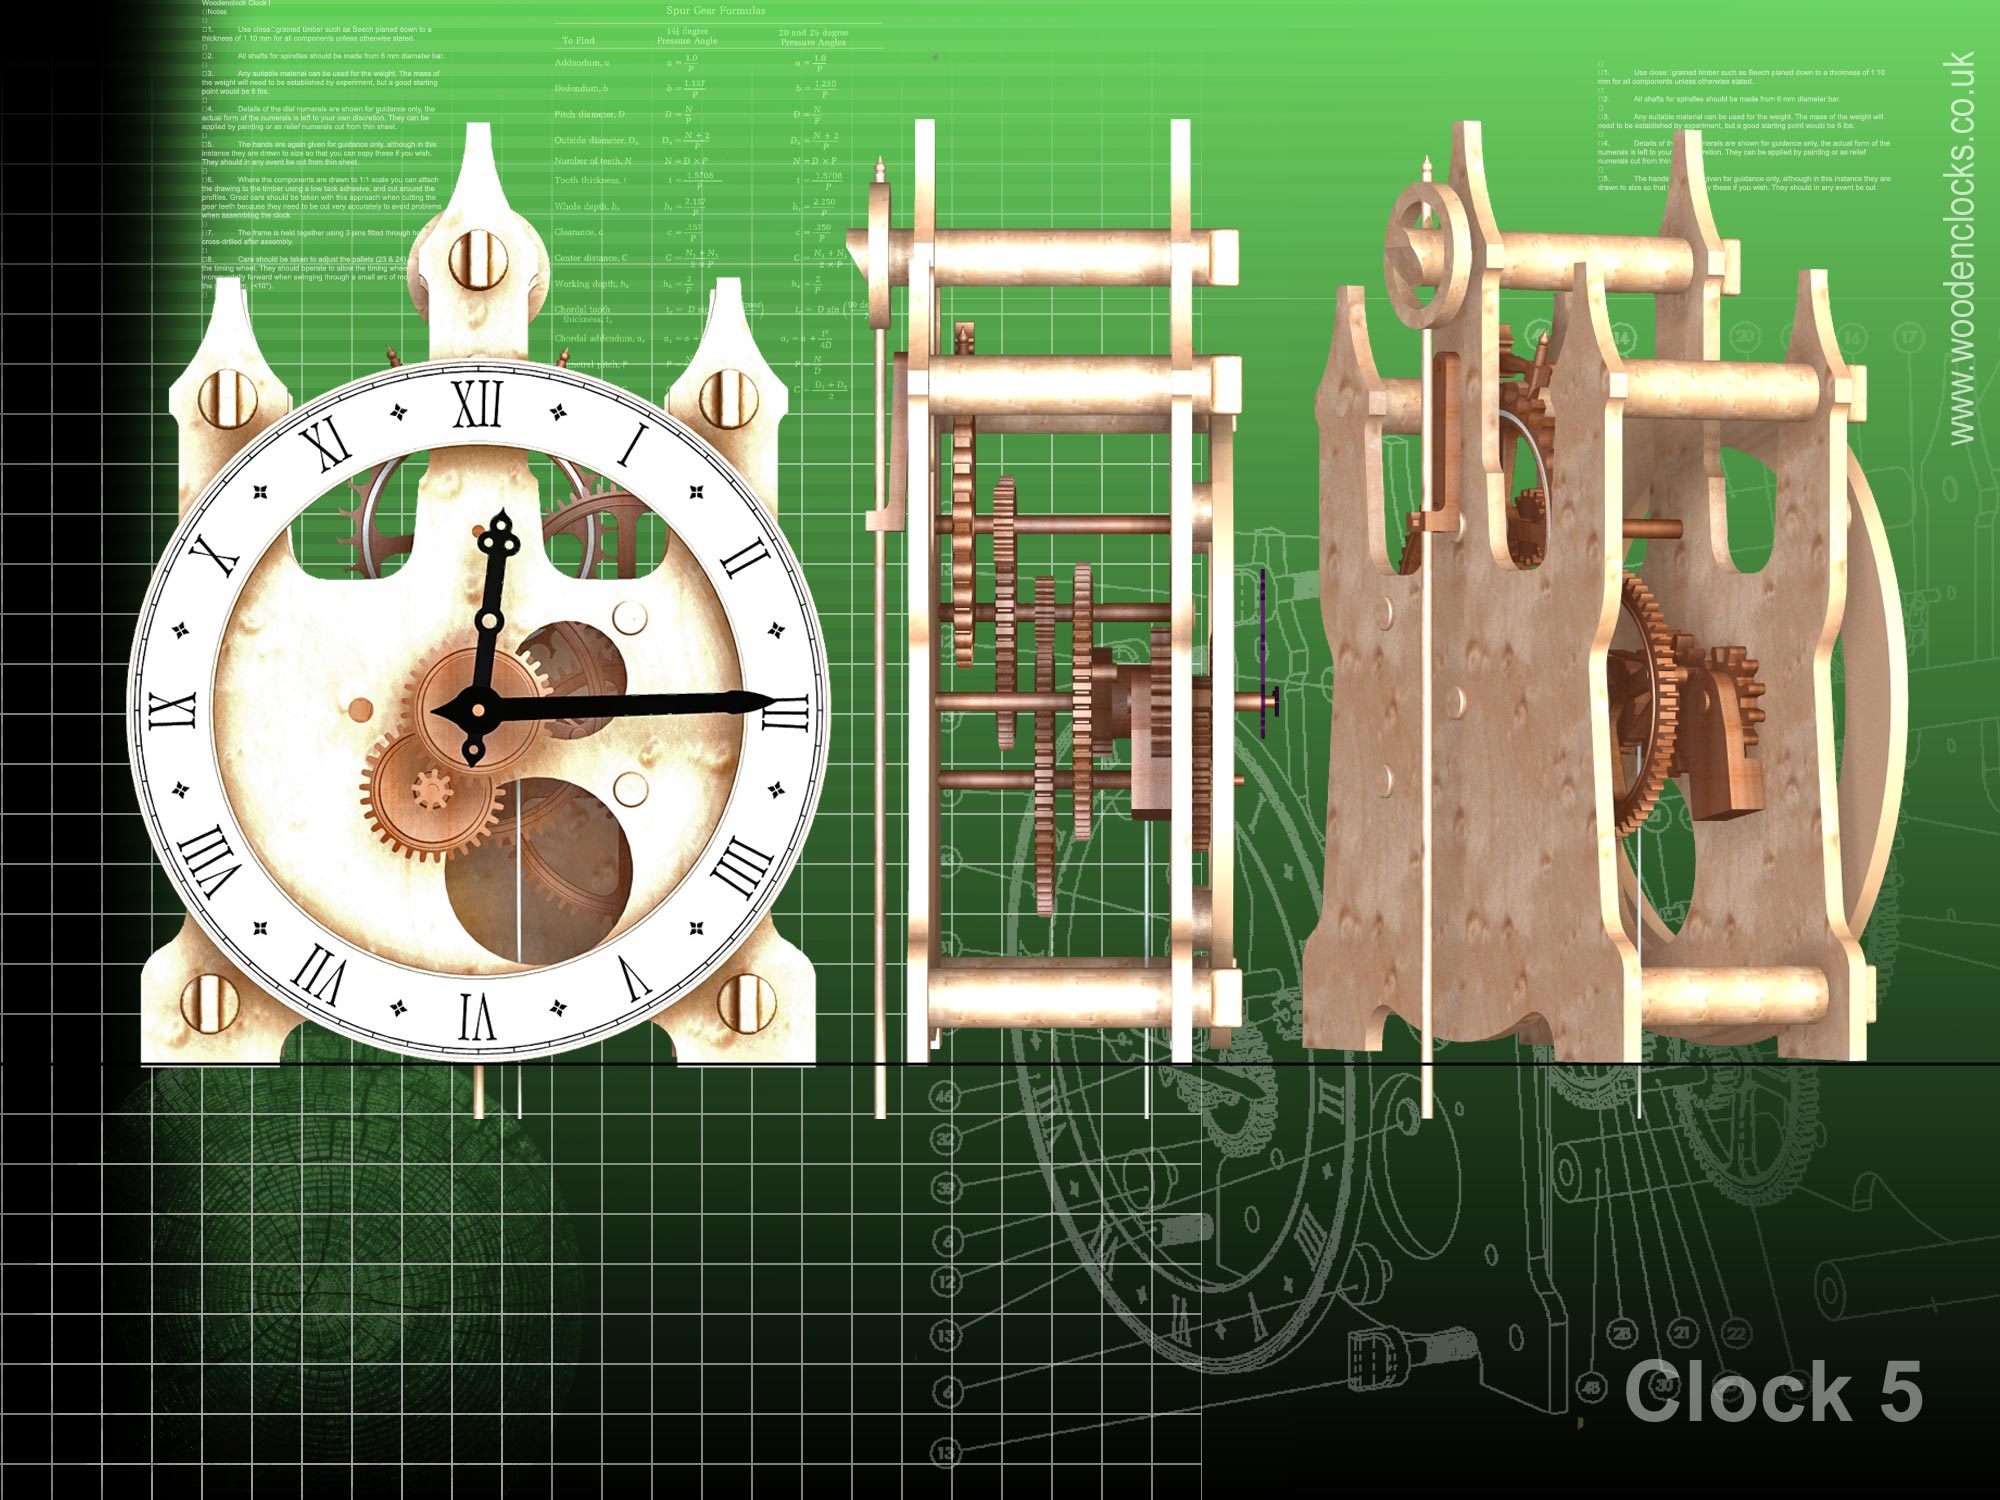
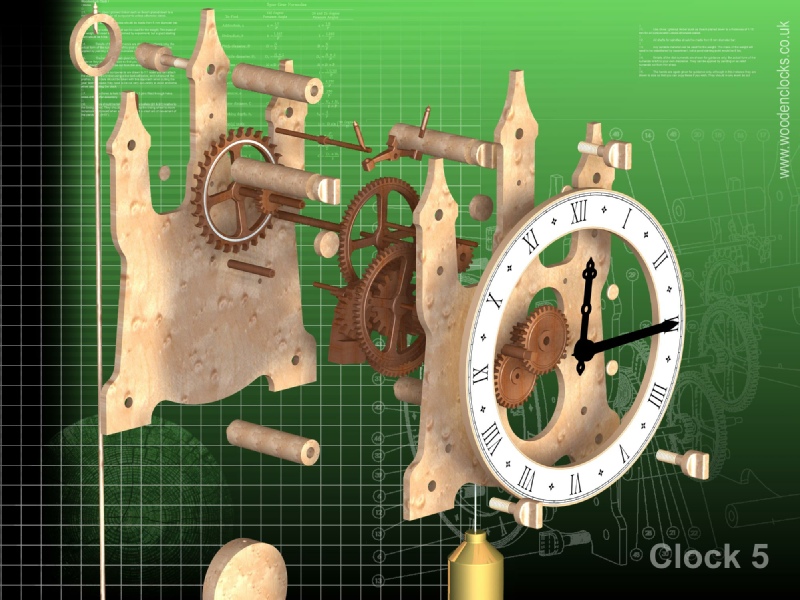
Clock 5 This design was based on Clock 2 but used the same aesthetic as Clock 1. The decoration is more elaborate than on previous clocks to get more texture in the detail. This design can be used along with Clock 1 if two clocks are required for the same house. When I think back on the design of this clock it is probably what Clock two should have been, it’s a bit of a favourite of mine. Like all the clocks this design can be scaled in size to produce a more imposing centrepiece for a room or hallway, but if you do this then remember the pendulum cannot be scaled, it must remain at its original length to maintain accurate time.
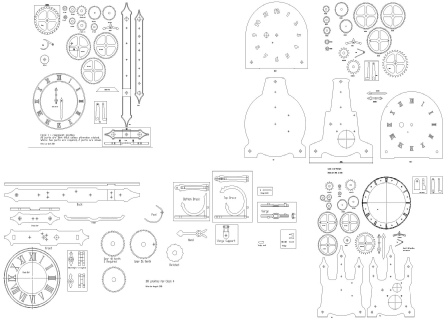
For those clock builders who will be using CNC to cut the profiles the DXF files for this clock and Clocks 1,2 and 4 are available here for $36. This gets you all 4 clocks in DXF format, the files have been compiled to place the flat profiled parts for each one sheet for each clock. The files have all been re-created to remove as much as possible the broken lines.
Drawings for the clocks 1, 2, 4, 5 in PDF format can be downloaded here, they are drawn to scale so that they can be printed at full size on either A3 or Super B papers. I realise that not everyone has access to these large format printers so there is a way of printing out smaller area’s at full size standard paper sizes using Acrobat Reader. The procedure for doing this is shown below. These files are free but for all newer clocks there is a small charge.
A sample from the DXF/DWG files is shown here. The actual files purchased above are included on one large sheet so that they may be directly loaded into your CAM program.
To print only a single item of the drawing to scale using Adobe Acrobat Reader, do the following:
Go to Edit, then click on Take a snapshot, move the cursor to the top left of the item you want to print and hold down the left mouse button whilst you drag a box around the item. The inside of the box turns blue and you can now go to File and then click on Print. This brings up the print dialogue, make sure Selected graphic is selected and that the Page scaling is set to None and the click on OK. As long as your printer is connected you will have printed the item at size. Do this for each item you want to cut out.