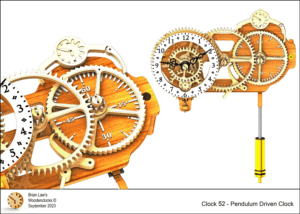
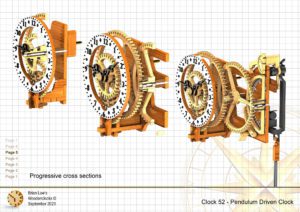
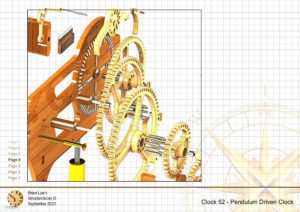
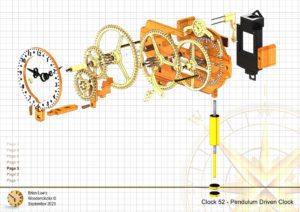
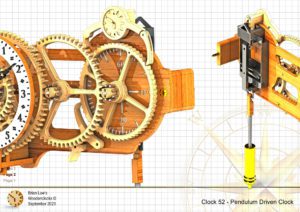
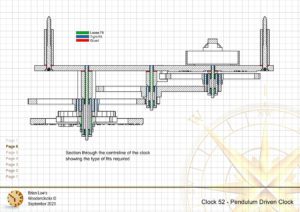
This clock is designed to be driven by a Pendulum Drive Unit, these units are available on the internet for around $4 and can be easily adapted to drive this clock. This unit enables the design to be simplified so that it needs fewer parts to create the clock and will allow it to run for up to 3 months on a single AA battery.
One of the biggest benefits is that it does away with the need for a significant weight to drive the clock mechanism, and so reduces the distortion that such a weight will cause the clock to undergo. This leads to lighter simpler frame construction.
This is possible because the impulse is applied directly to the drive arm and does not have to be driven up through the gear train, this is a 60:1 advantage.
The only downside to this is that it can be tricky to set it up, trying to balance the positioning of the Backstop on one side and the angle of the Drive connector on the other. I have supplied initial settings for these to make your work a little easier.
The clock is compact, measuring 250 mm across its width by 160 mm tall, it has two dials, the main for hours and minutes and the second Dial to its right is engraved directly in to the base, a dot on the drive wheel itself indication the seconds passing.
The Pendulum on the Drive unit is extended with a conventional Pendulum with a n adjustable Bob to increase or decrease the rate at which it swings.
DXF files, and the STP and STL files that can be used with your CNC machine and 3D printer can be downloaded here for $26. You also get the unrestricted version of the PDF files that can be printed at full size and in this clock only the STL files if you need them. Also a photos of the clocks build sequence.
Drawings for this clock in PDF format can be downloaded here. These free files are low resolution and not to scale and only a sample of the full set that comes in the paid for version. Clicking here will download the PDF file directly to your browser, may take a few moments so please be patient.
Instructions for assembling the clock components.
To print only a single item of the drawing to scale using Adobe Acrobat Reader, do the following:
Go to Edit, then click on Take a snapshot, move the cursor to the top left of the item you want to print and hold down the left mouse button whilst you drag a box around the item. The inside of the box turns blue and you can now go to File and then click on Print. This brings up the print dialogue, make sure Selected graphic is selected and that the Page scaling is set to None and the click on OK. As long as your printer is connected you will have printed the item at size. Do this for each item you want to cut out.

