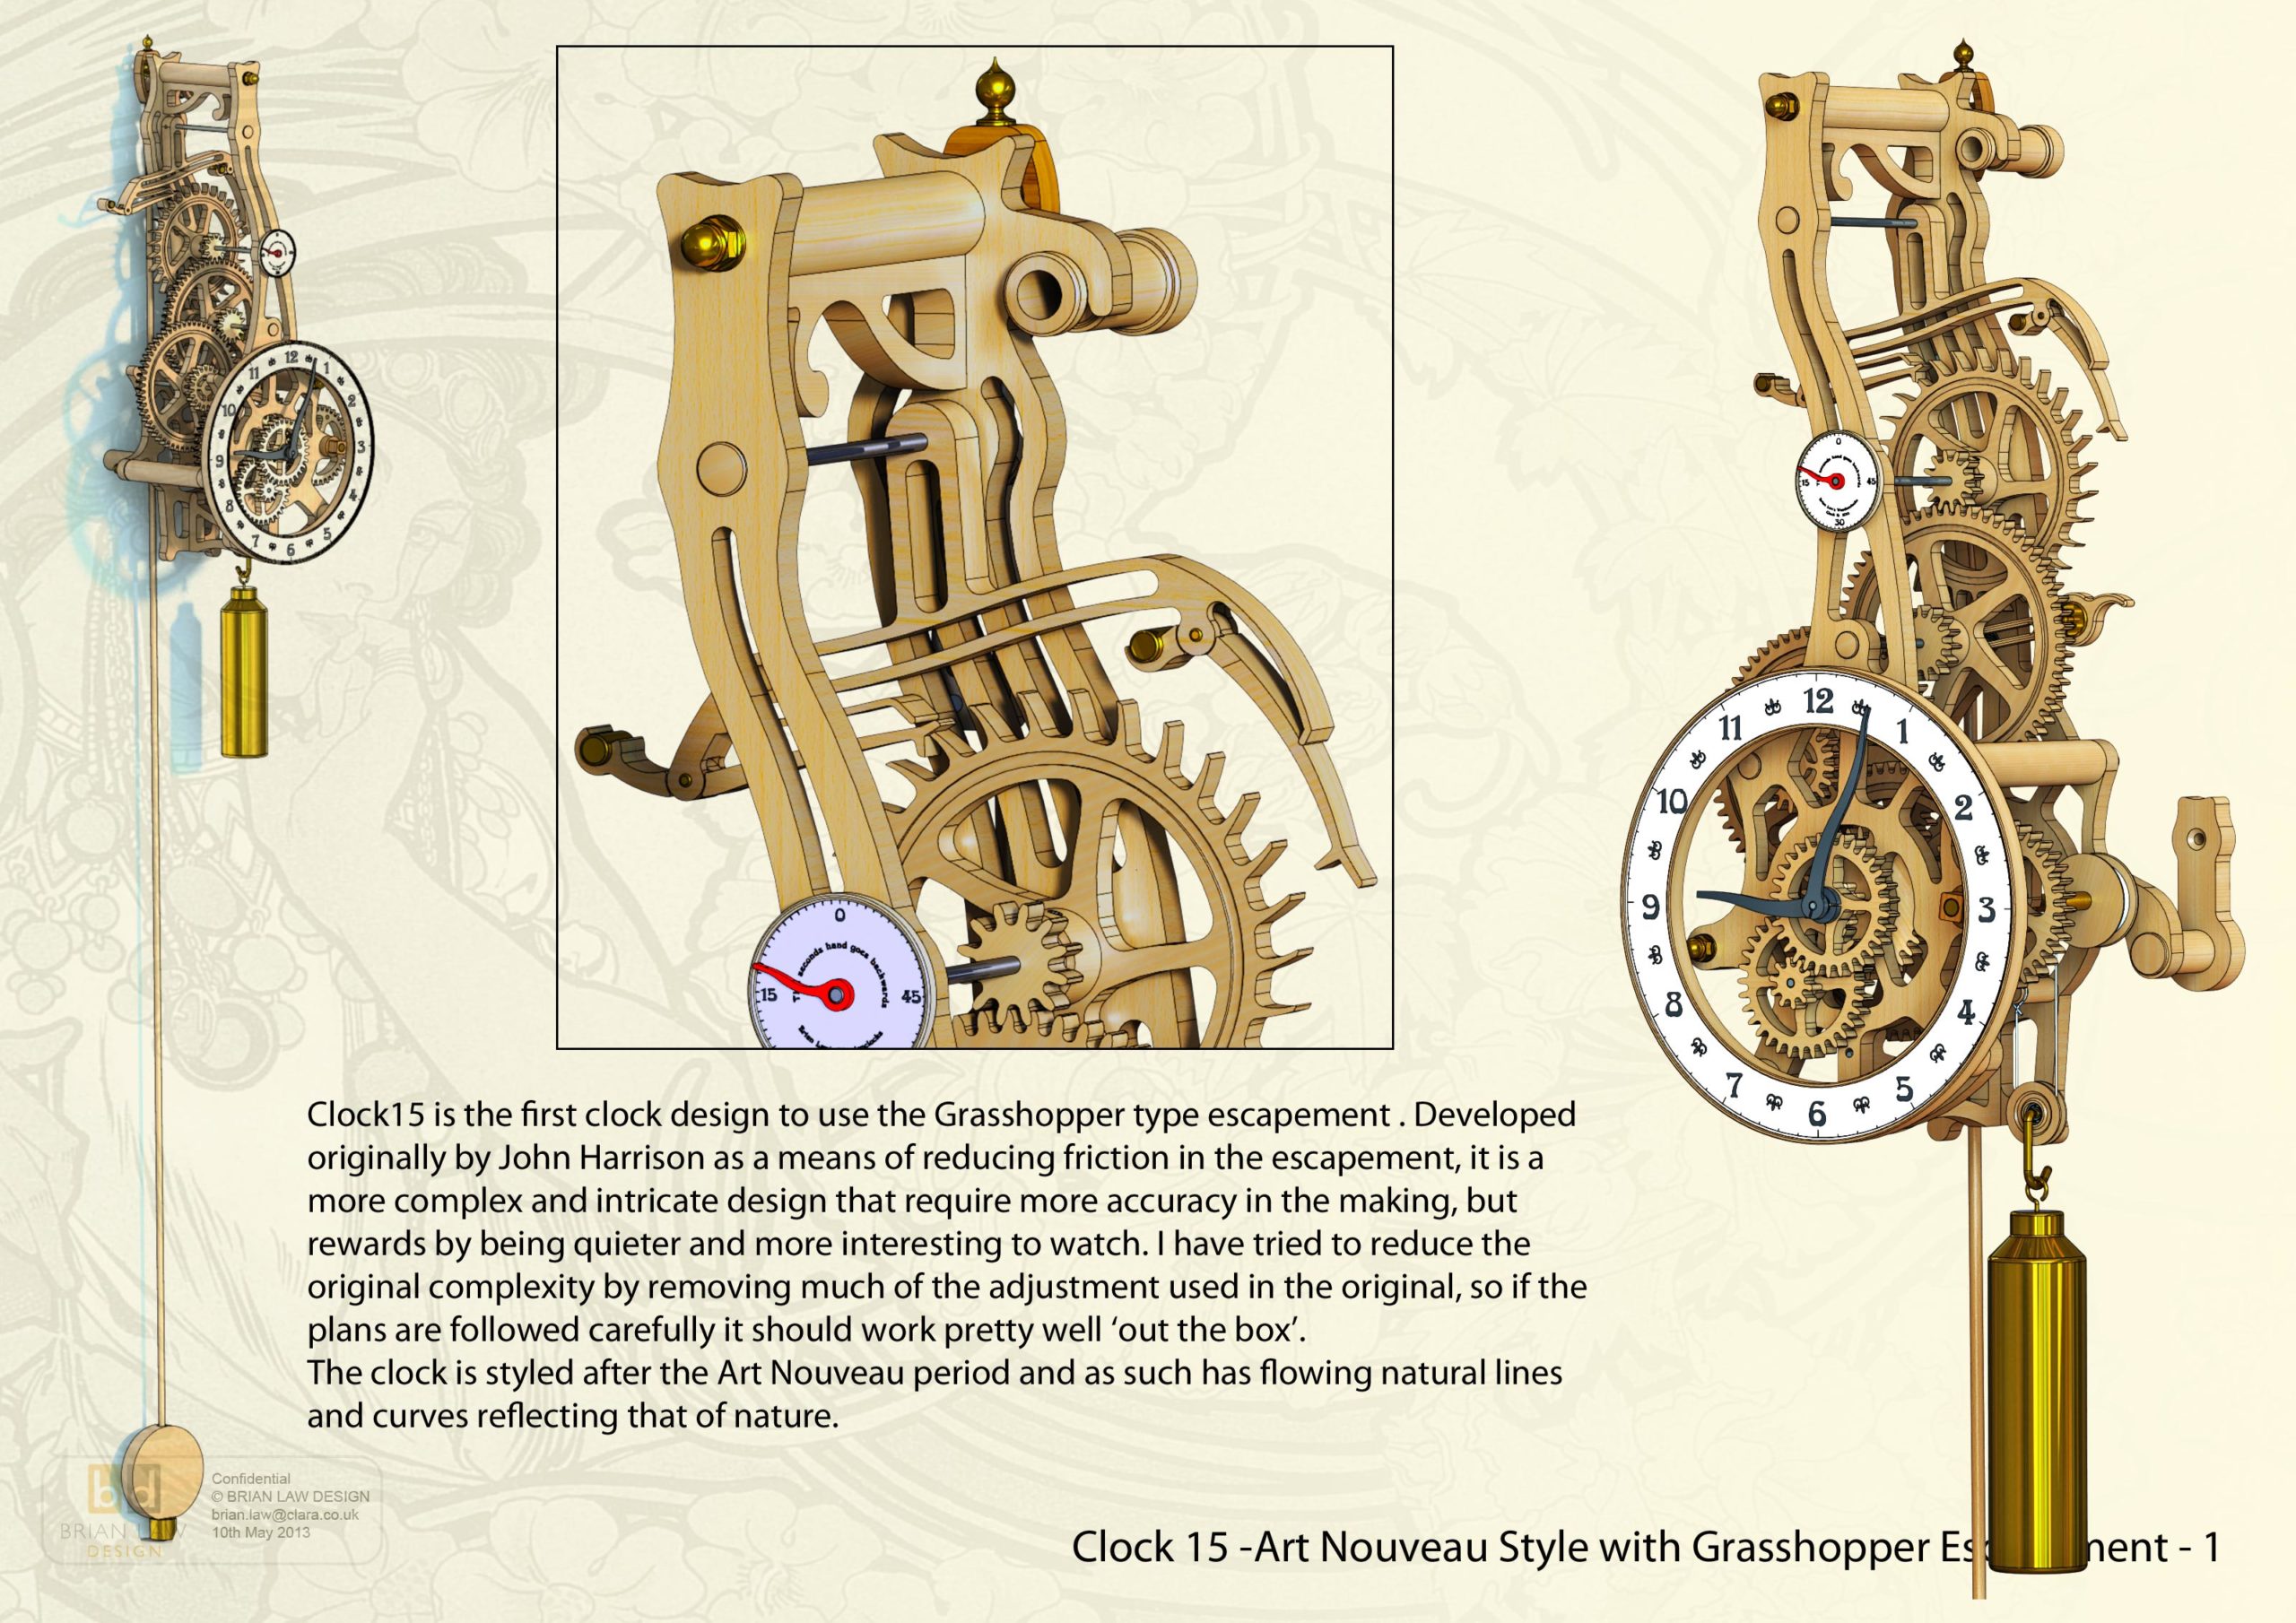
Clock15 is the first clock design to use the Grasshopper type escapement . Developed originally by John Harrison as a means of reducing friction in the escapement, it is a more complex and intricate design that require more accuracy in the making, but rewards by being quieter and more interesting to watch. I have tried to reduce the original complexity by removing much of the adjustment used in the original, so if the plans are followed carefully it should work pretty well ‘out the box’.The clock is styled after the Art Nouveau period and as such has flowing natural lines and curves reflecting that of nature.
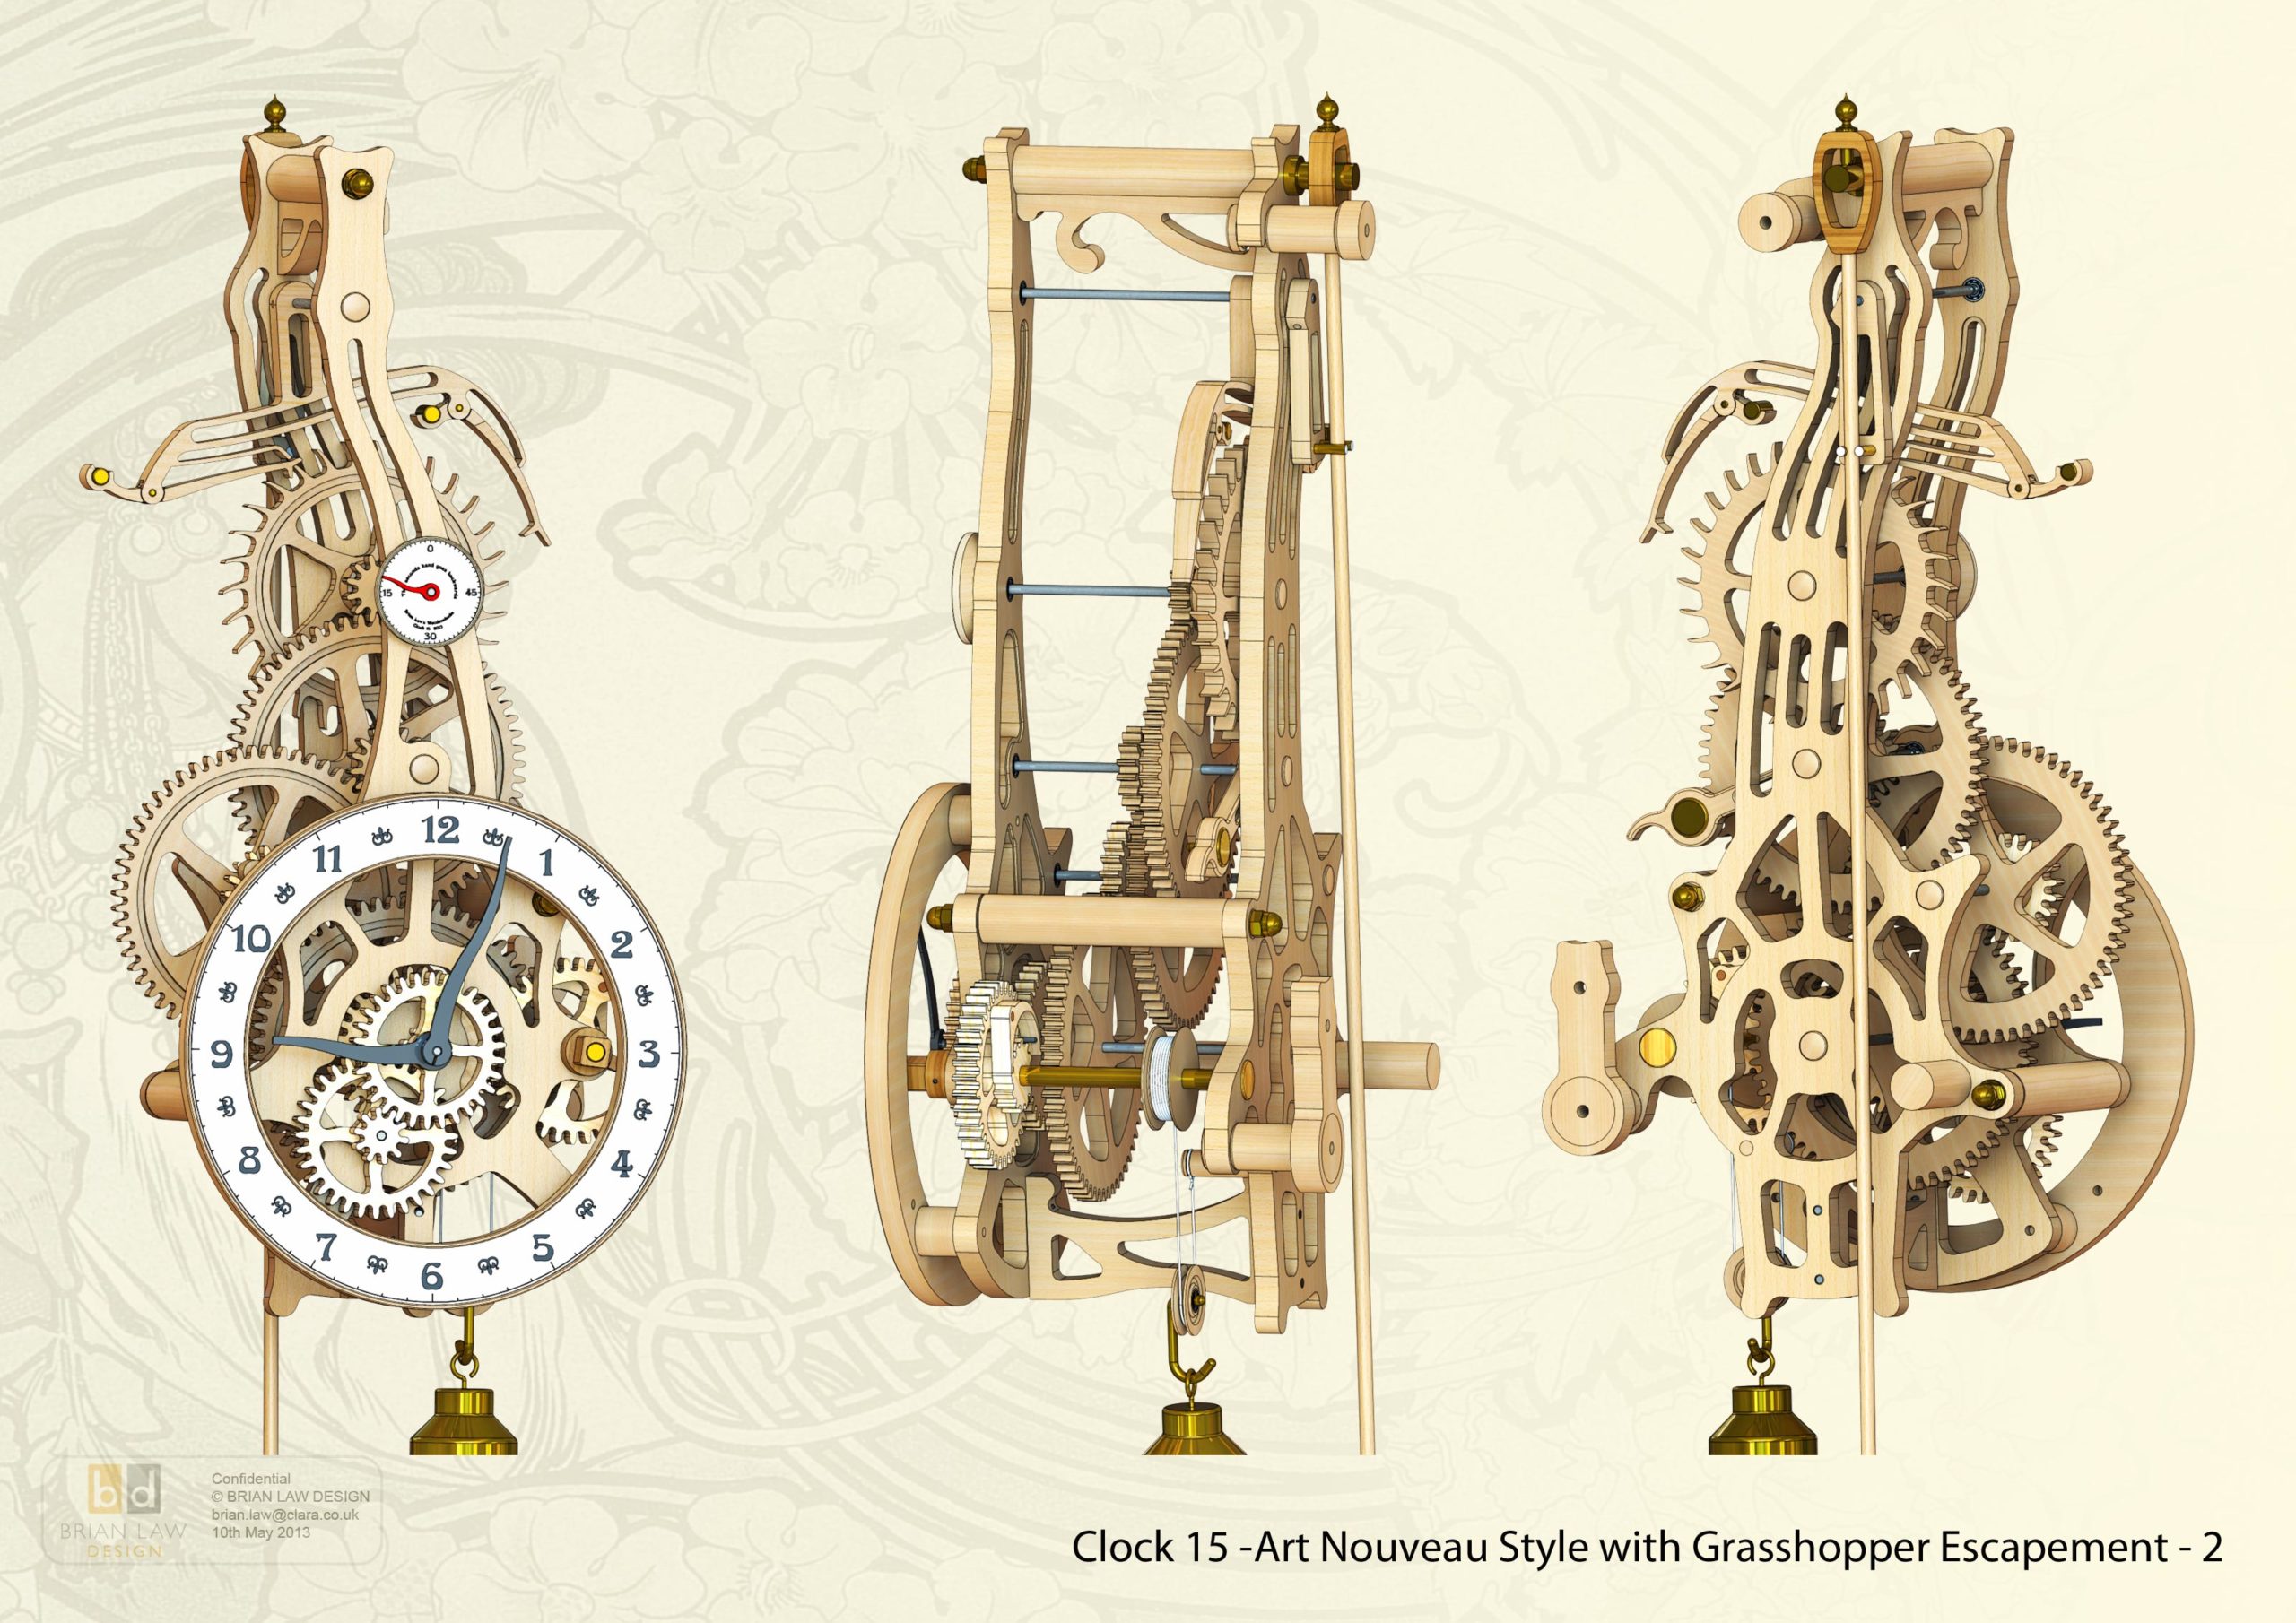
This has been an interesting and quite difficult design for me to implement, for two reasons. The first is the organic nature of the design with its use of curved and flowing lines has been challenging to get right as the temptation has always been to over do it, I don’t think that I have as it still looks well balanced now that it is complete and the prototype working away behind me.
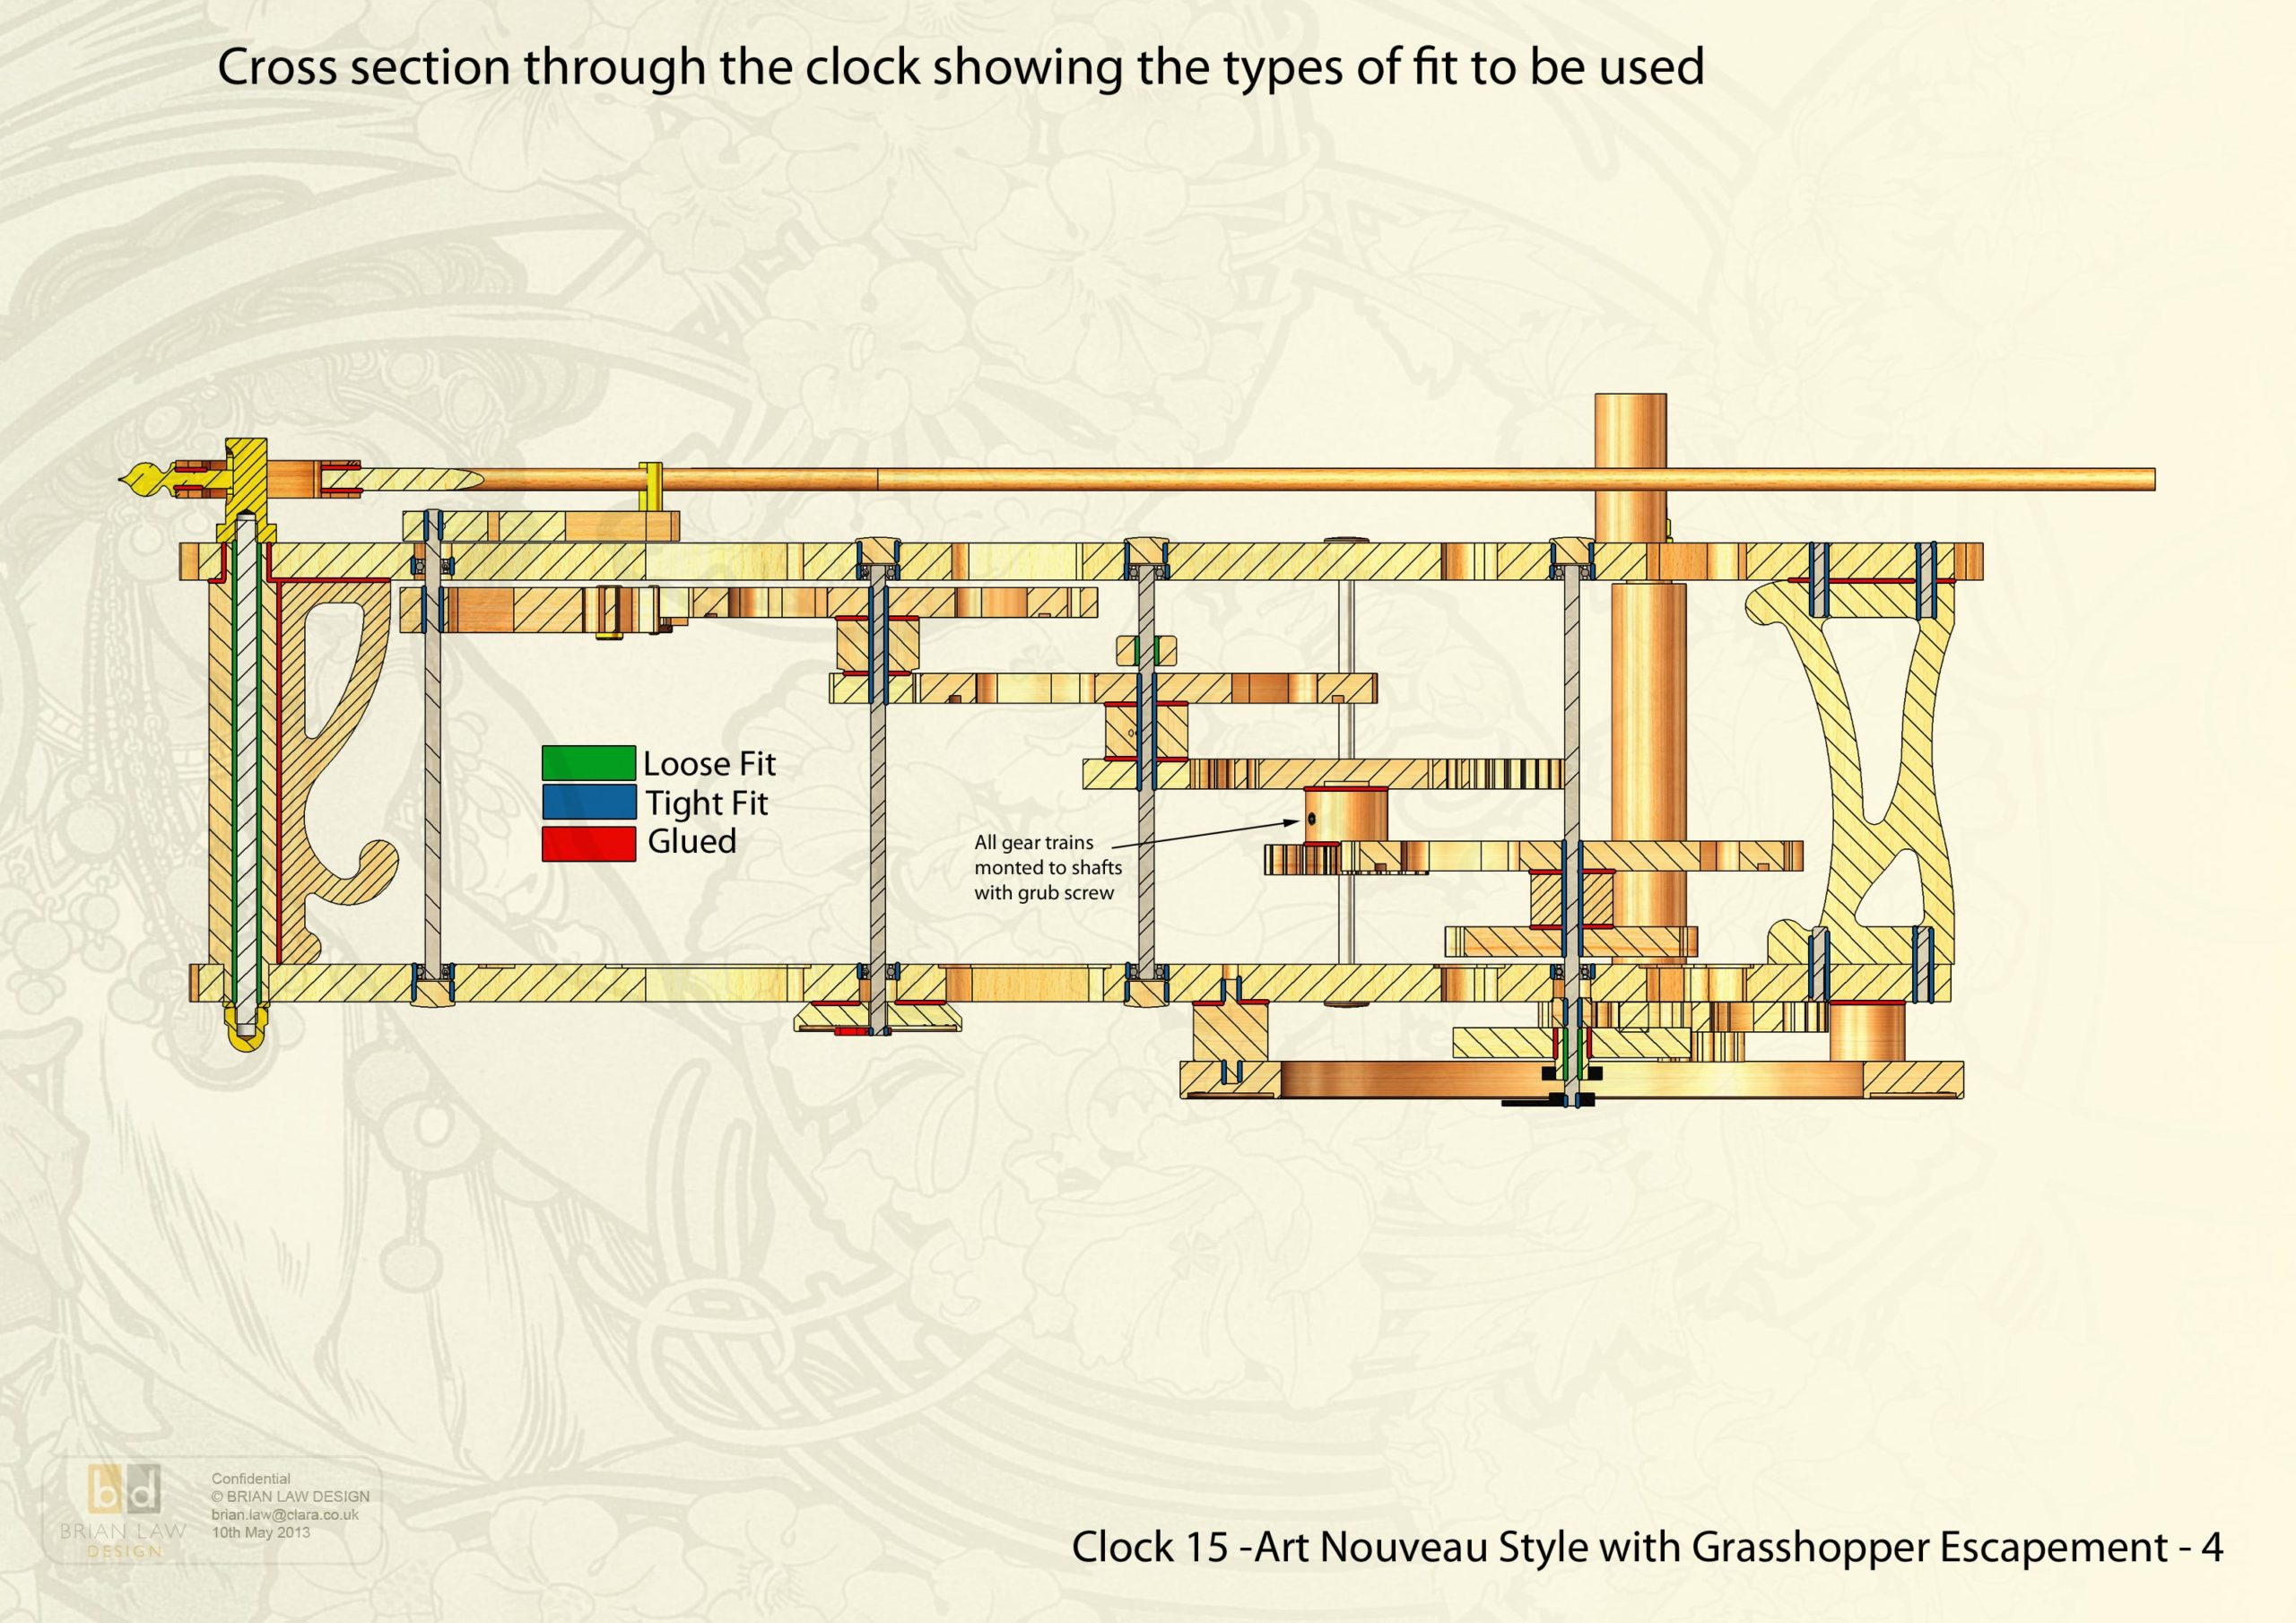
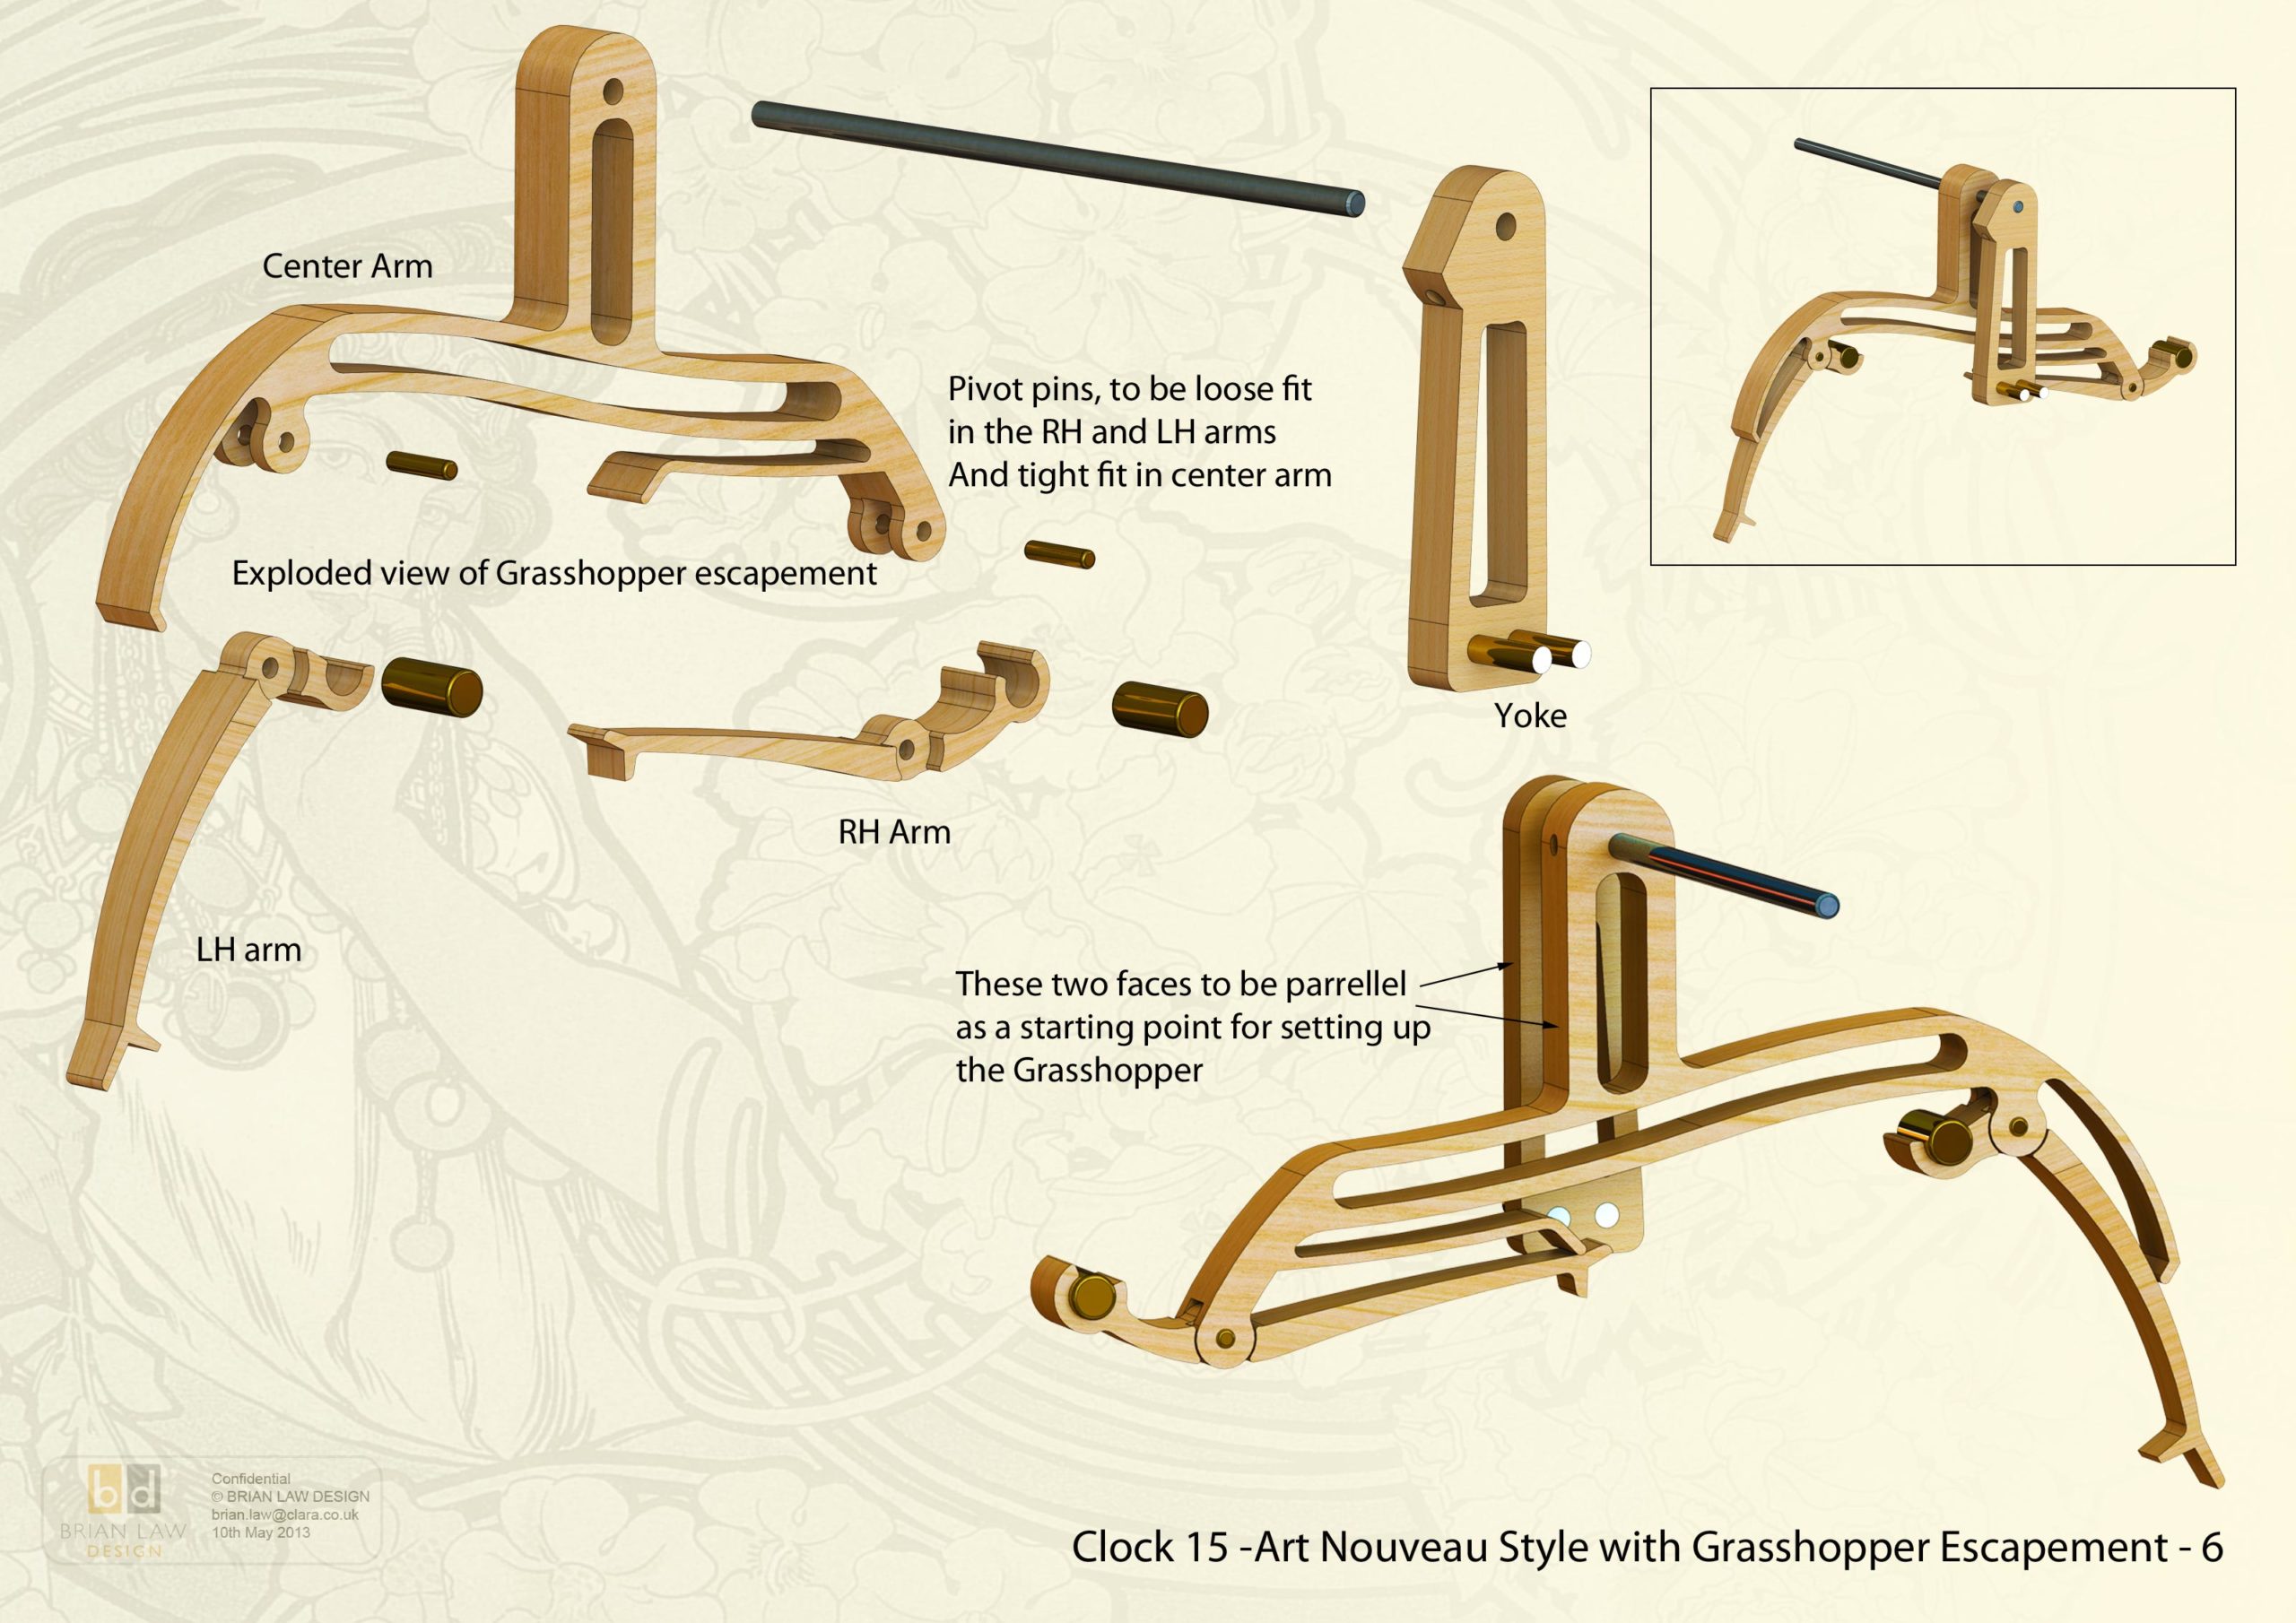
The main challenge though has been to simplify the Grasshopper Escapement so that it has no need of adjustment fittings attached to each moving part. This required very careful design of the parts in CAD to get the to balance around the central pivot, and then to bias each arm with a counterweight so that the kick out of the way when required. The Small fork at the end of each arm also had to be in exactly the right place to engage with the next tooth on the escapement wheel as it came around. I nearly got it right first time but some small errors in my machining meant I had to add a small tube to push down on the top arm spring so that it adjusted the position of the fork, you can see this on the video. Hopefully you will be more precise in your on build and will not be bothered by such inaccuracies.
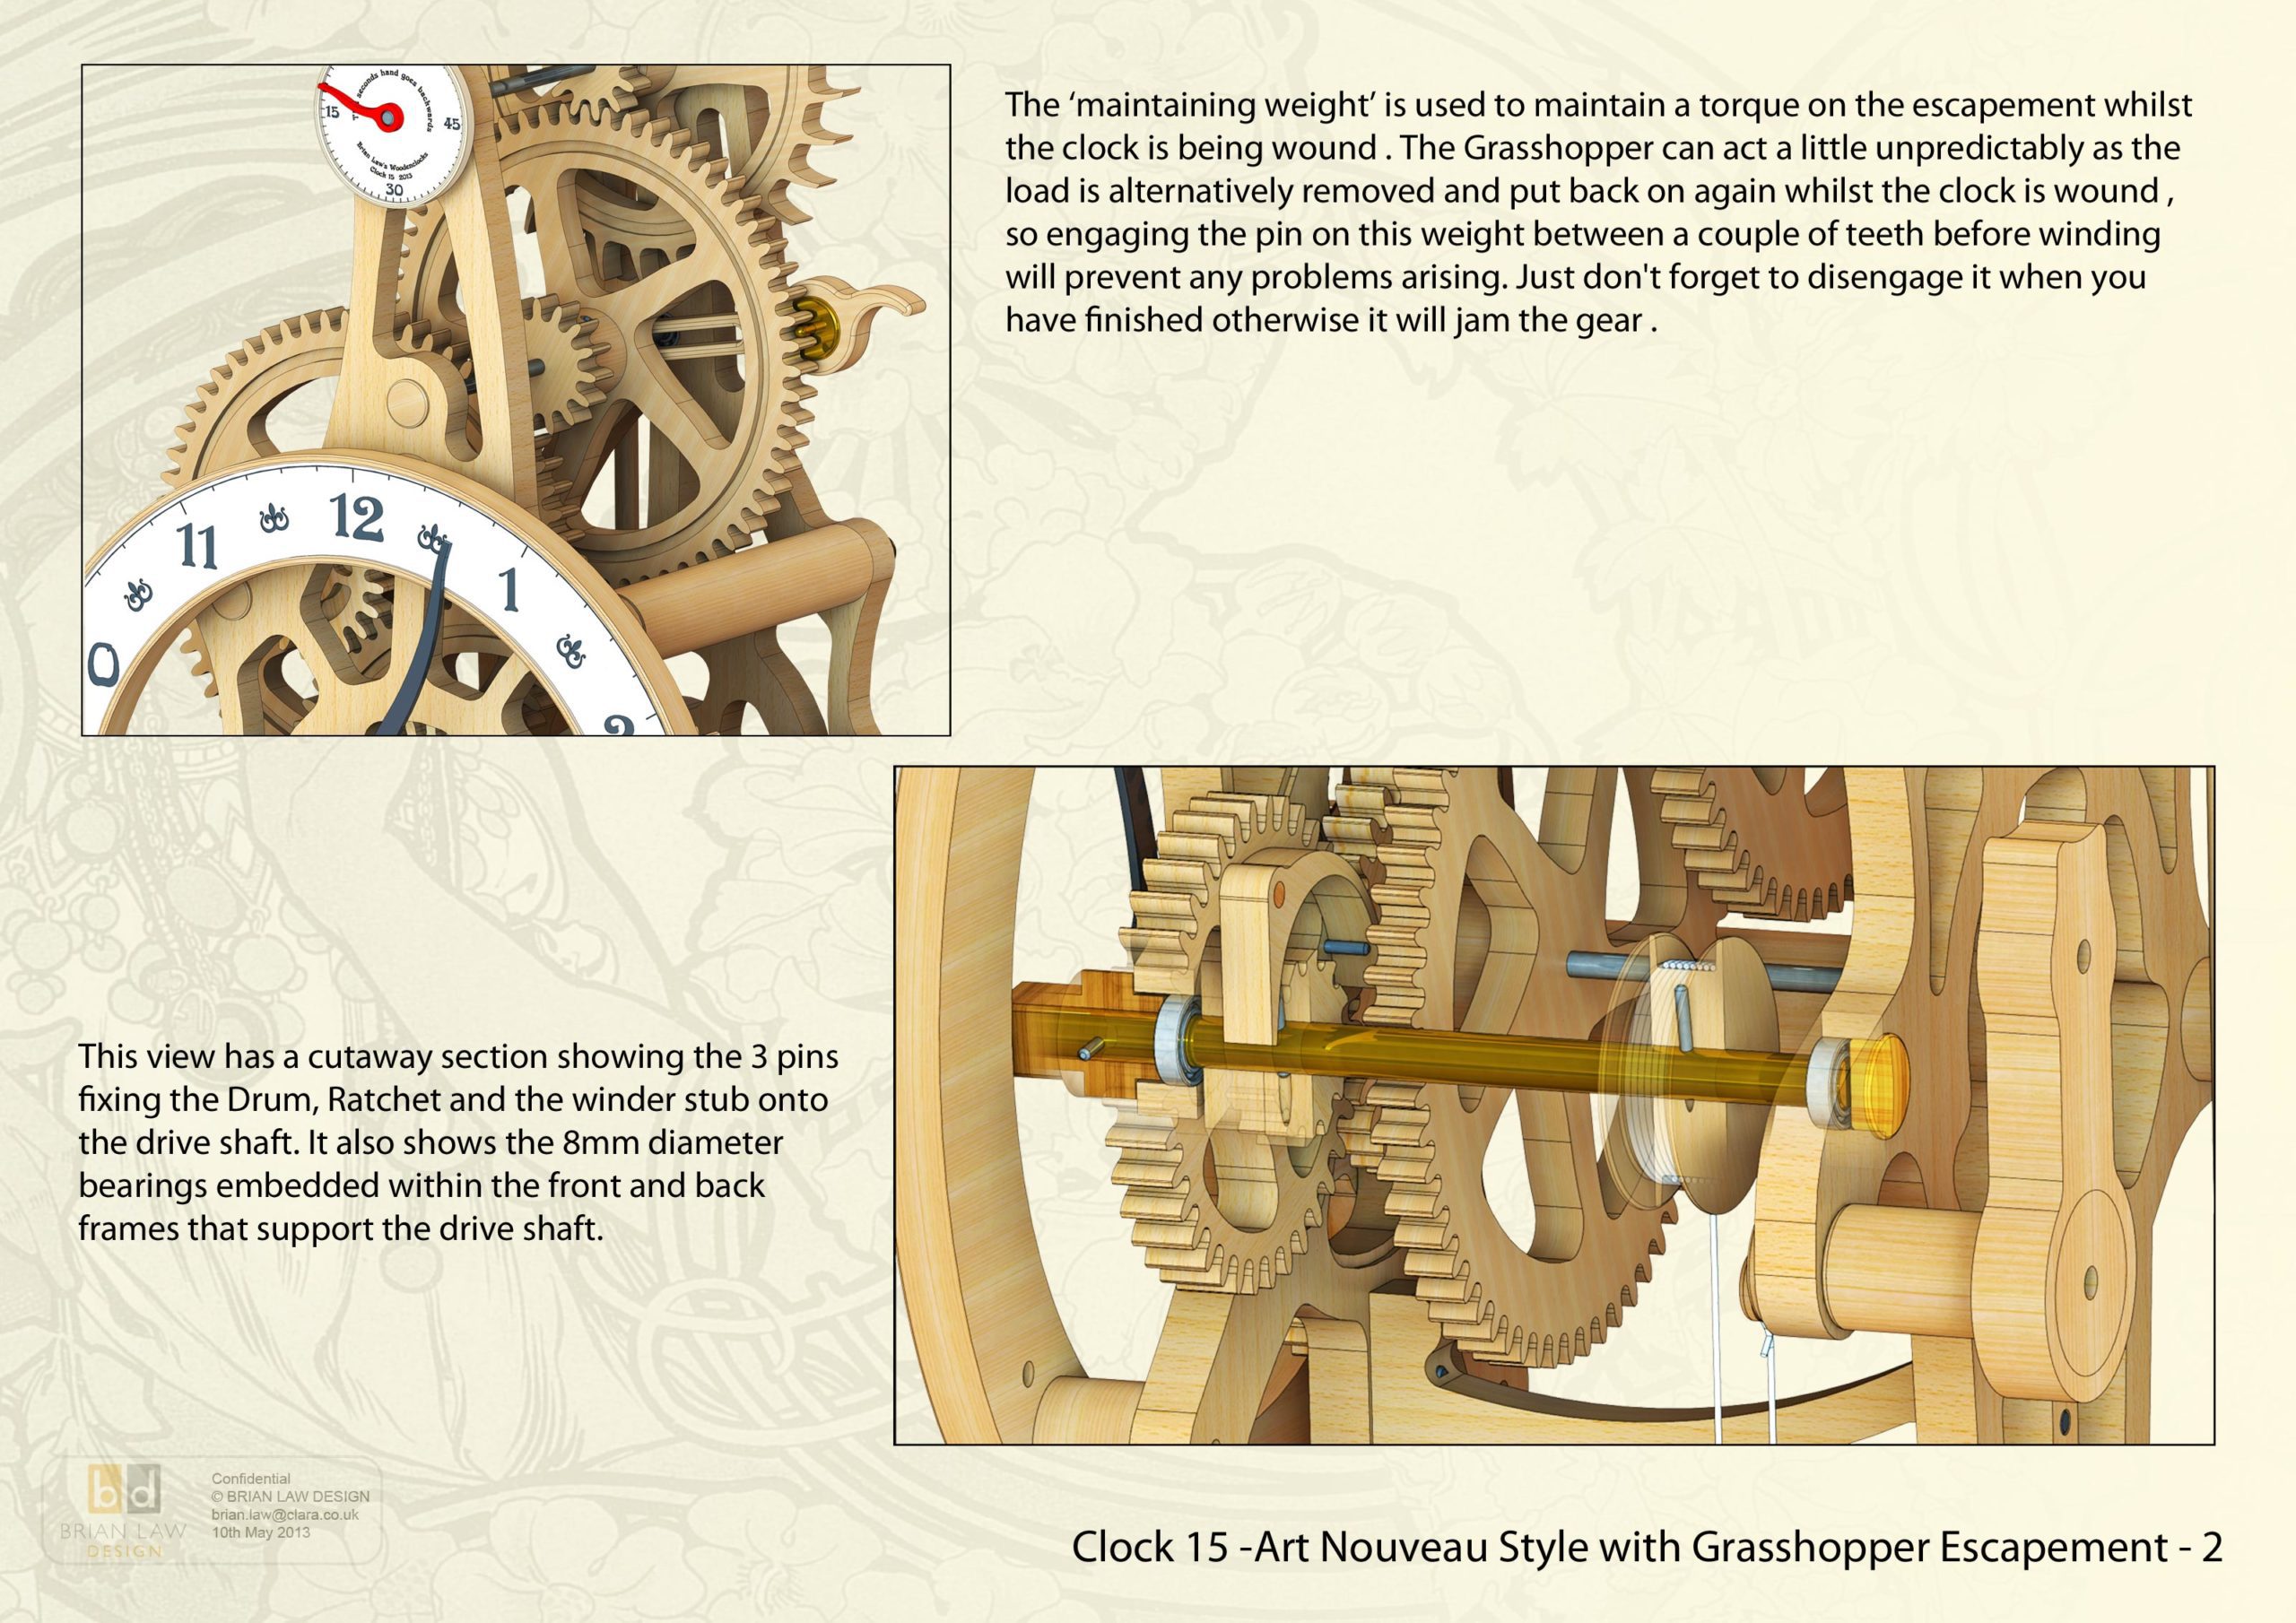
One of the many surprises that I found was that the Grasshopper escapement is highly dependant on the weight used to drive the clock, so that the more weight you use the faster the clock goes.
The reason for this is that the Grasshopper unlike the Graham deadbeat normally used,is that the impulse it gives to the pendulum is nearly continuous so effectively over riding the natural frequency of the pendulum and so causing the clock to go faster with the more weight you apply.
If you had a perfect drive train that didn’t vary in the friction that it generated then you could reduce the weight to the point where the clocks keeps accurate time. My prototype was not that accurate and so needed quite a bit more weight and as a consequence the clock when it was finished ran quite quickly. I had to add about 300 mm to the length of the pendulum and run it with 1.5kg weight before it started to run correctly. For this reason I have drawn up the pendulum at this length, If your more accurate with your gears you may well get down to 1 Kg and a shorter pendulum.
The prototype shown in the instructions and on the video is slightly different to the final design in the plans and files offered here, as small changes were made along the way to improve the design, after all that’s what prototypes are for.
I hope you want to build this clock, as it should give you great enjoyment if you do.
DXF, DWG 2D files, and the IGS and STP files that can be used with your CNC machine can be downloaded here for $26. You also get the unrestricted version of the PDF files that can be printed at full size.
This Clock is also available as a Bundle with Gears for Projects and Mechanisms that can be downloaded for $36.
To view
the assembly instructions for the clock
click here.
Drawings for this clock in PDF format can be downloaded here. These free files are restricted so that you can only view them on screen but not print them. Clicking here will download the PDF file directly to your browser, may take a few moments so please be patient.
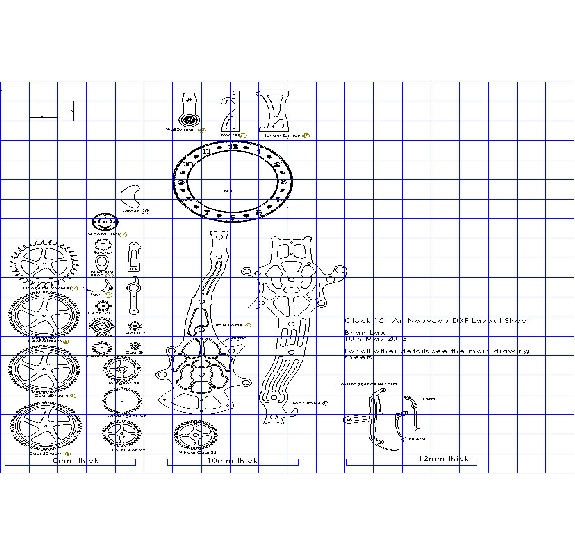
A sample from the DXF/DWG files is shown here. The actual files purchased above are included on one large sheet so that they may be directly loaded into your CAM program.
To print only a single item of the drawing to scale using Adobe Acrobat Reader, do the following:
Go to Edit, then click on Take a snapshot, move the cursor to the top left of the item you want to print and hold down the left mouse button whilst you drag a box around the item. The inside of the box turns blue and you can now go to File and then click on Print. This brings up the print dialogue, make sure Selected graphic is selected and that the Page scaling is set to None and the click on OK. As long as your printer is connected you will have printed the item at size. Do this for each item you want to cut out.