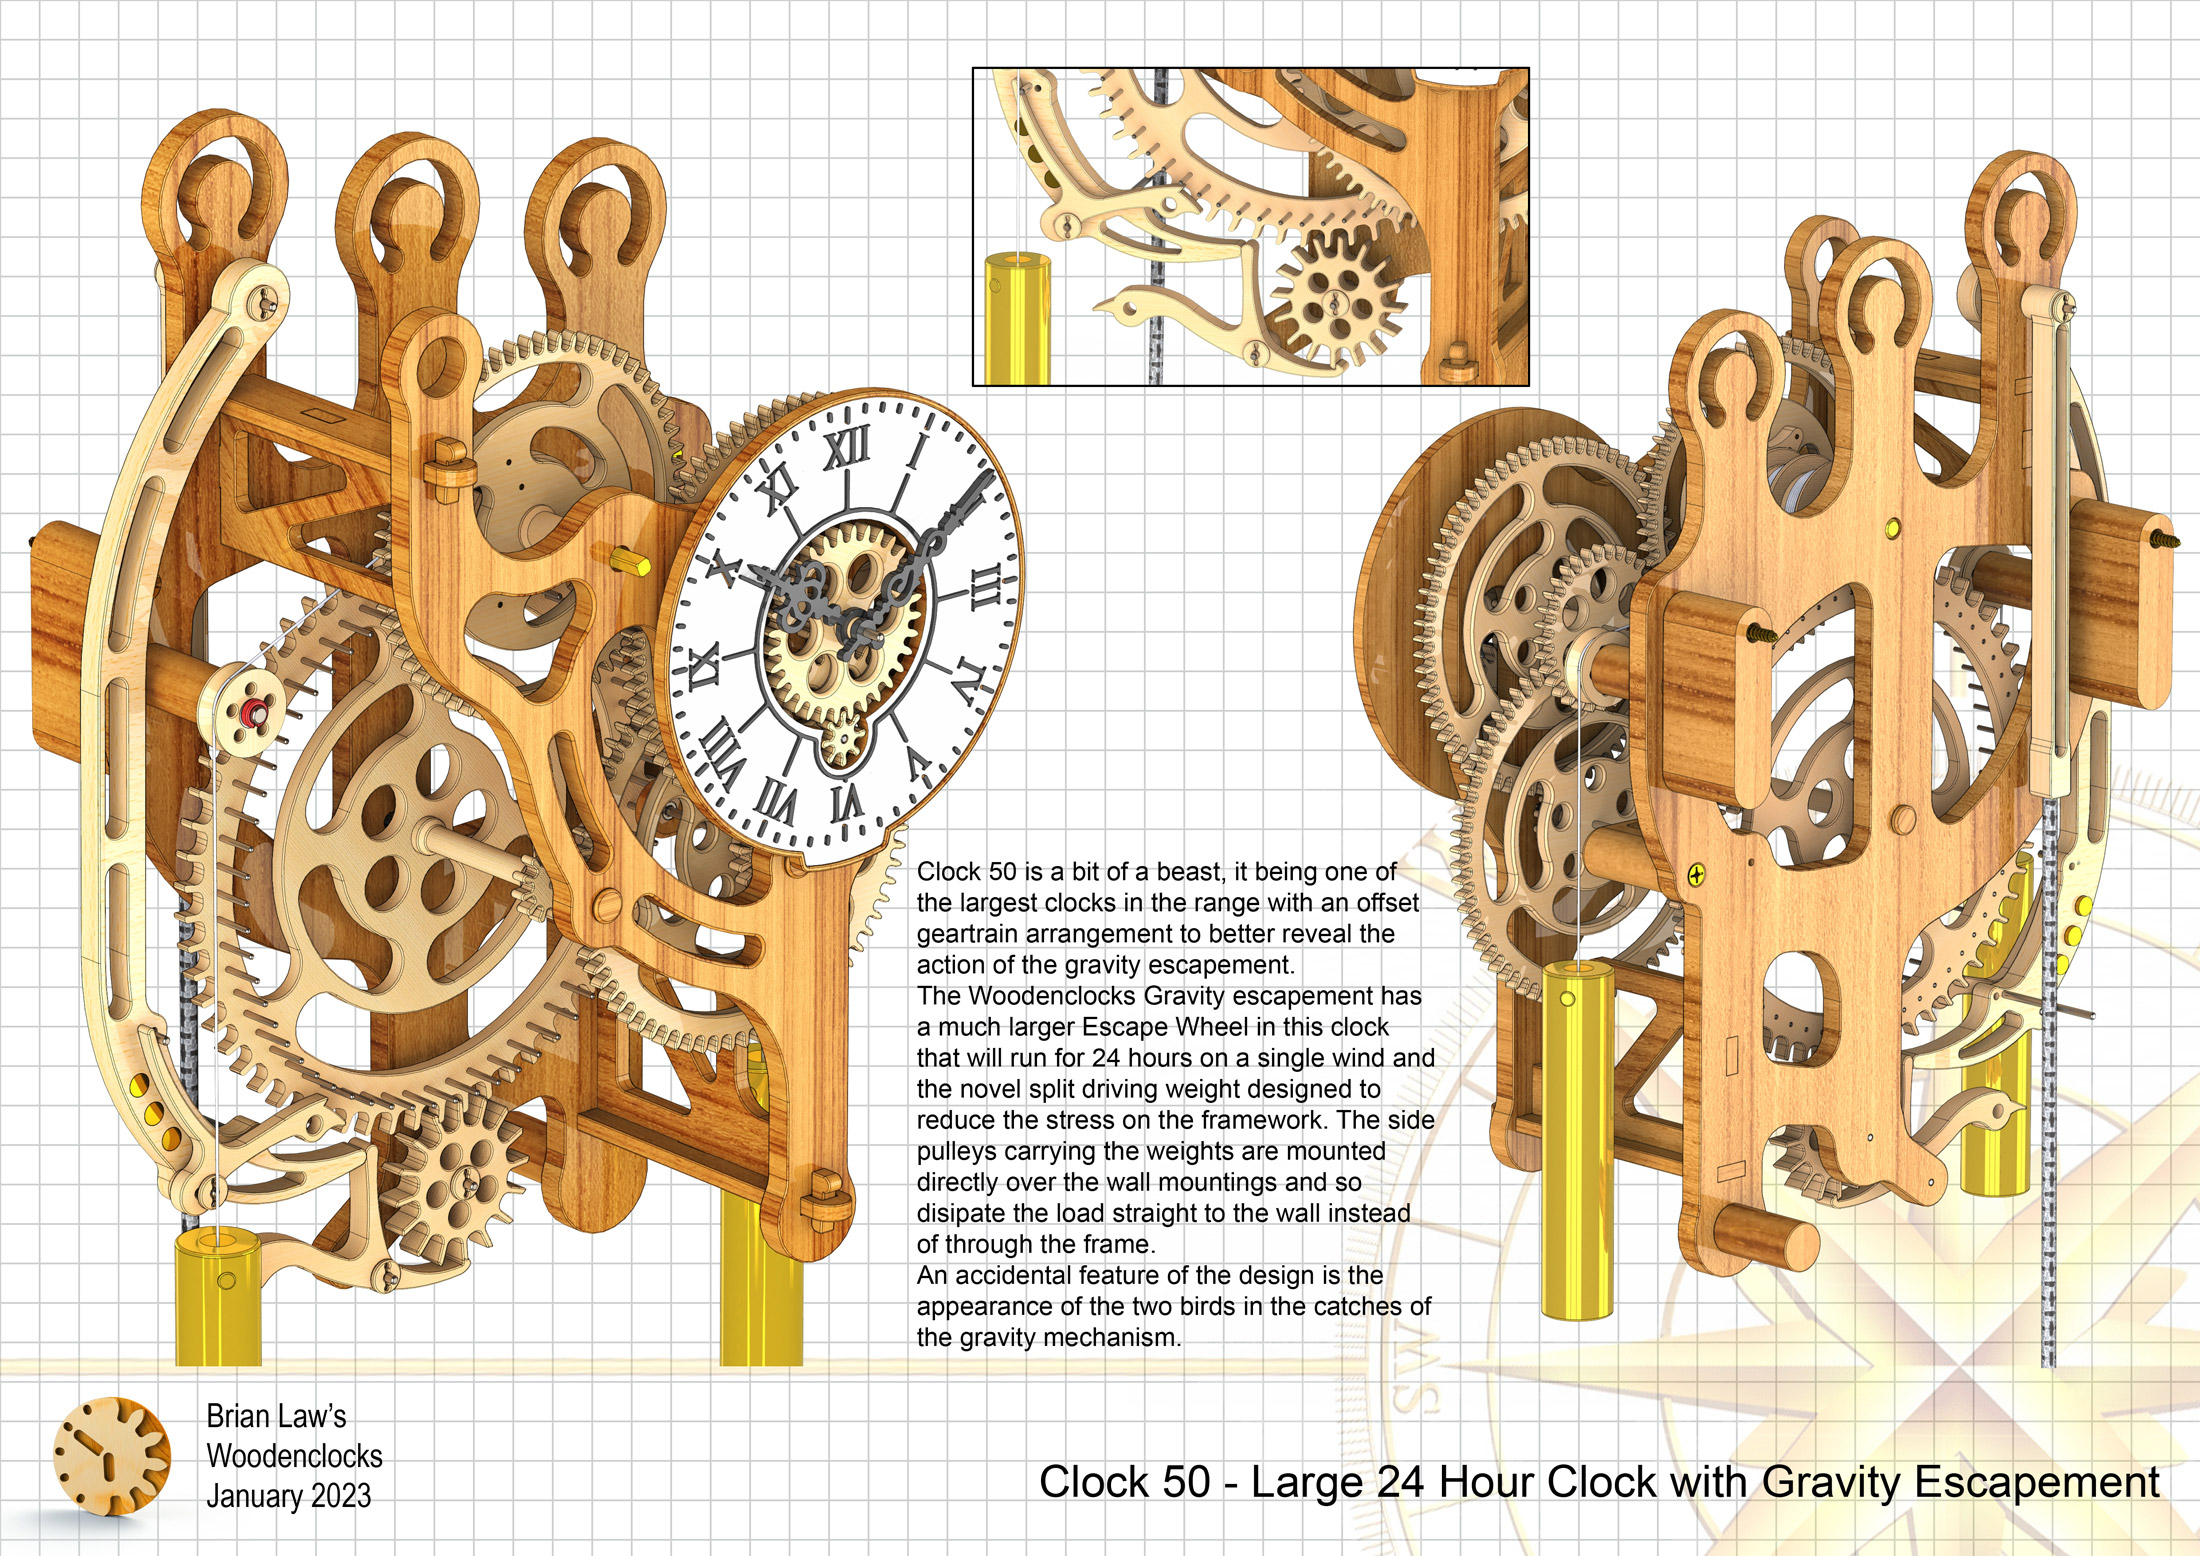
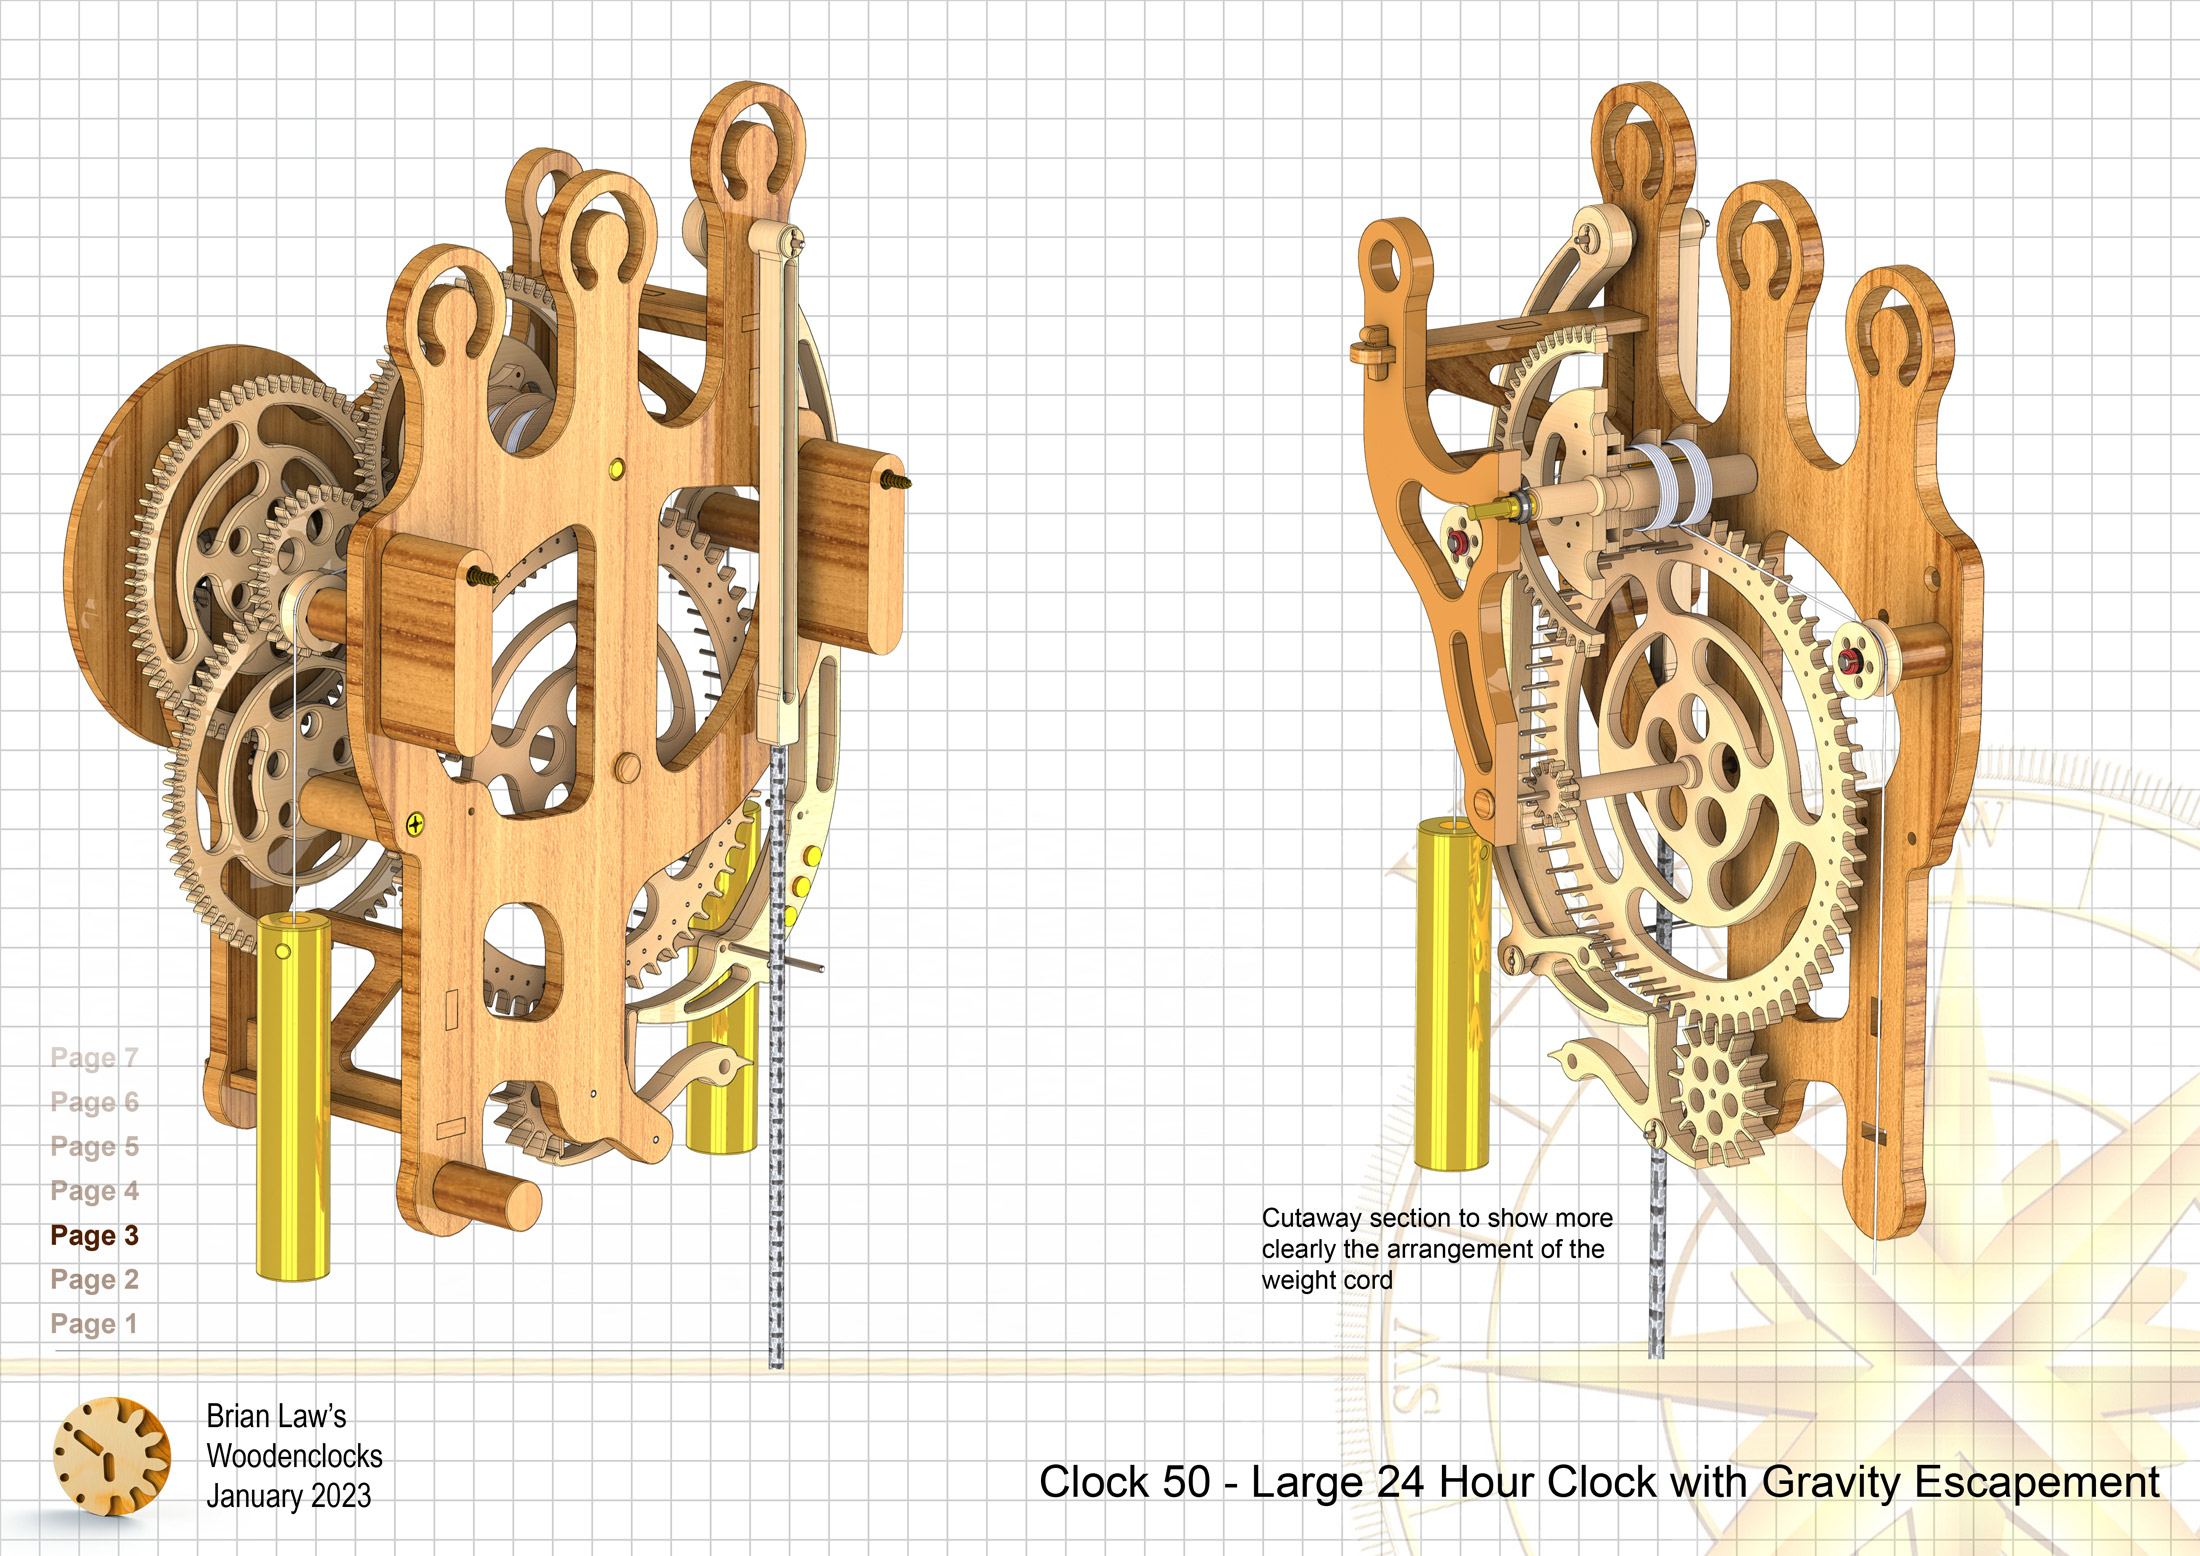
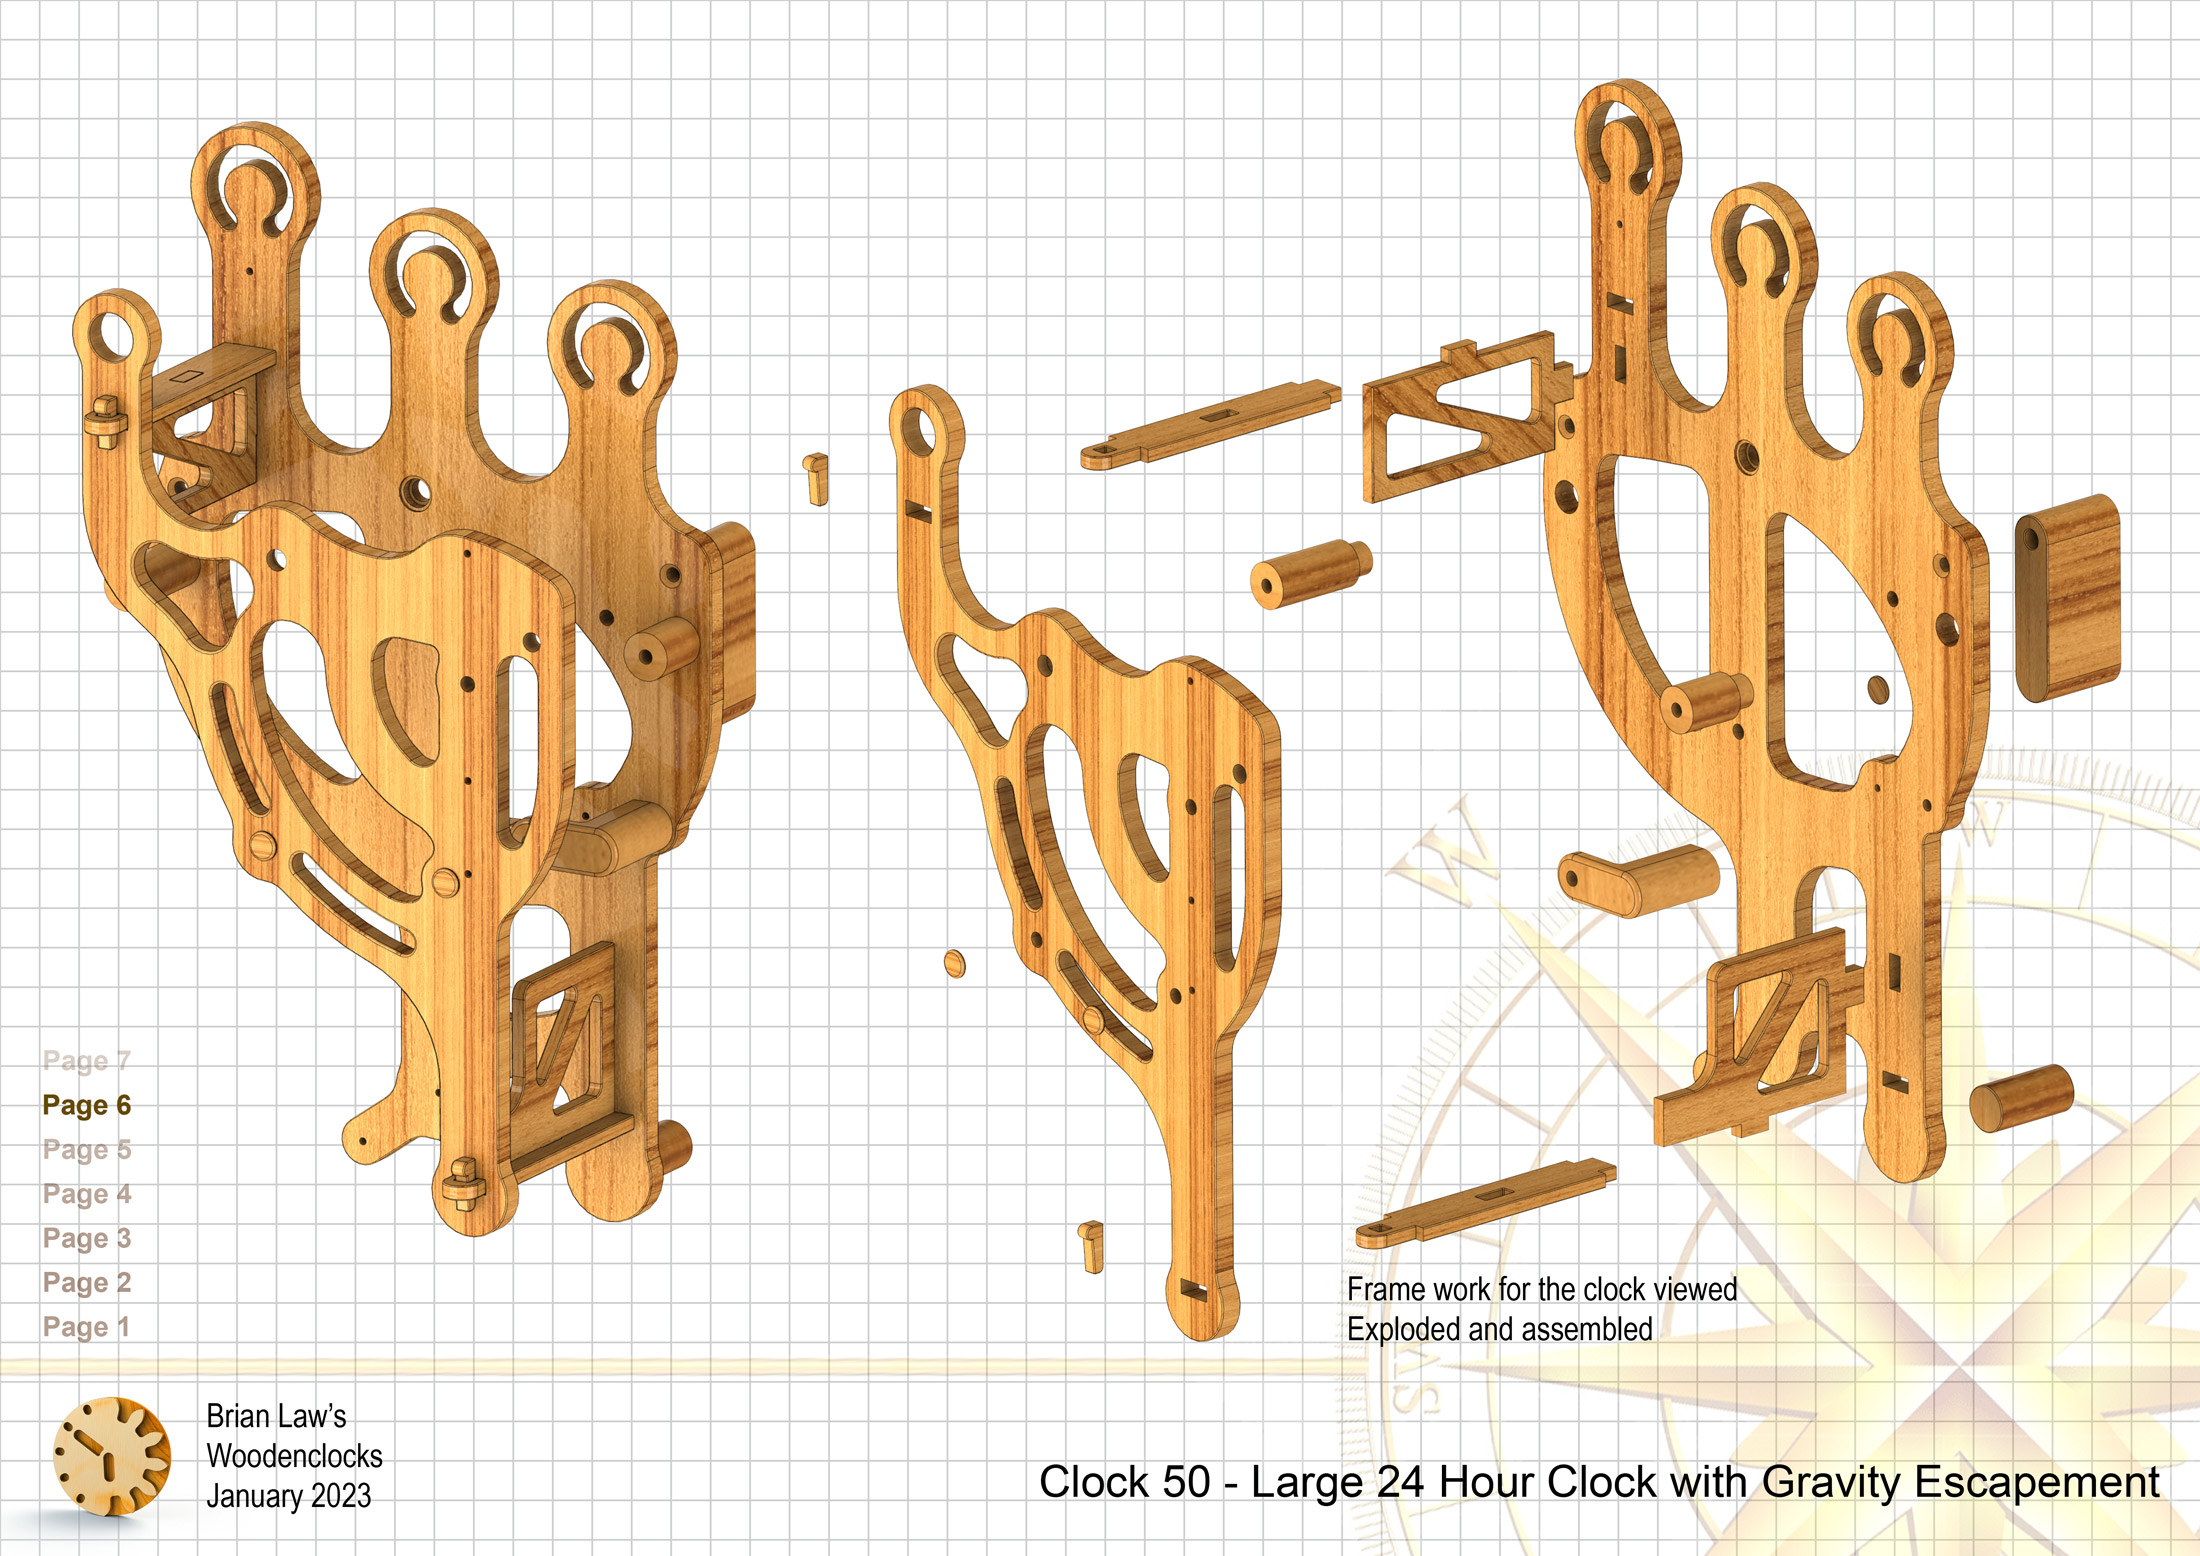
The prototype for Clock 50 is now completed and running well, it uses the woodenclocks Gravity escapement and runs for 27 hours on a wind. It has 2 driving weights 750 gram each and the reason for splitting the weight like this is to remove the load from the Front frame and stop Parallelogram distortion. It does add to the complexity of the clock but the benefits in terms of reducing structural load are worth it.
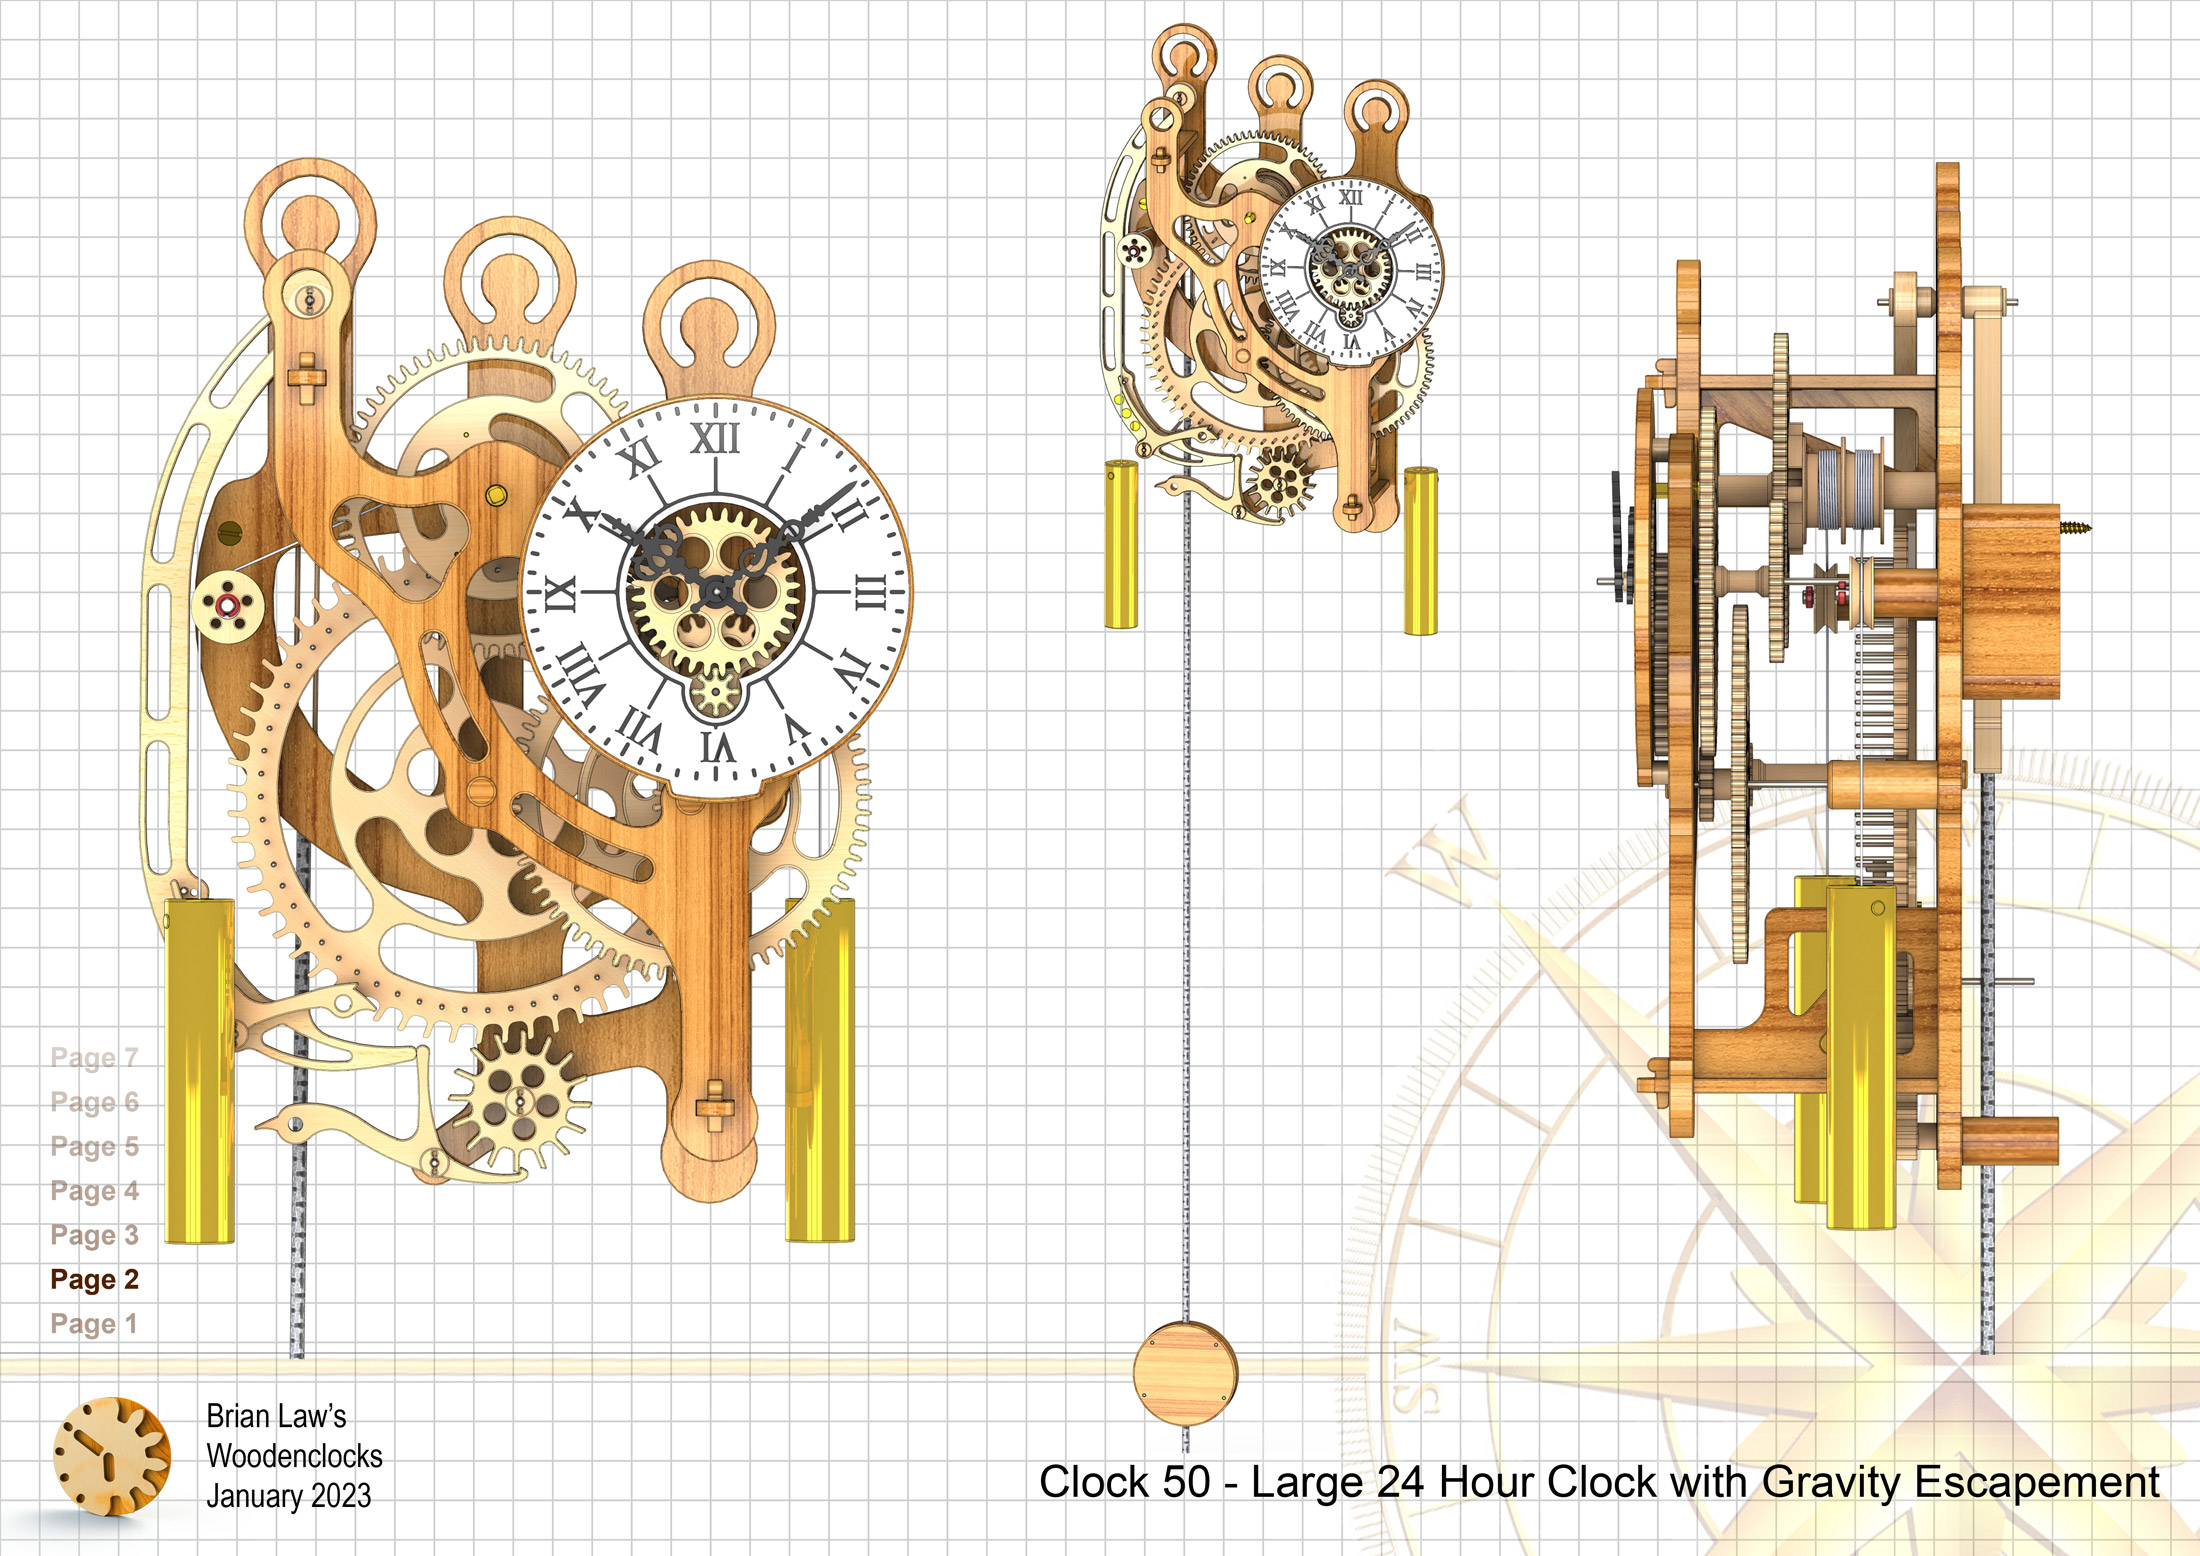
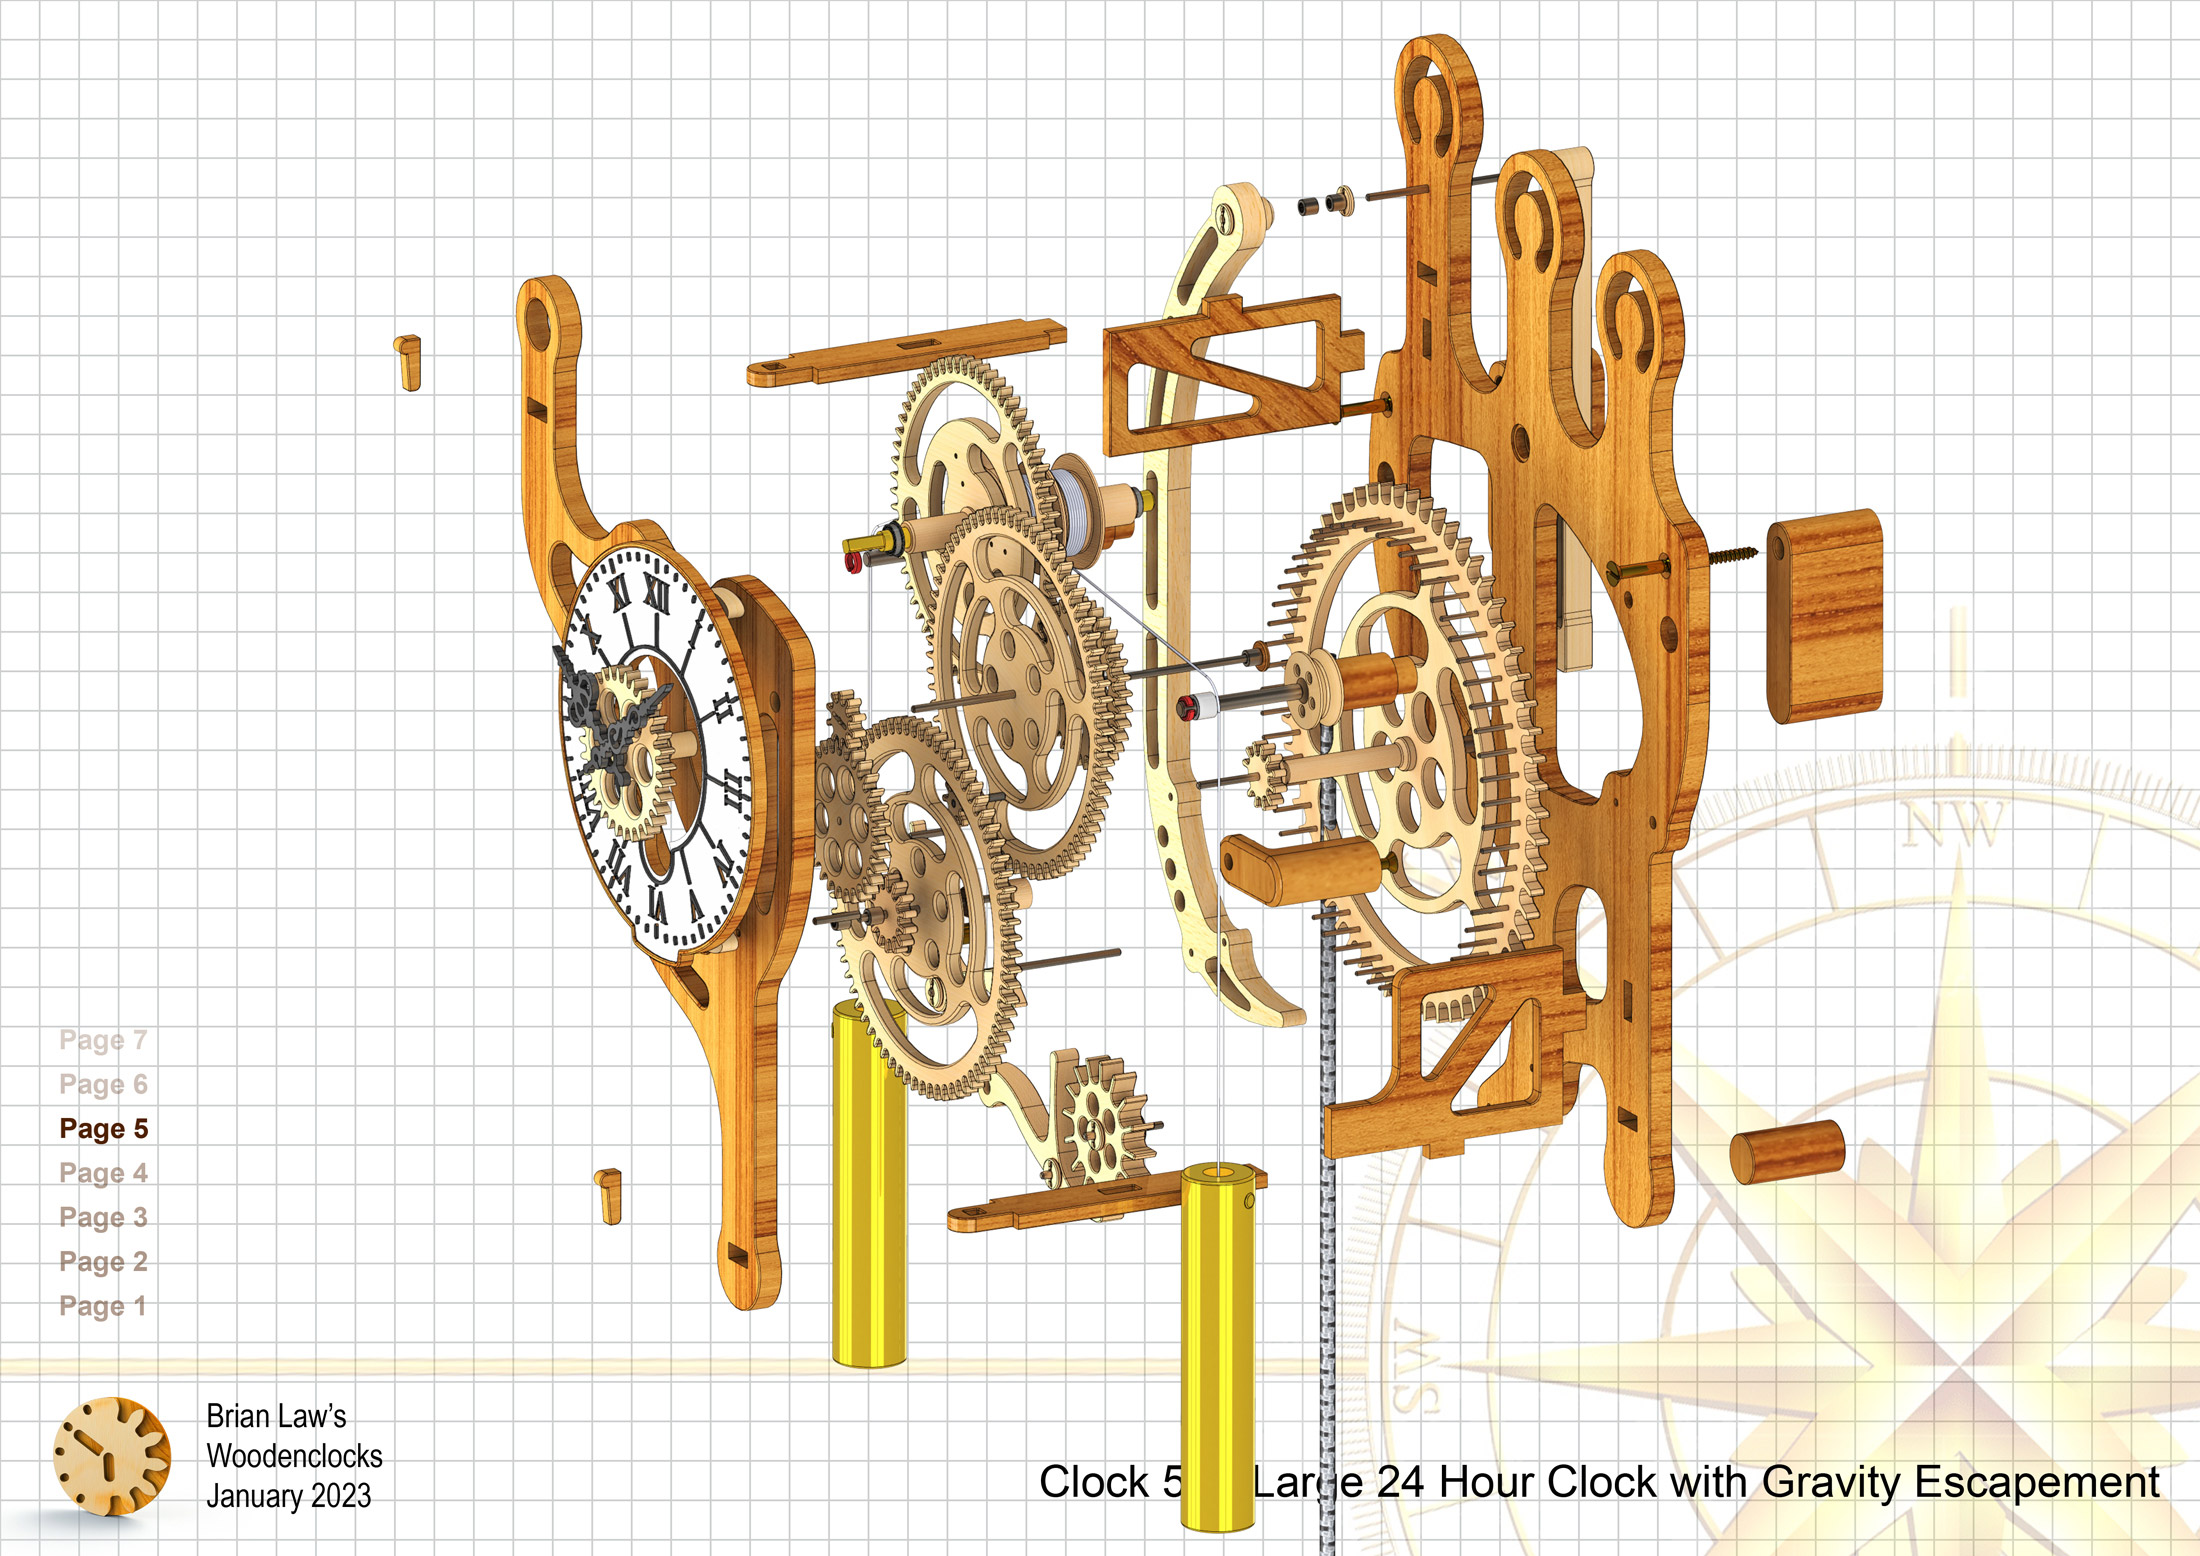
It is one of the largest clocks on the site with a with a Geartrain and Escapement largely exposed so that the novel Gravity Escapement mechanism is properly visible from the front and side.
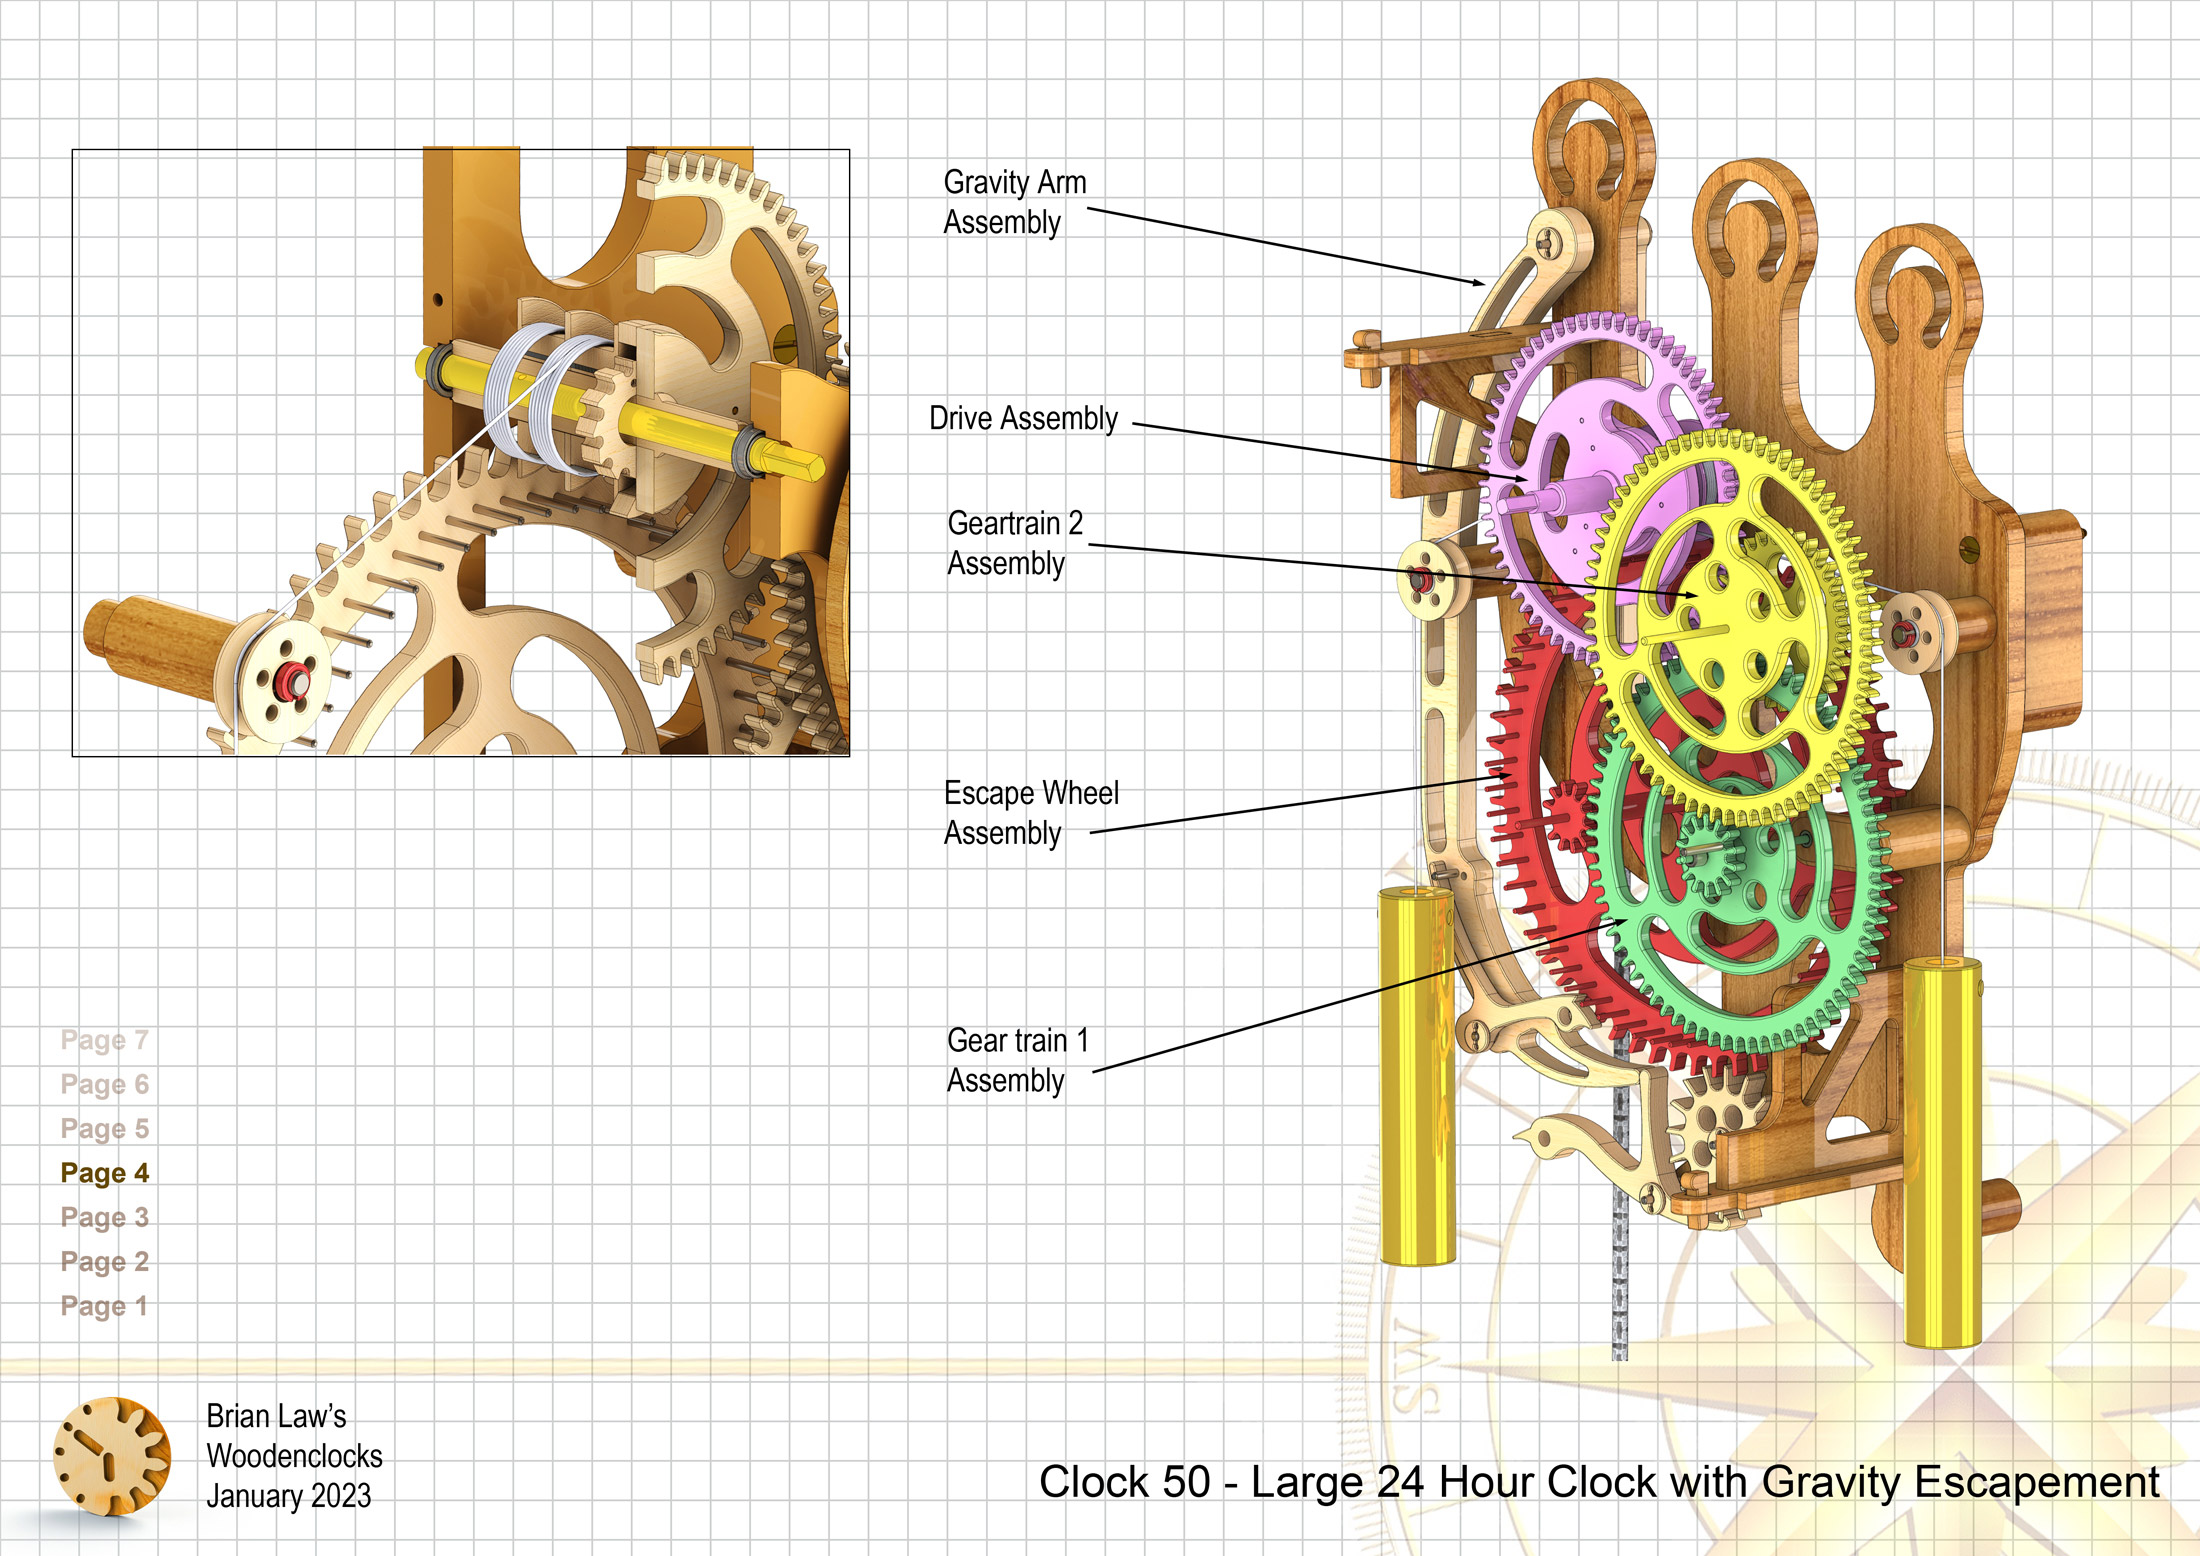
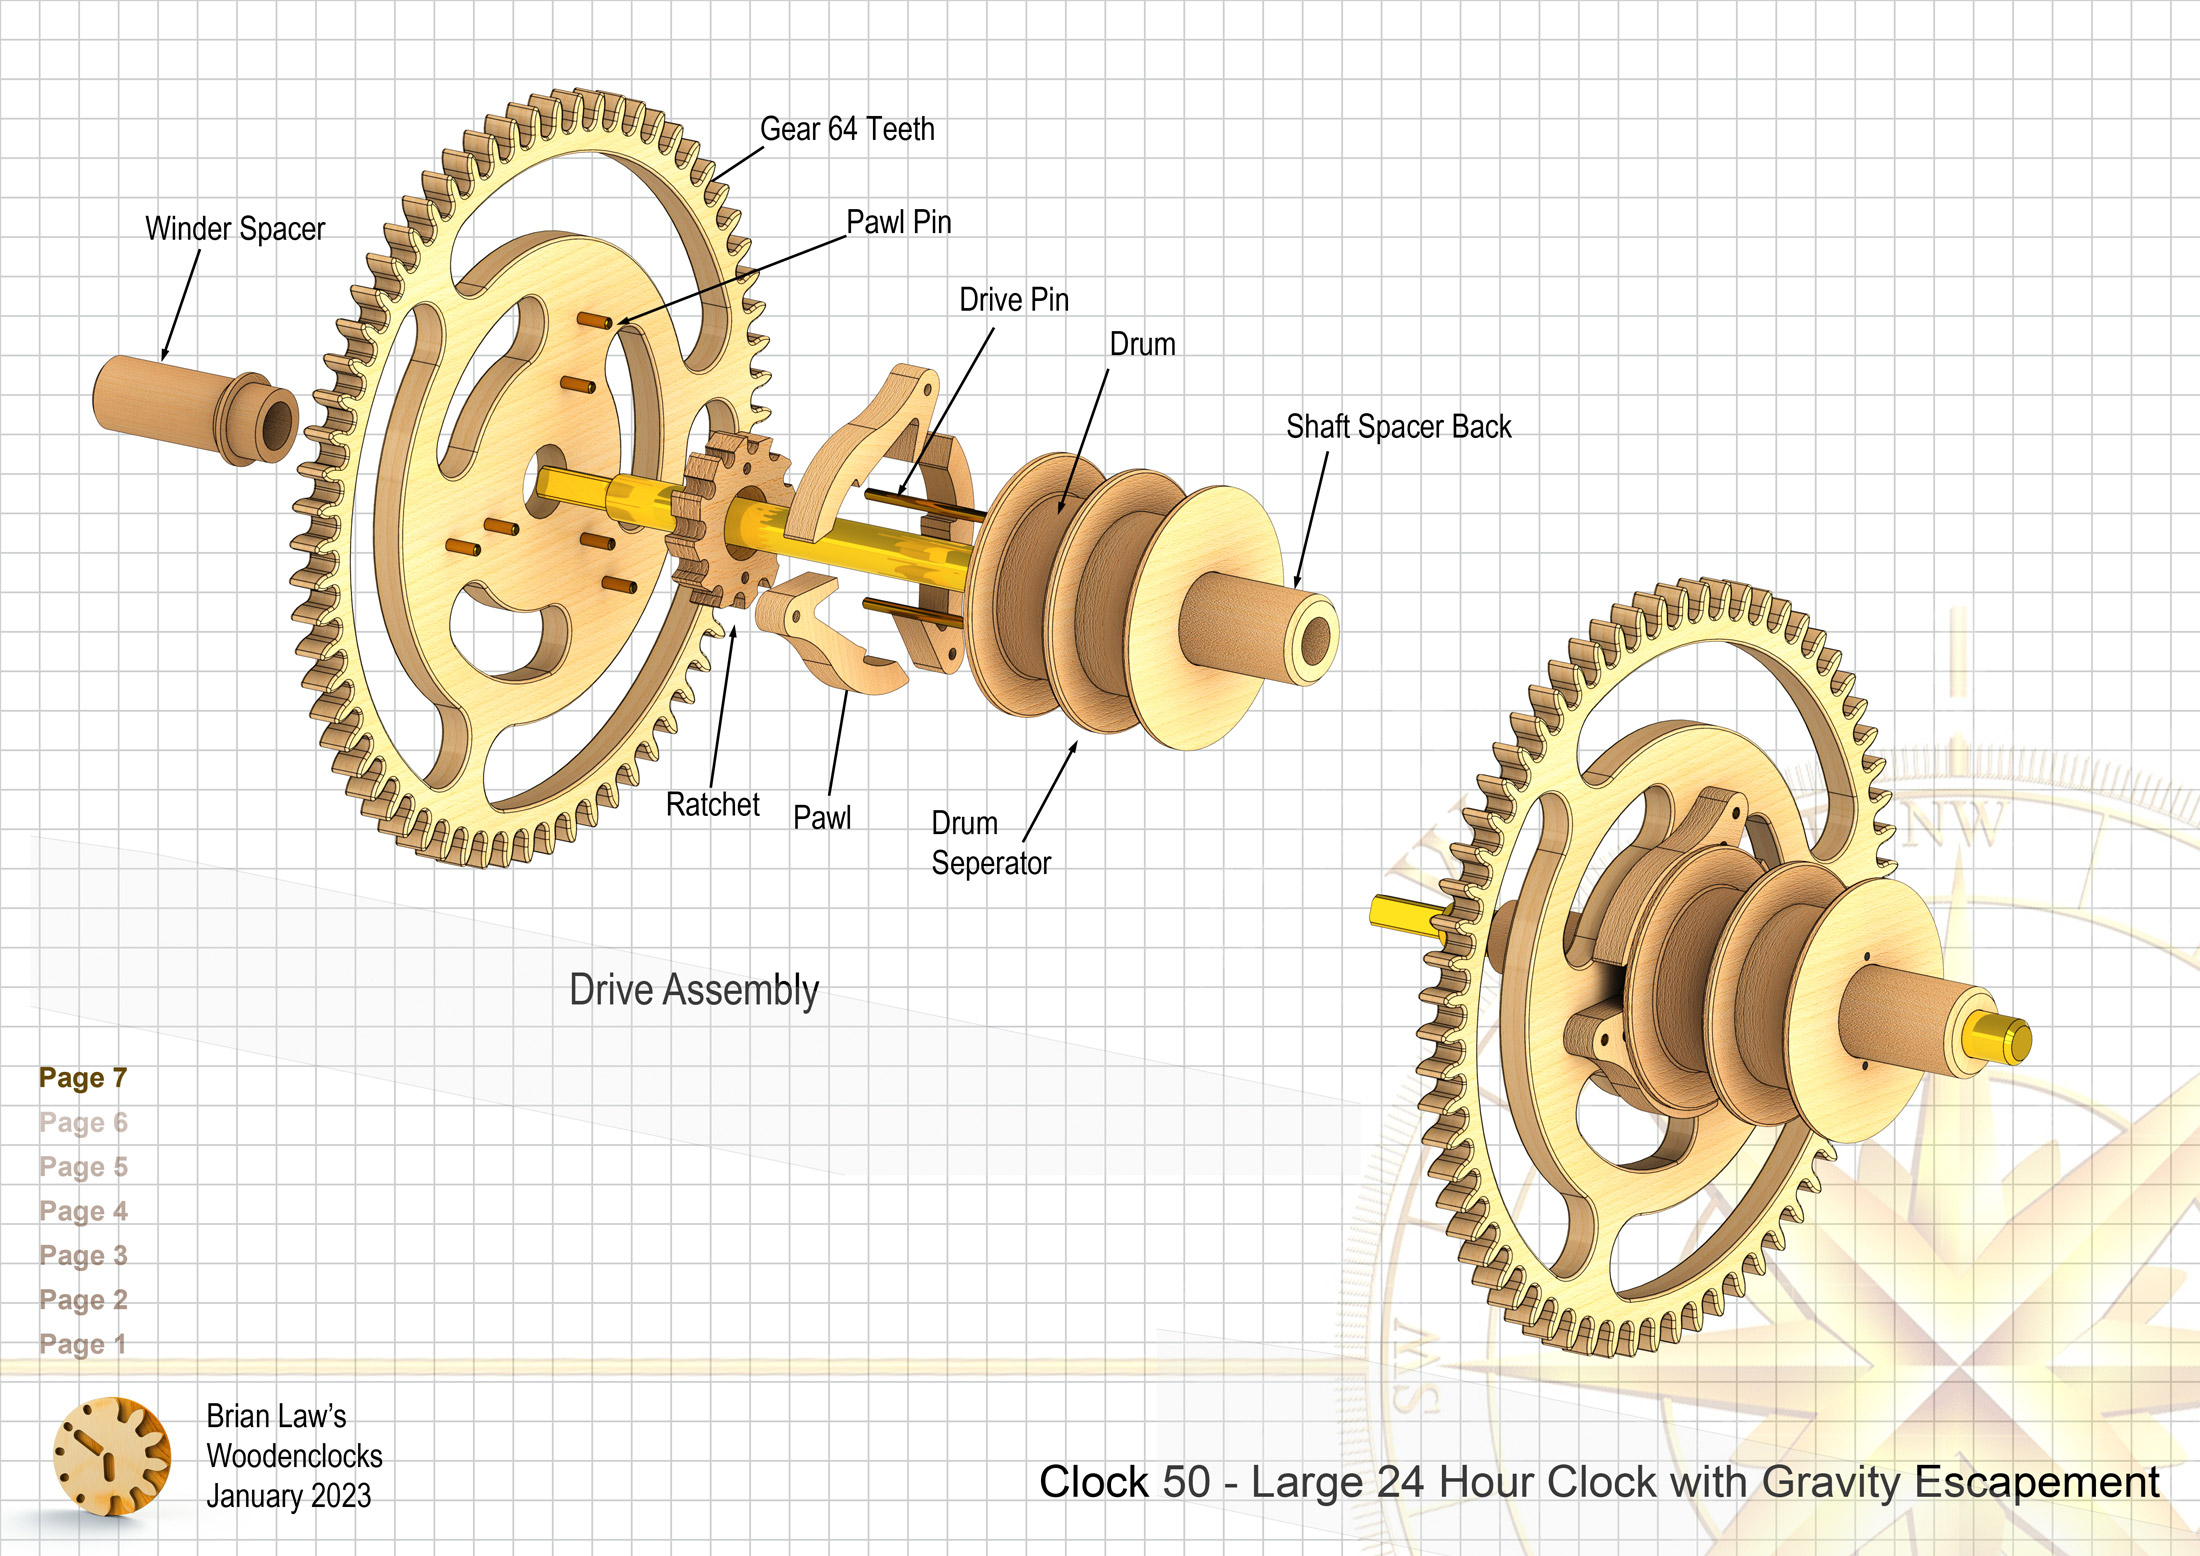
I have used Needle Roller bearings for most of the shafts as they are more easily cleaned and kept lubricated with a light oil. The exception was the Drive assembly uses Flanged Ball Bearings as these are carrying the highest loads. I have used 2mm diameter pins on the Escape wheel as they interact with the wooden Catch it offers the smallest amount of friction to the system, unfortunately it means fitting 60 small pins equally spaced to ensure clean and accurate action on every swing of the Pendulum.
This has turned out to be an accurate and reliable clock and perhaps a favourite that I will keep running. The birds on the Latch and the Catch appeared by accident when I added the Eye Hole to carry a small brass weight if it was found to be needed.
DXF files, and the STP and STL files that can be used with your CNC machine and 3D printer can be downloaded here for $26. You also get the unrestricted version of the PDF files that can be printed at full size and in this clock only the STL files if you need them. Also a photos of the clocks build sequence.
Drawings for this clock in PDF format can be downloaded here. These free files are low resolution and not to scale and only a sample of the full set that comes in the paid for version. Clicking here will download the PDF file directly to your browser, may take a few moments so please be patient.
A sample from the DXF file – the file is purposely low resolution, with no vector data. The actual files purchased above are included on one large sheet so that they may be directly loaded into your CAM program.
To print only a single item of the drawing to scale using Adobe Acrobat Reader, do the following:
Go to Edit, then click on Take a snapshot, move the cursor to the top left of the item you want to print and hold down the left mouse button whilst you drag a box around the item. The inside of the box turns blue and you can now go to File and then click on Print. This brings up the print dialogue, make sure Selected graphic is selected and that the Page scaling is set to None and the click on OK. As long as your printer is connected you will have printed the item at size. Do this for each item you want to cut out.